Note: all images are my own unless otherwise noted.
Some of the links in this post are affiliate links. This means if you click on the link and purchase the item, I will receive an affiliate commission at no extra cost to you. All opinions remain my own.
Sharing is caring!
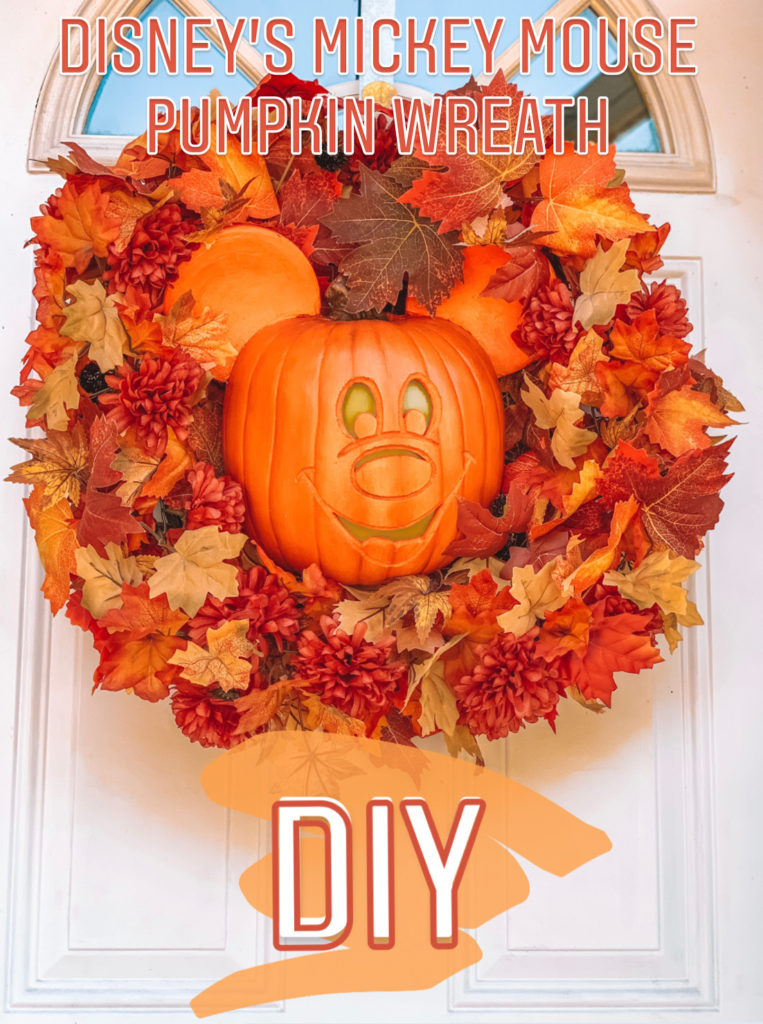
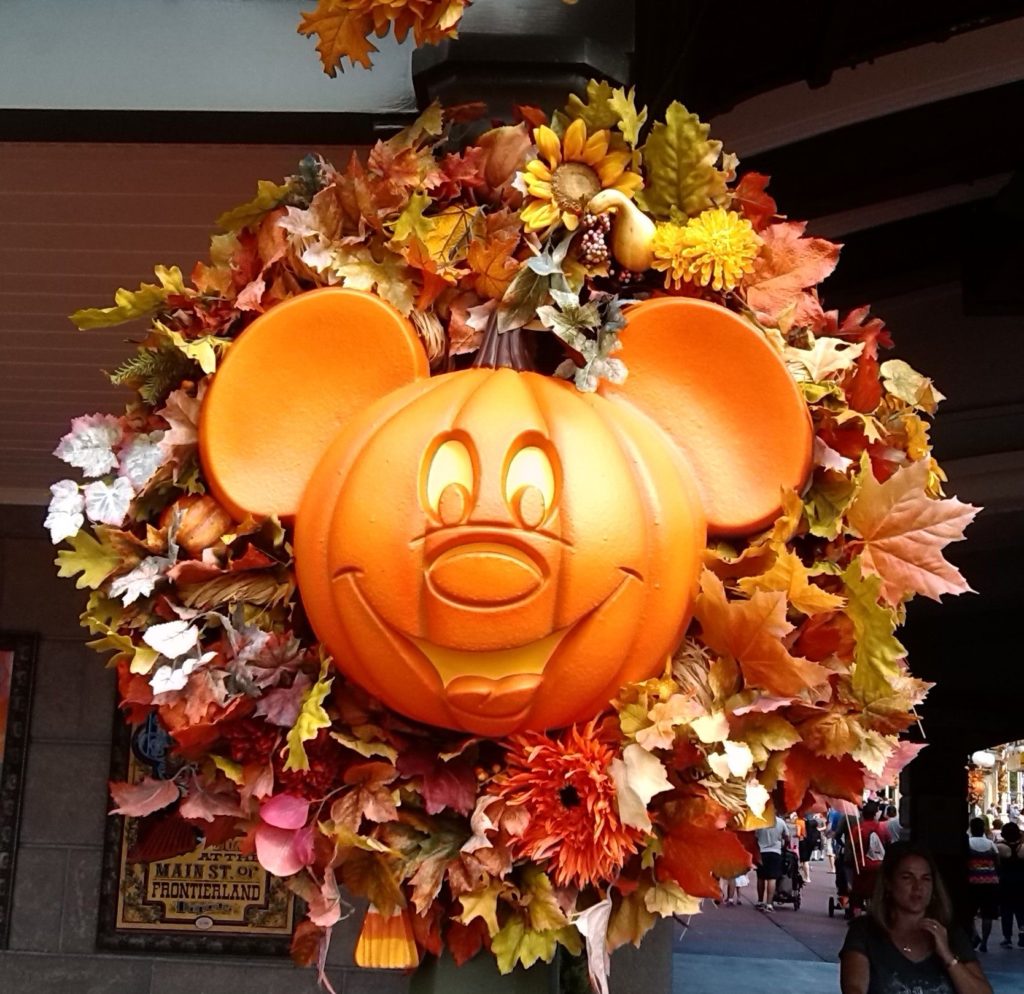
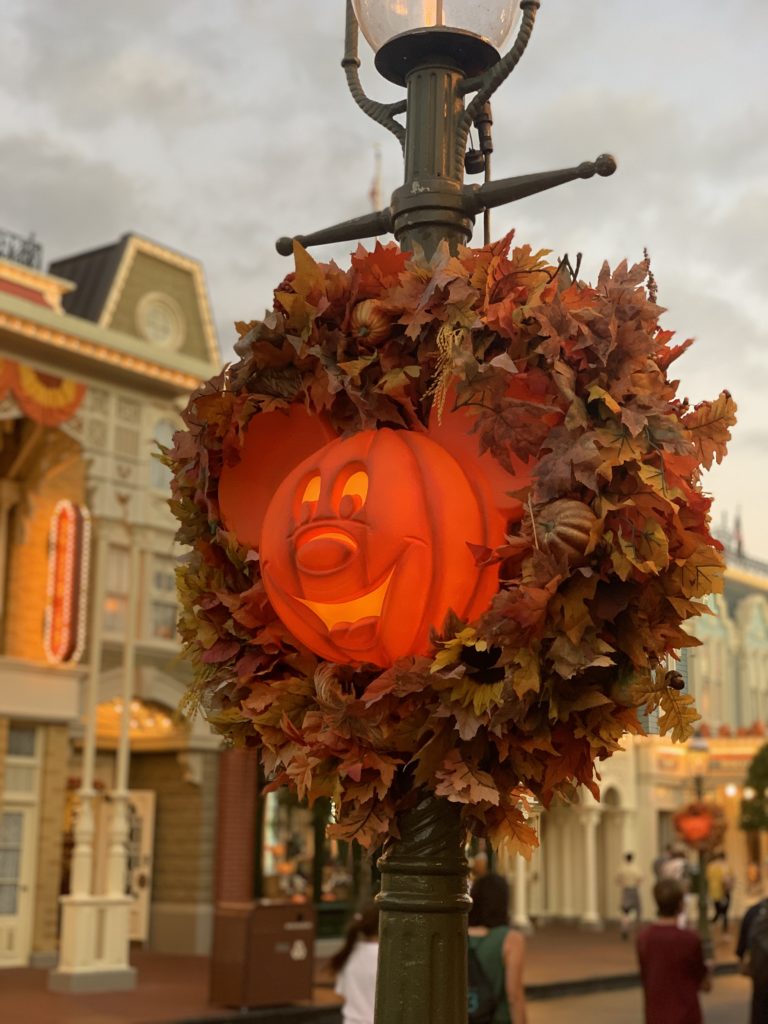
This Halloween I really wanted to bring some Disney magic to my house. My family and I went to Disney World last year (2019) for my graduation and I was just entranced by Magic Kingdom’s Halloween decor, especially their Mickey Mouse Pumpkin Wreaths. I had seen a couple DIYs on how to make them, but none of them felt quite right, so I tried my own way and I am just obsessed with how it came out and I had to share. I was so excited to share that this has become my first ever blog post!
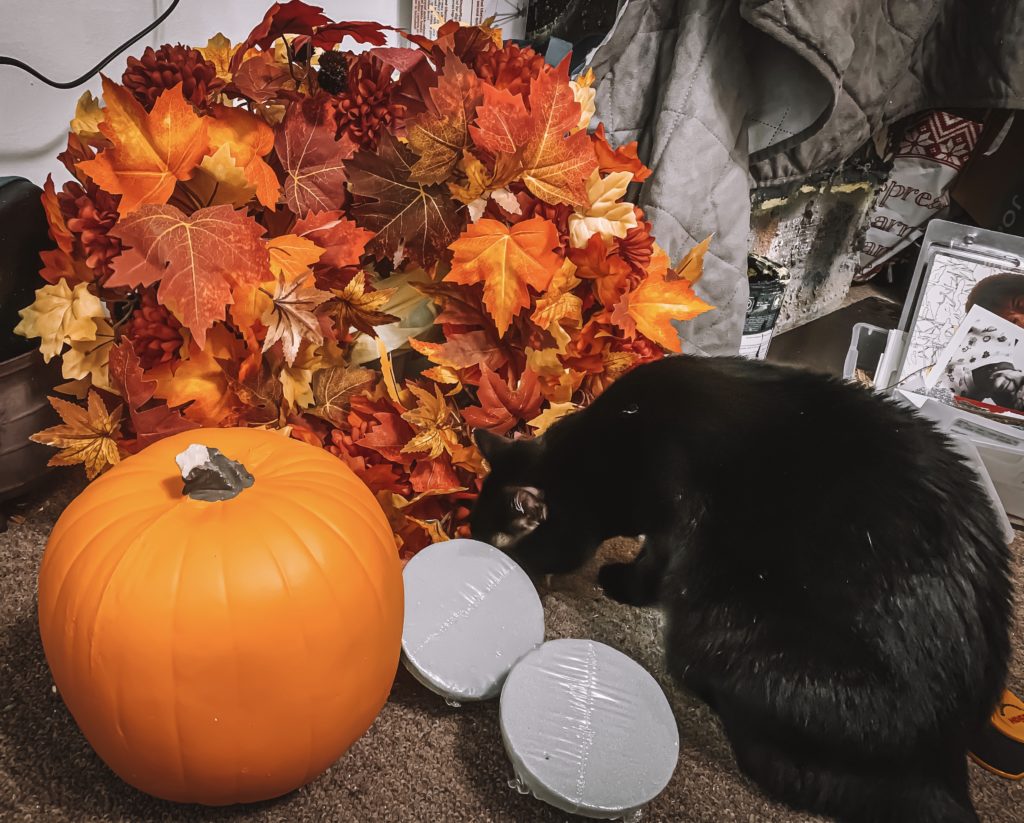
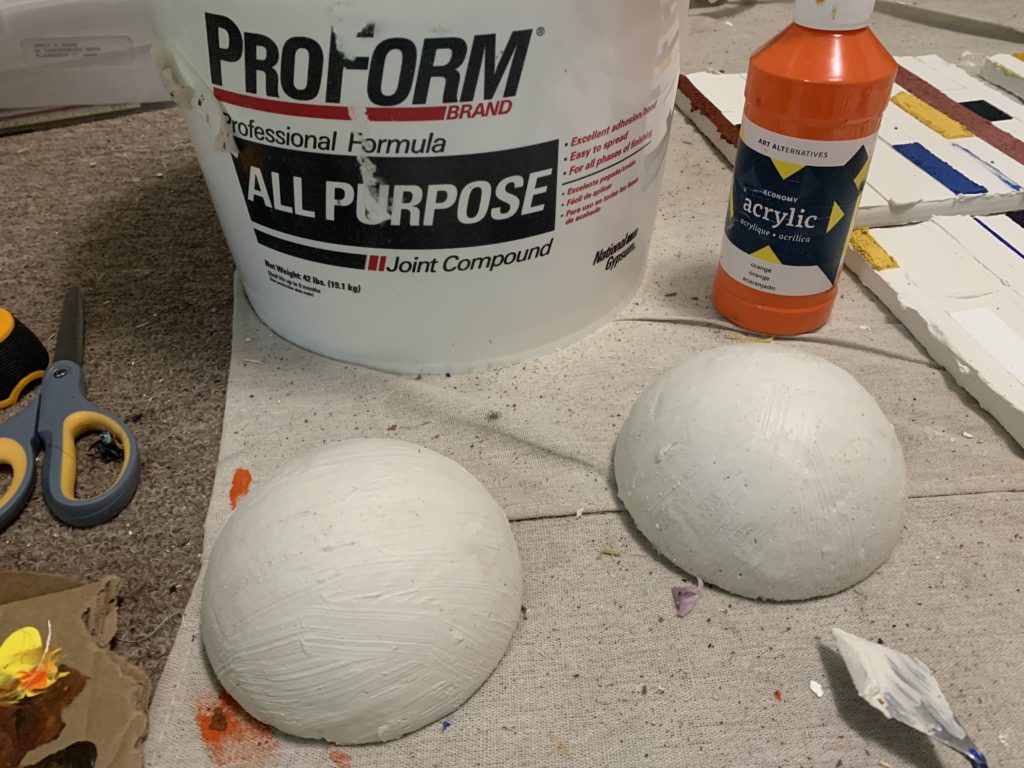
The main materials needed are a faux pumpkin, foam half spheres (or one whole foam ball), and a wreath. You can make the wreath yourself using a grapevine wreath and some floral picks. I ended up buying a wreath and garland to make it look fuller. I found this to be cheaper for me as I was able to get my materials on sale, but if its more cost effective to build your own wreath go for it!
My Full Materials List:
- Mickey Mouse Face template
- 9” carvable pumpkin
- 5” foam ball (1 full sphere or 2 half spheres)
- 22-24” fall wreath
- 6’ fall garland
- cadmium orange hue paint
- cadmium yellow hue paint
- Wooden pick
- Dremel (here’s a fairly affordable one with the proper attachment for this project)
- Plaster
- Elmer’s liquid glue
- Glassine paper
- Wire
- Tea light (optional)
Alternative Materials:
- Grapevine wreath and fall floral picks (instead of store-bought wreath and garland)
- Orange and yellow foam sheets (instead of plaster and glassine paper)
- 8-9” foam ball (instead of faux pumpkin. This is if you want it to look even more like Disney’s wreaths)

PART 1: The Pumpkin Head
the first step is to print out a Face template. I had made this one really quick as I couldn’t find an image of the Pumpkin face straight on or a Mickey face that was exactly like it. If you’d prefer using a different Mickey face you can Google one, but your’e welcome to use this one. The yellow gets cut all the way through, the grey is what gets carved, but does not get cut through; the black is left alone.
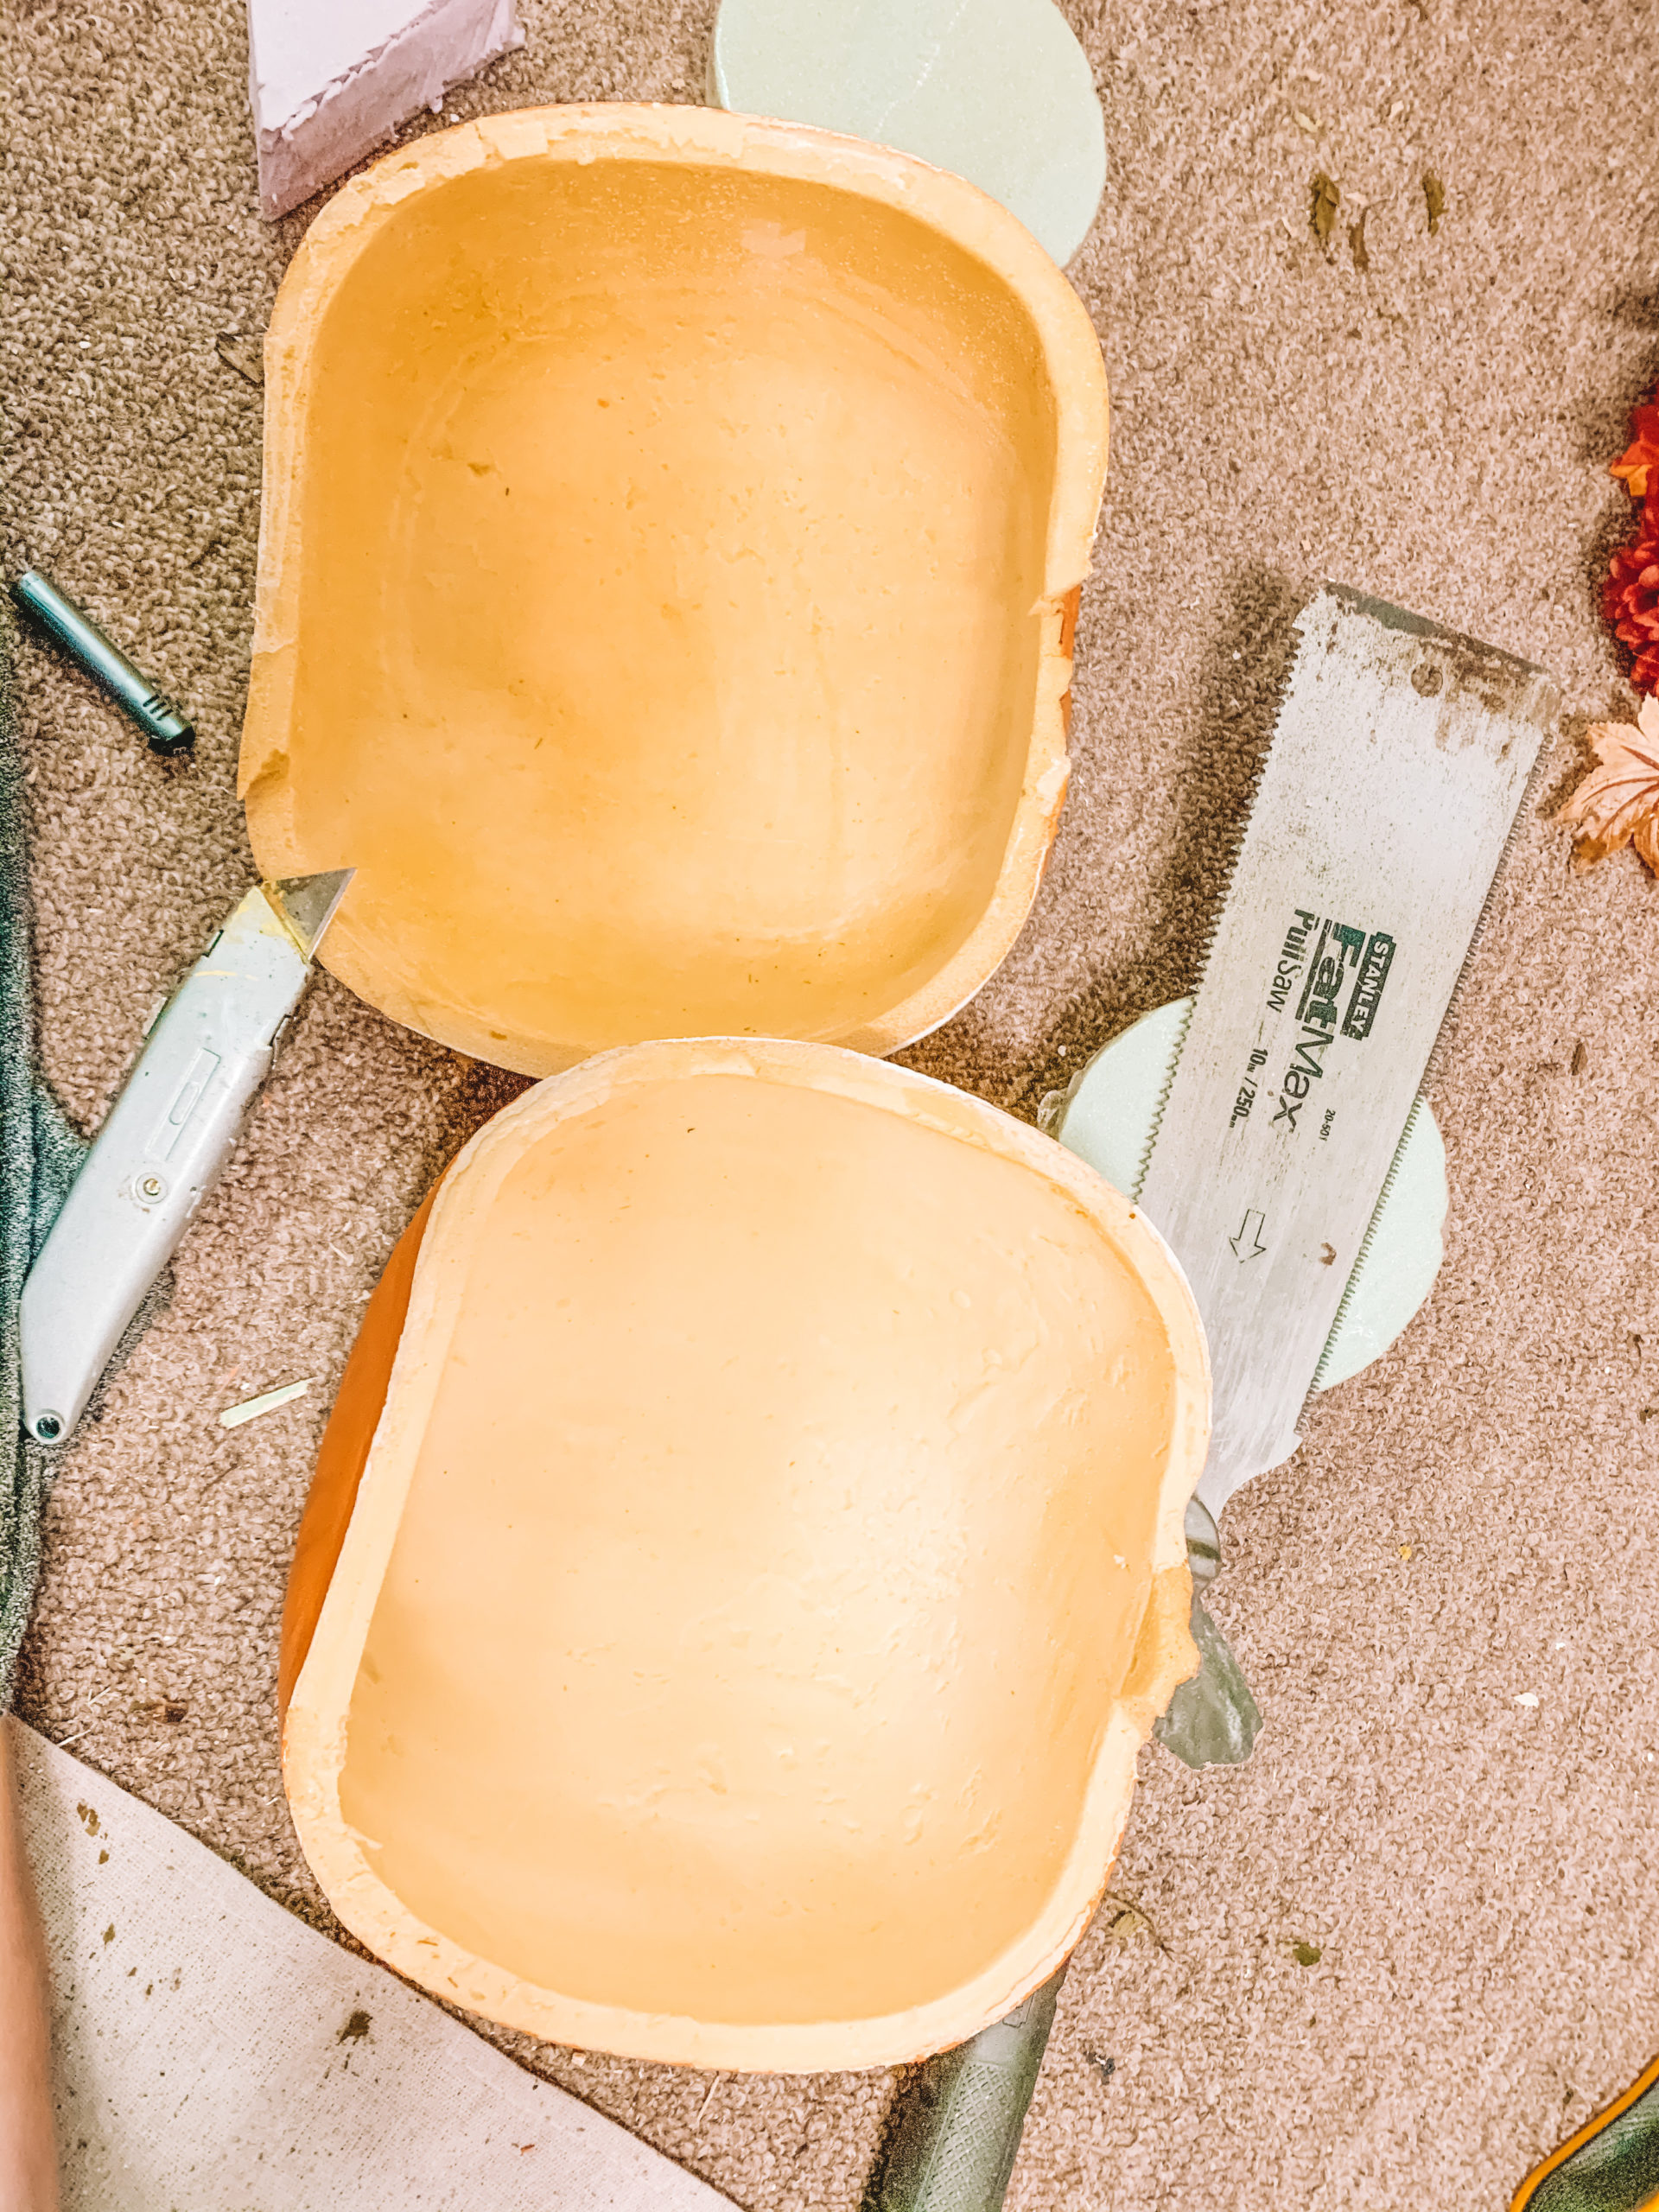
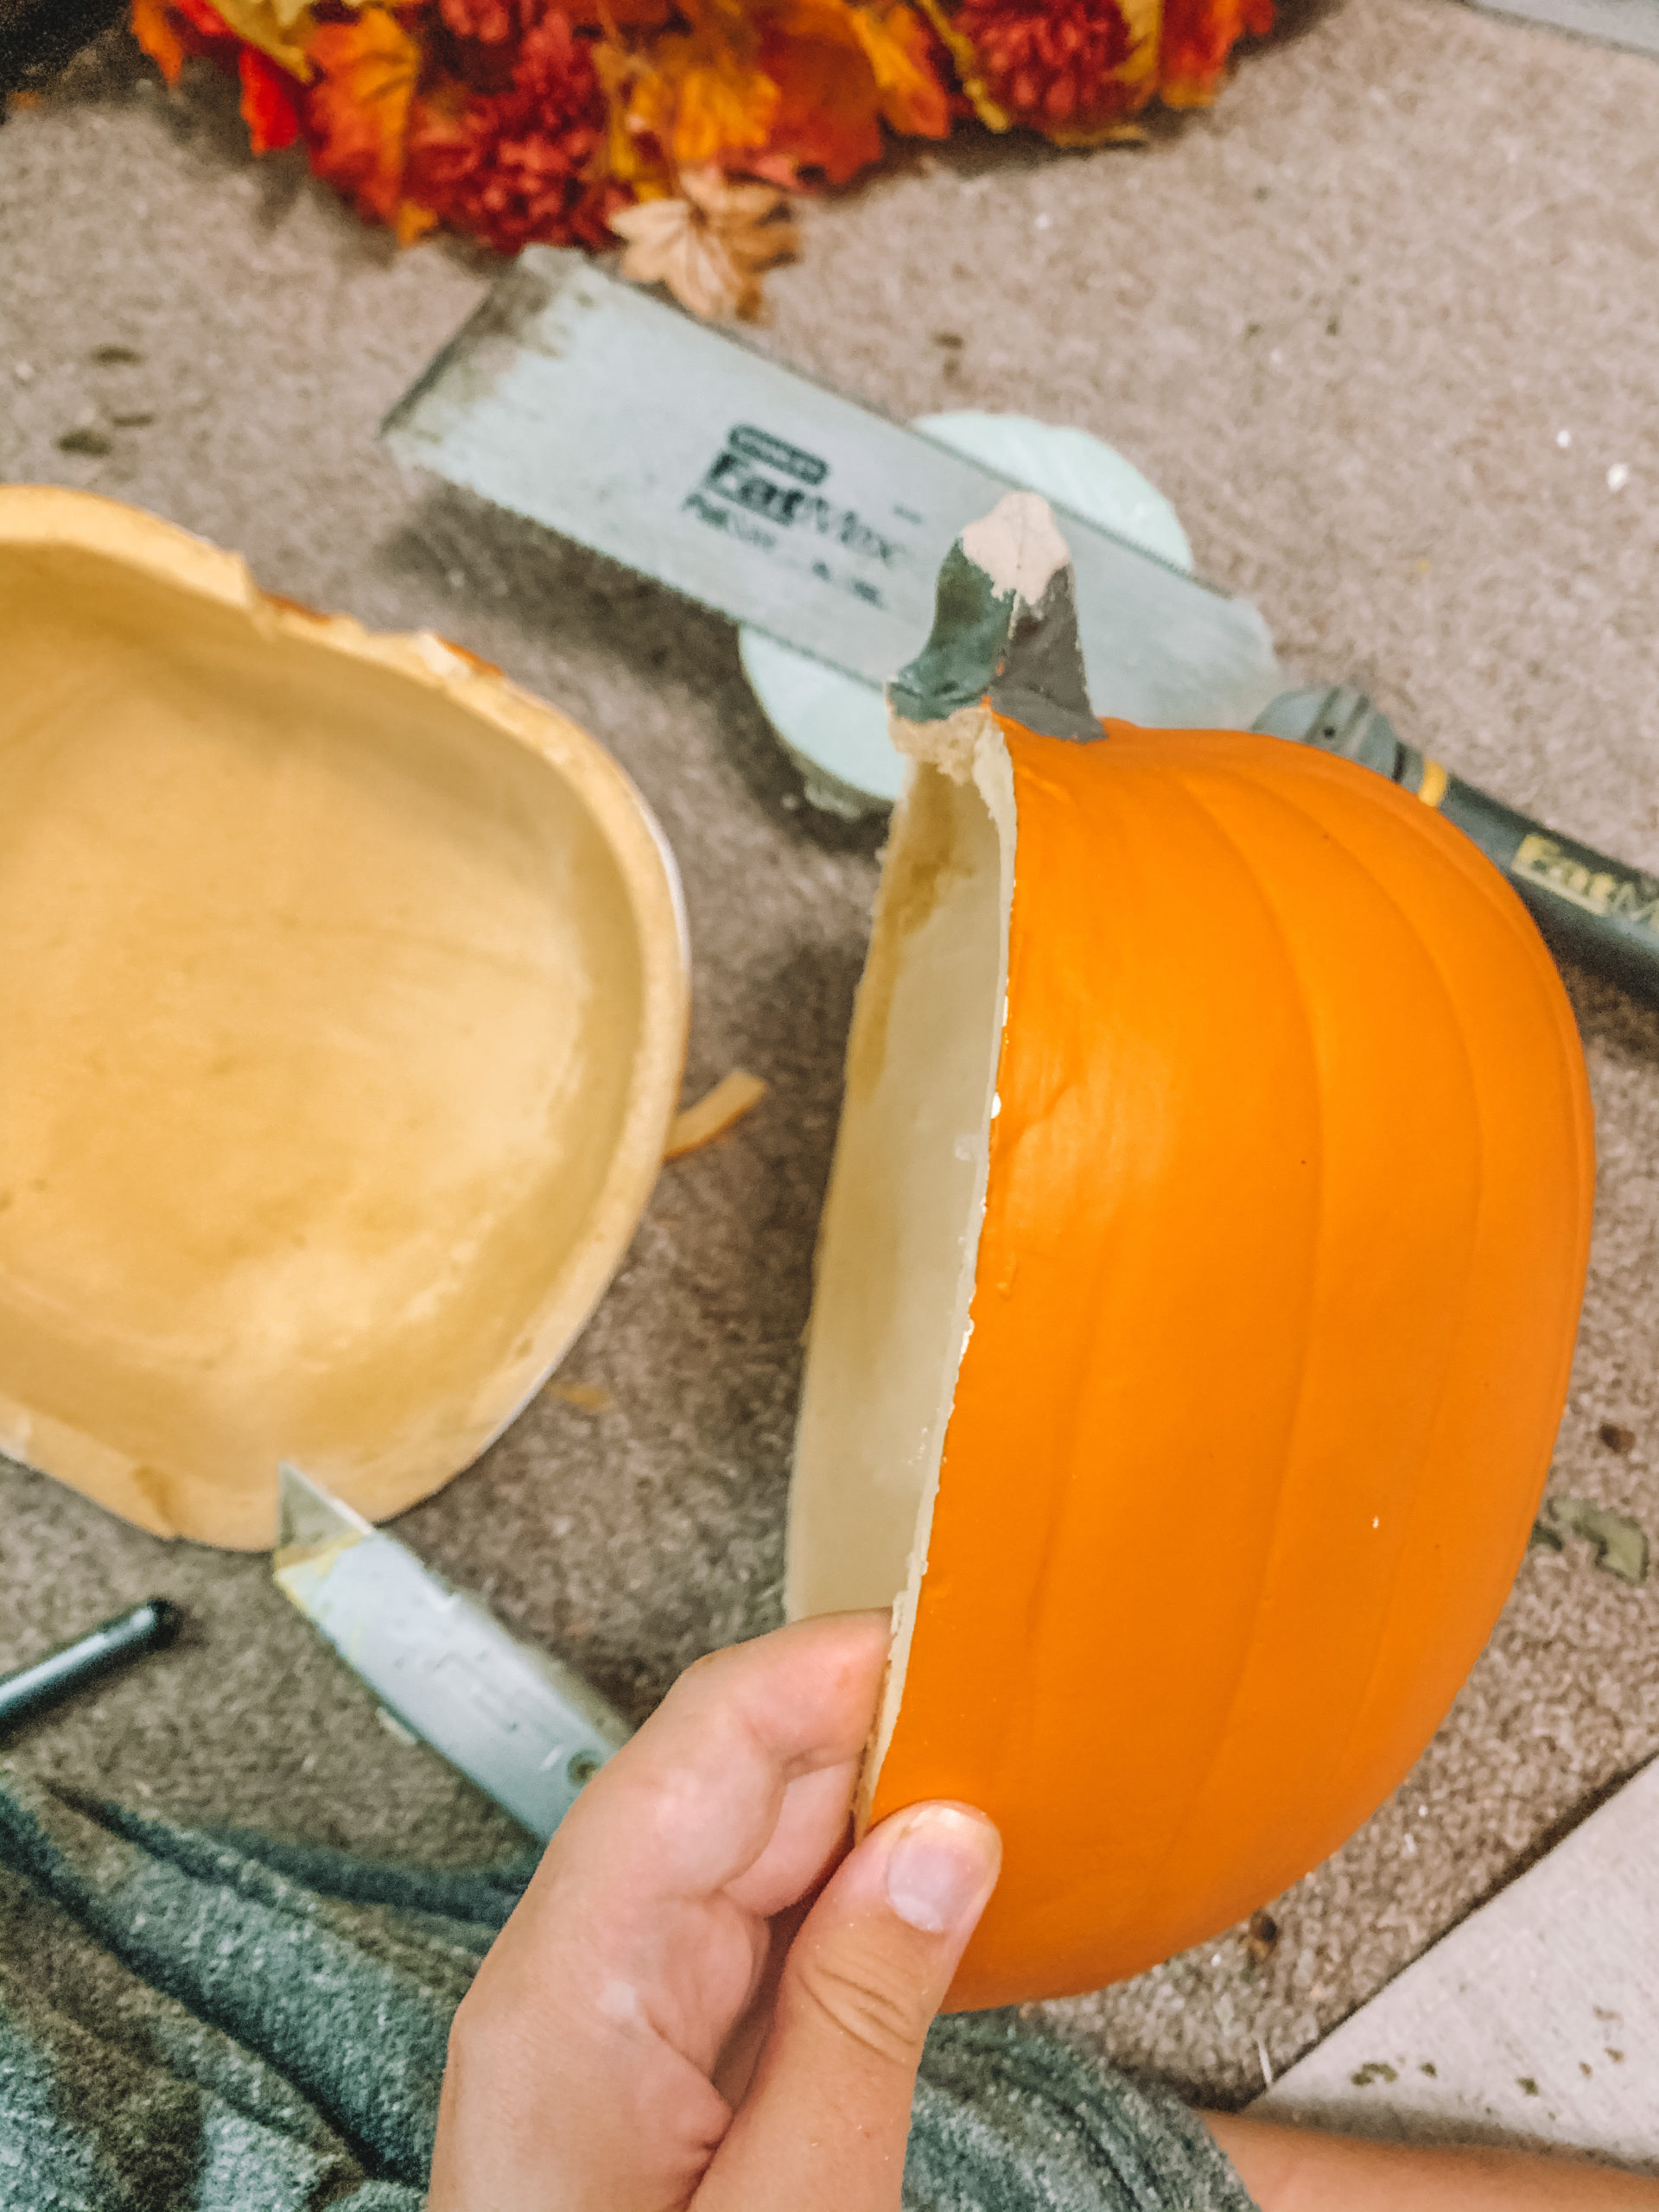
Next, cut the pumpkin in half. They’re pretty tough to cut through so just go slow and make sure not to cut yourself. You’ll also want to cut around the stem on one half, that way the entire stem is attached to the half you’ll be using.
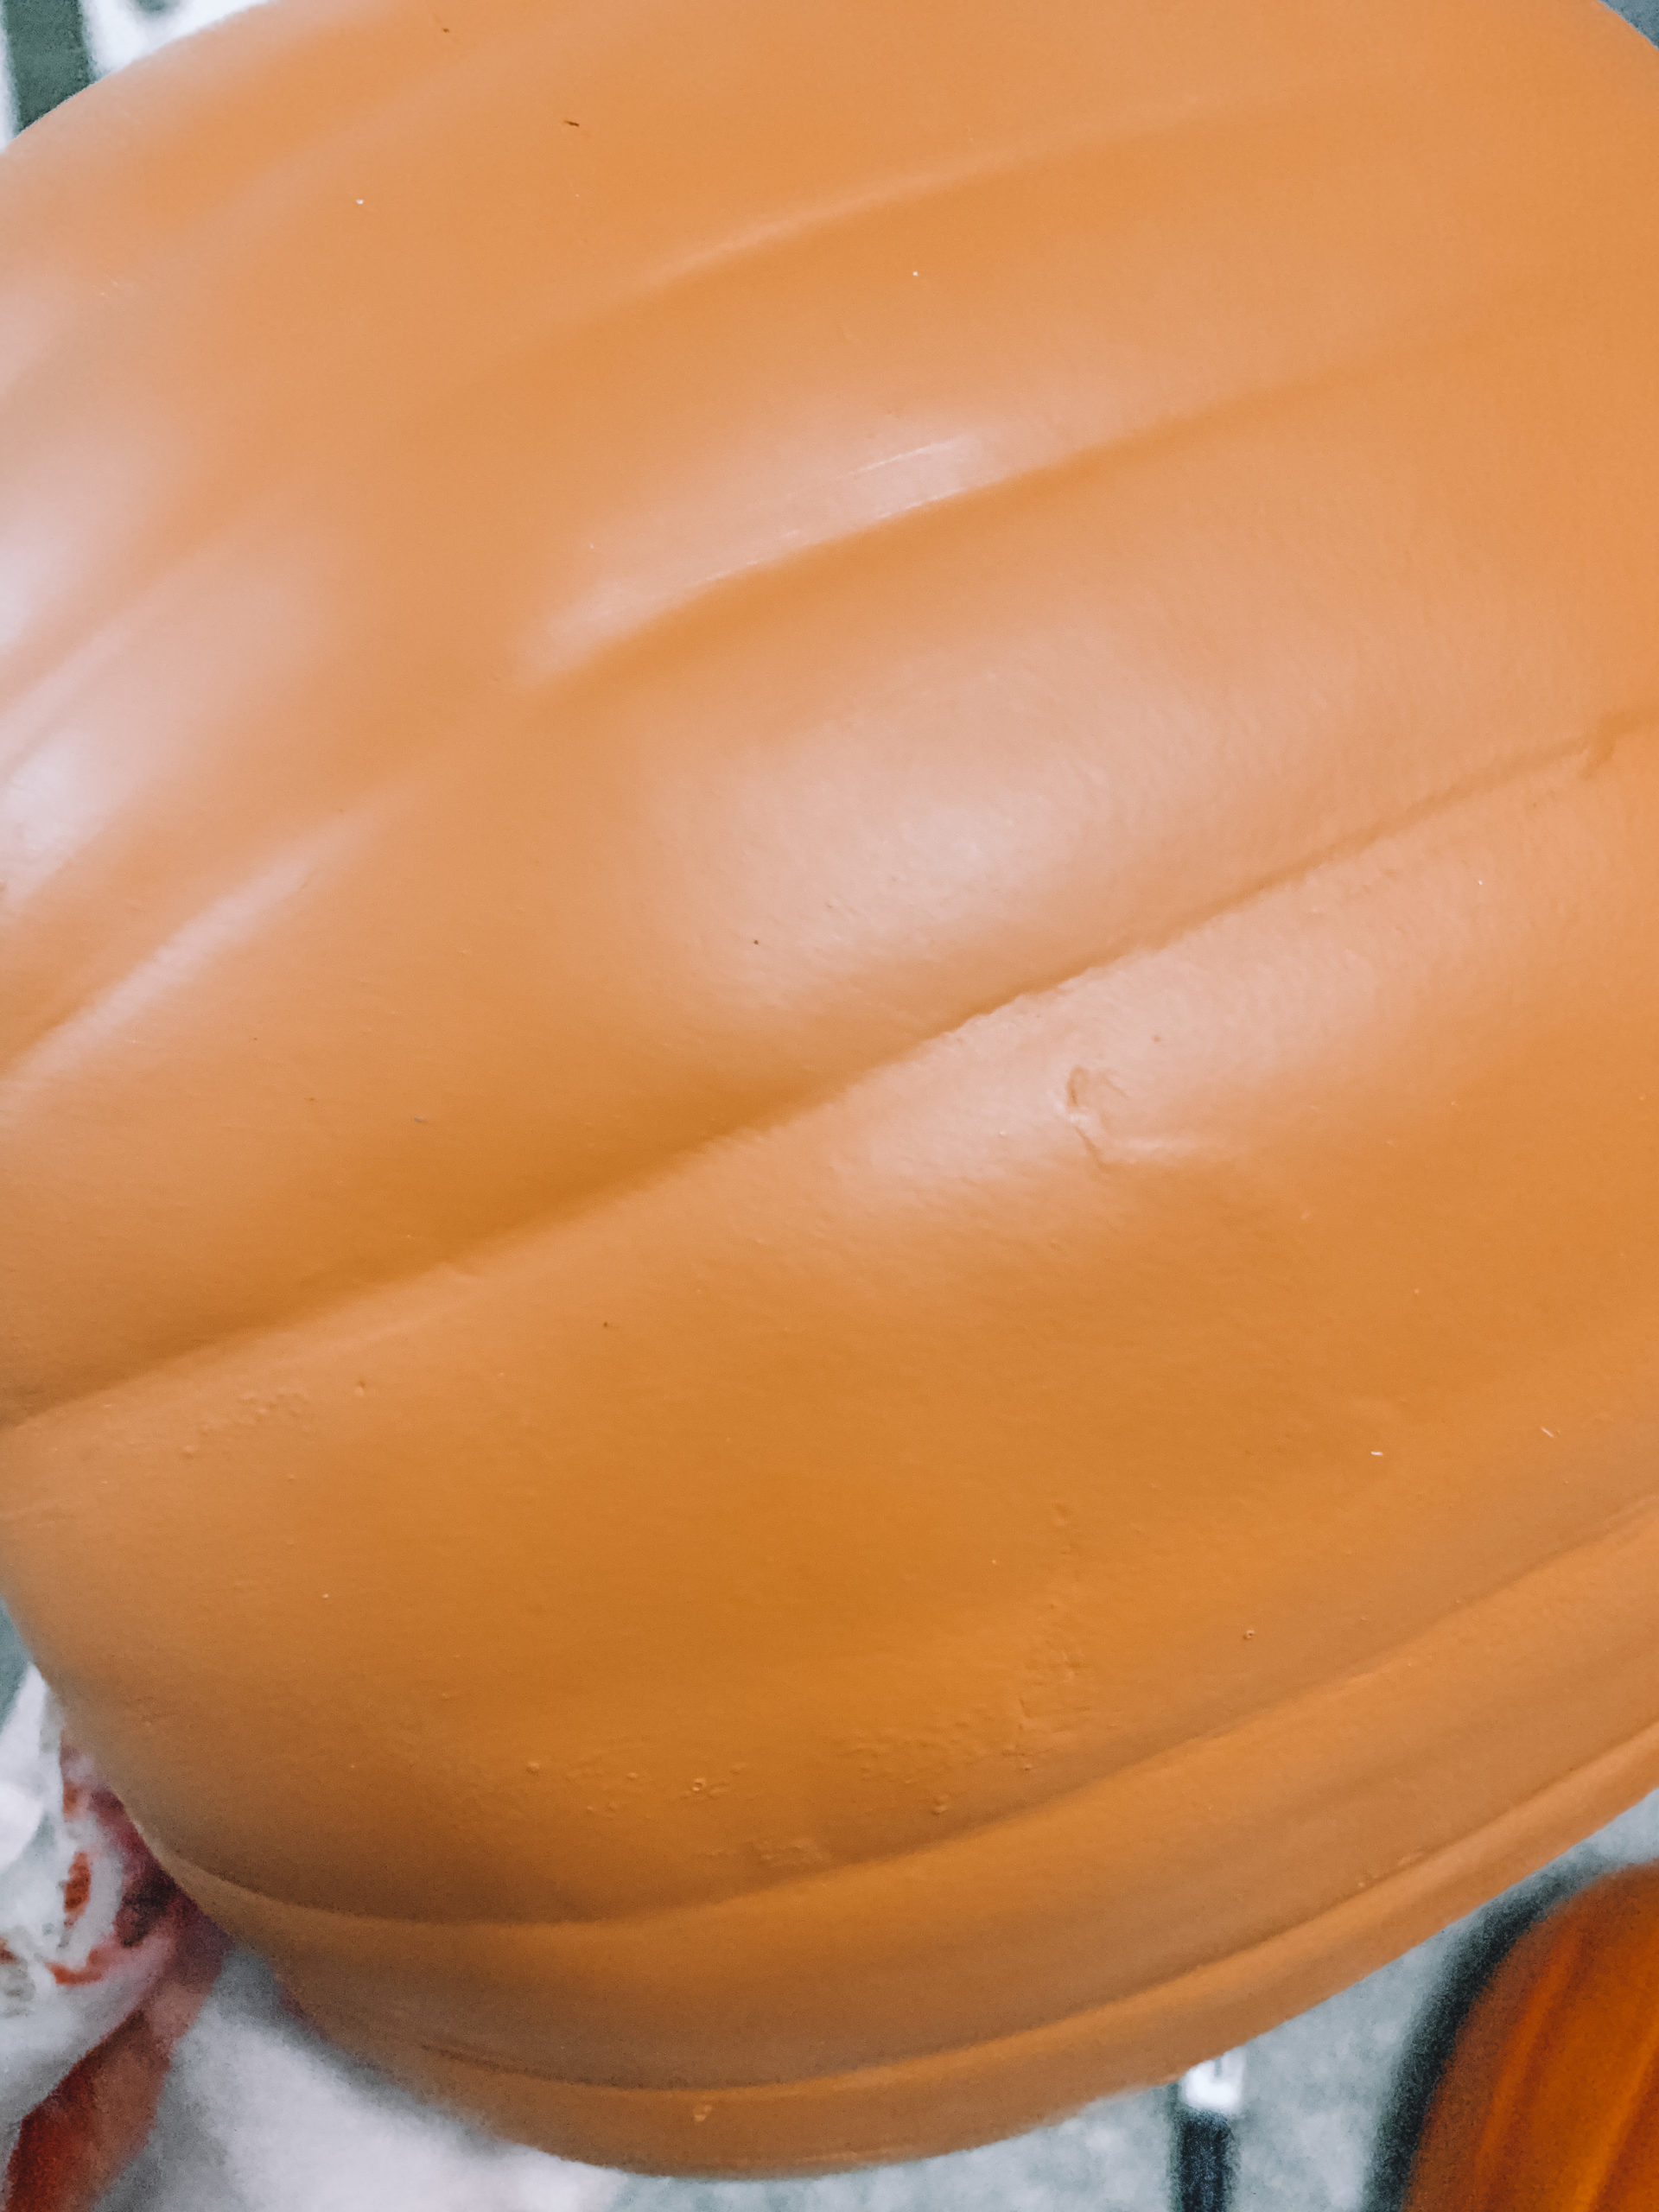
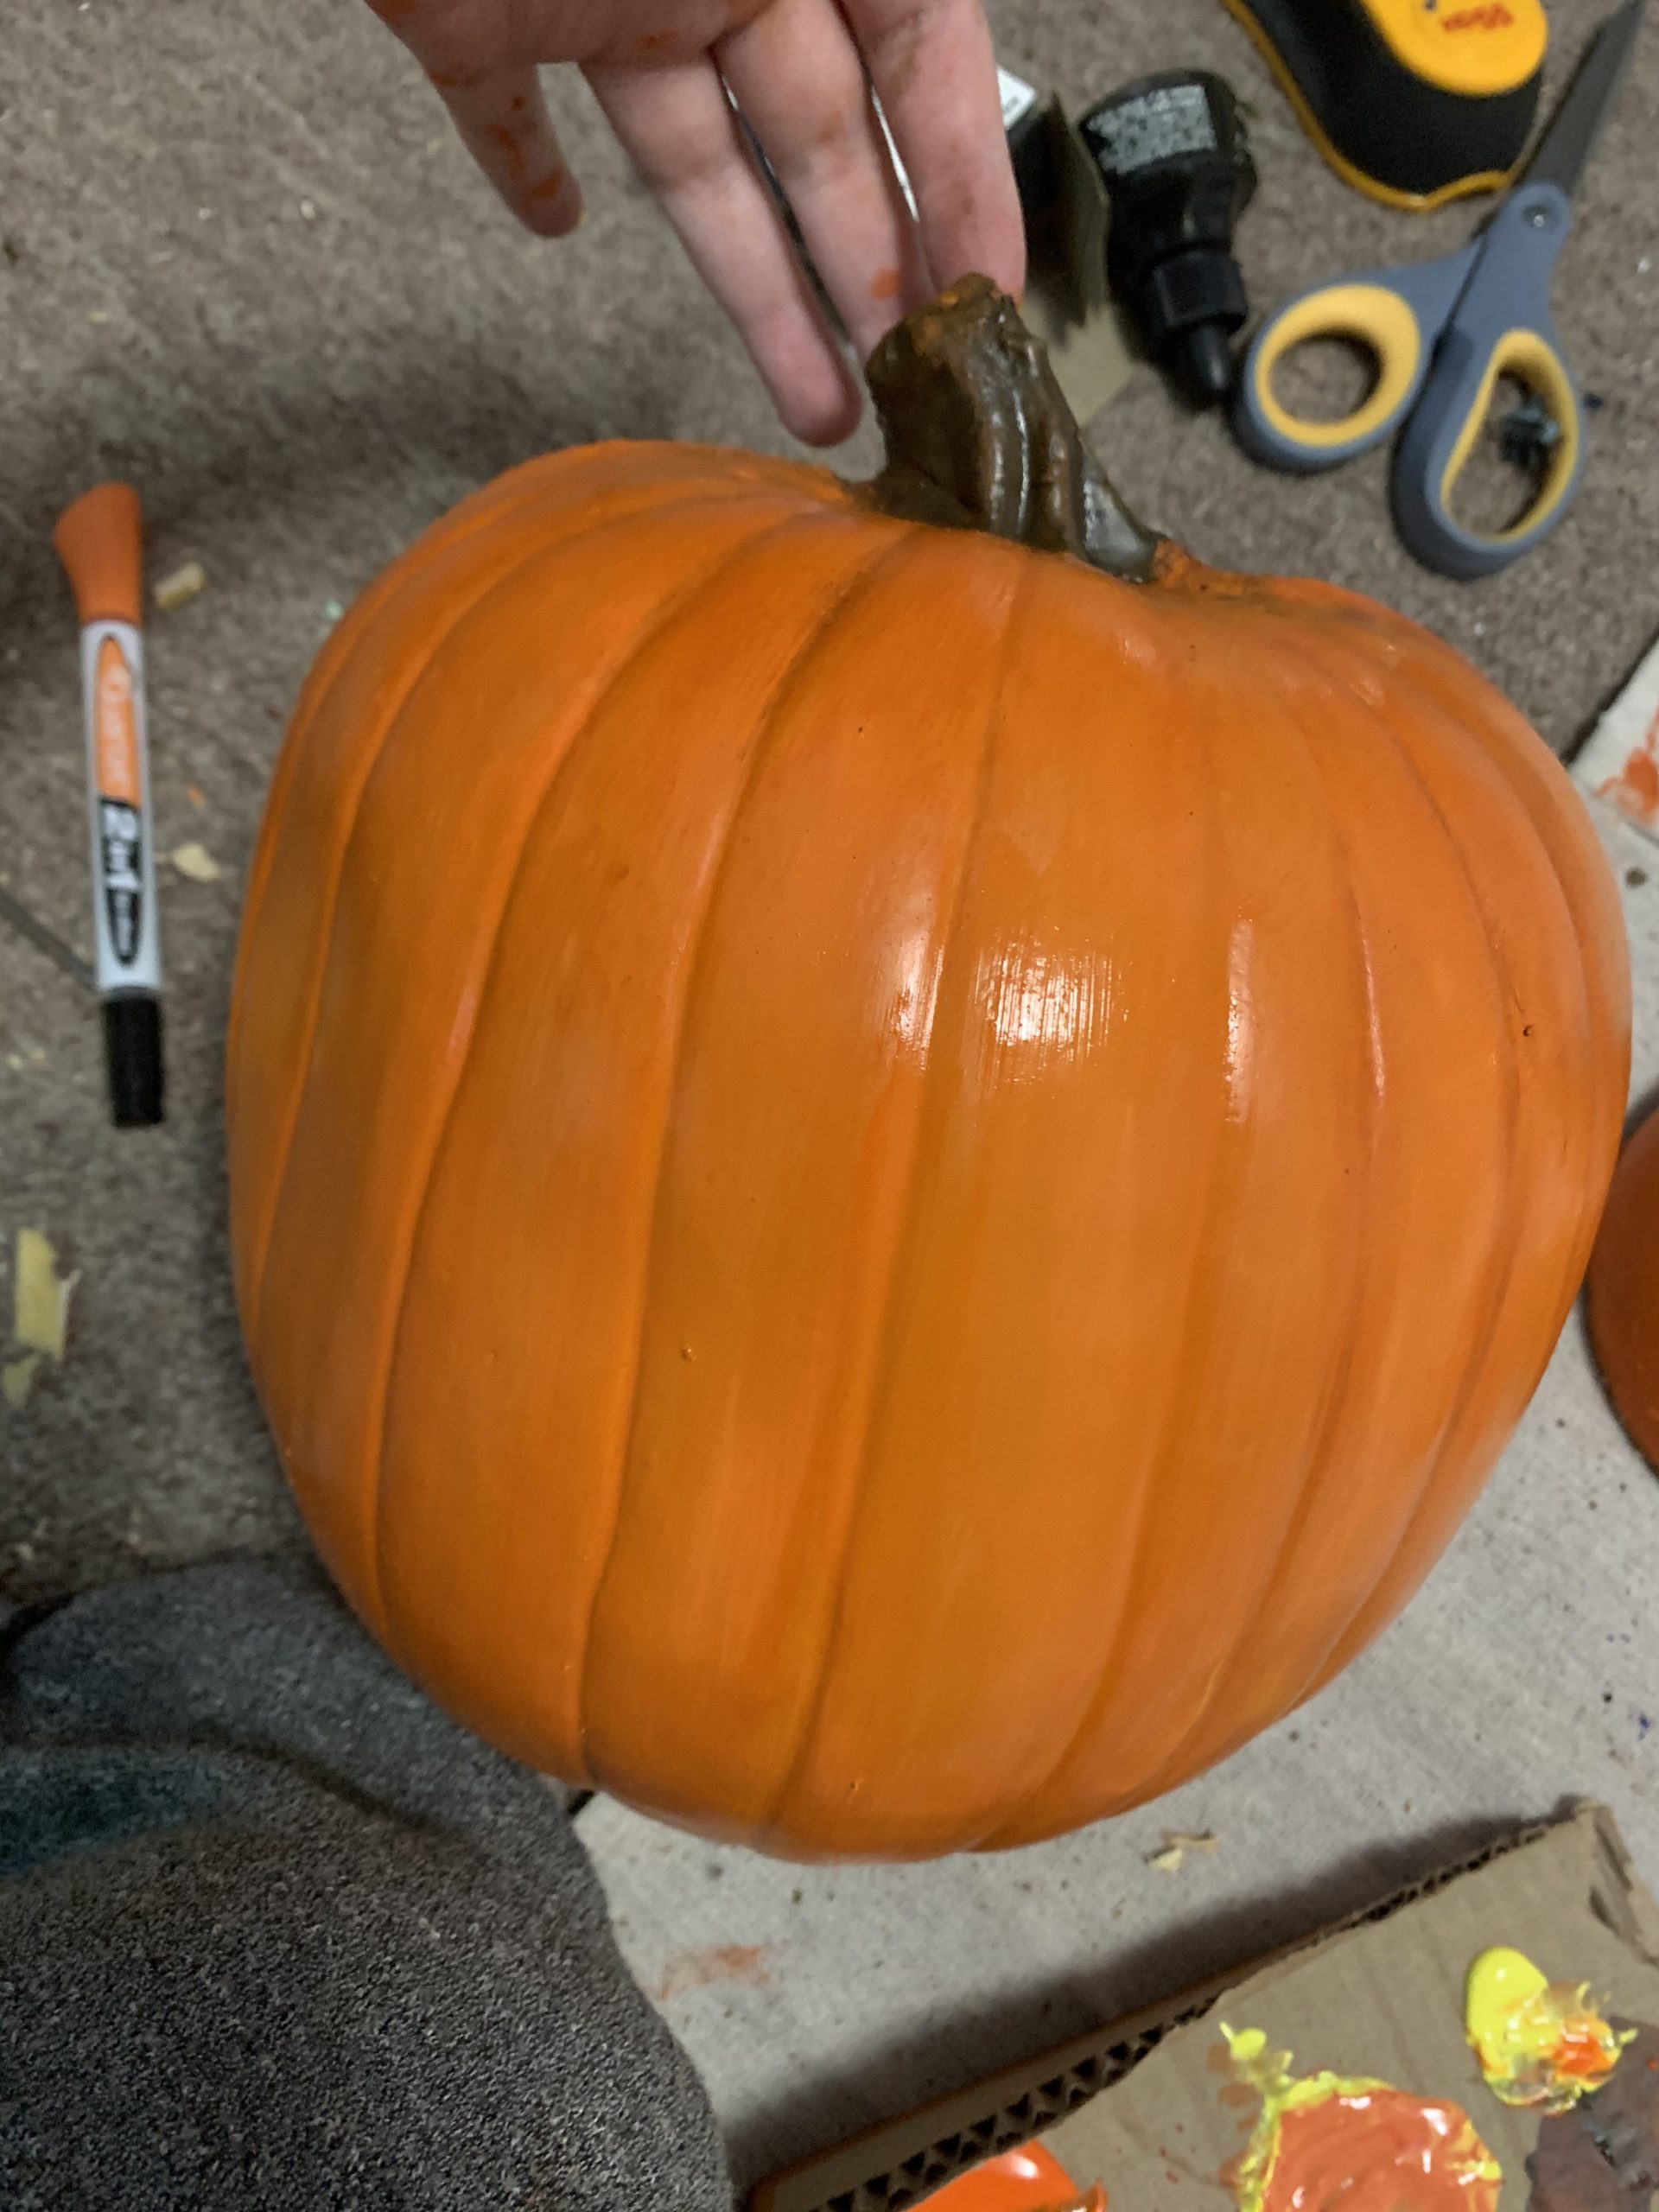
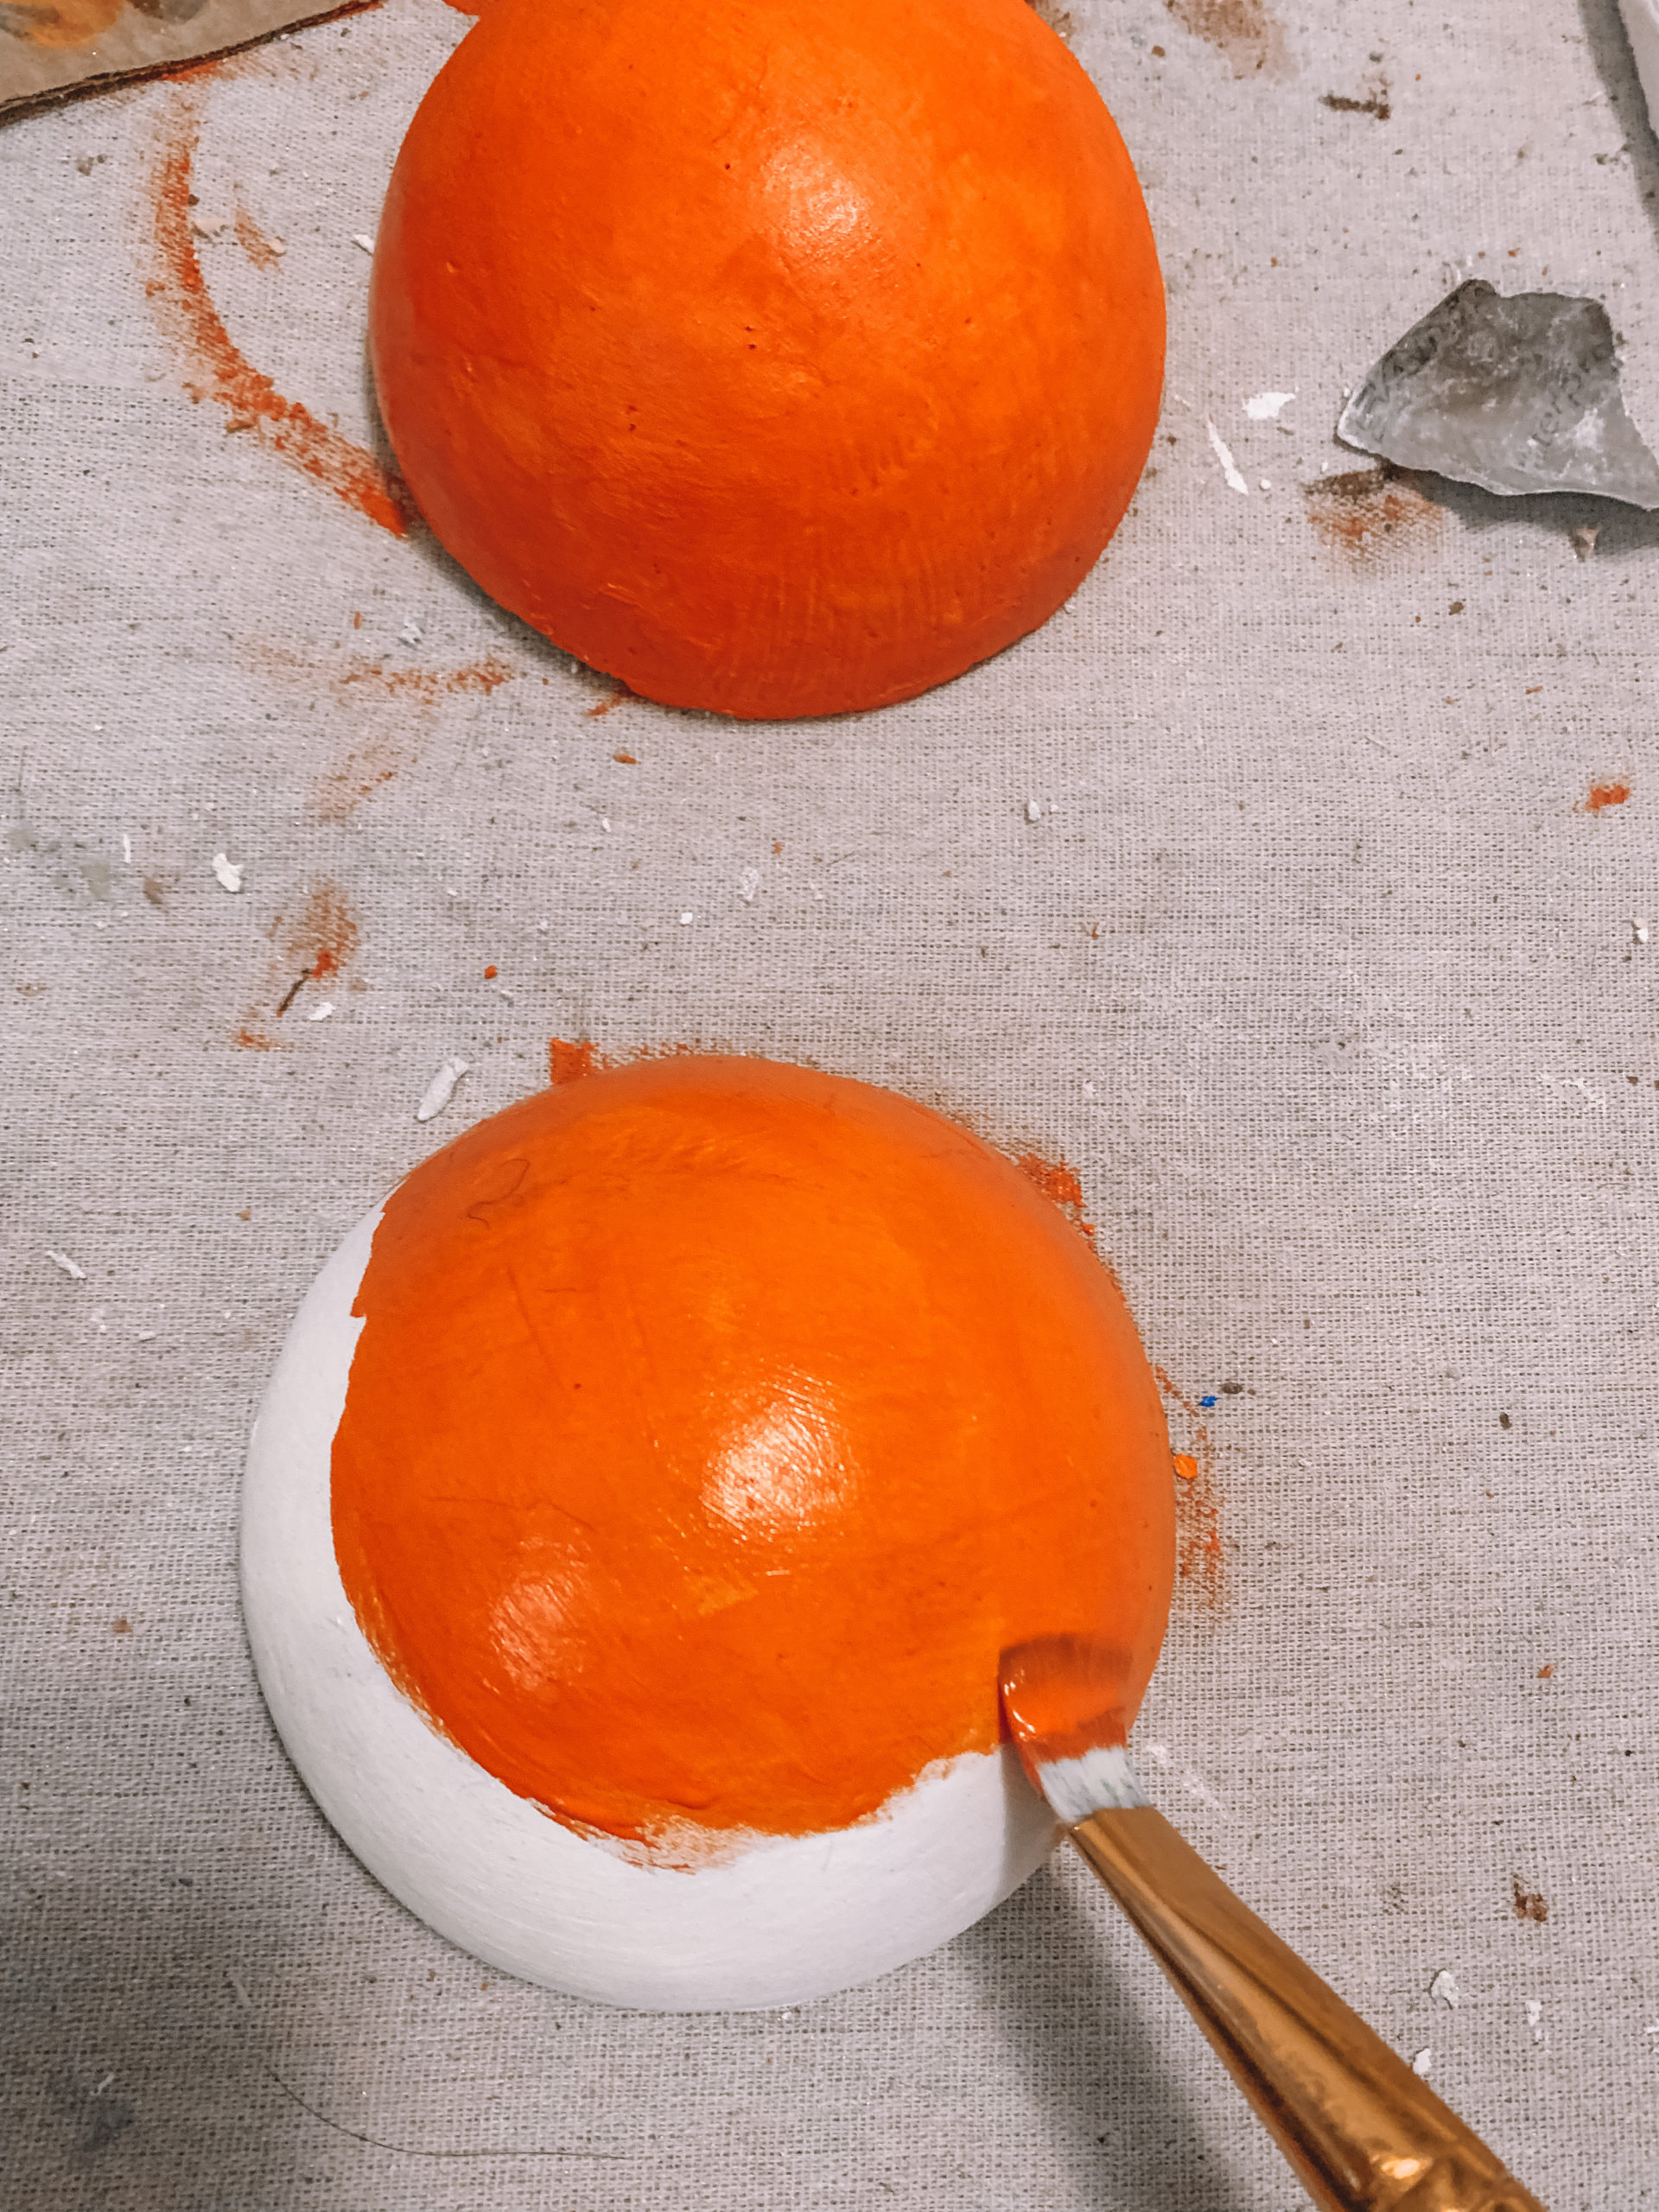
You don’t have to do this, But I painted my pumpkin using a cadmium orange hue and a cadmium yellow hue. This creates depth without dulling the color. It also makes things easier down the line; blending colors and such, lol.
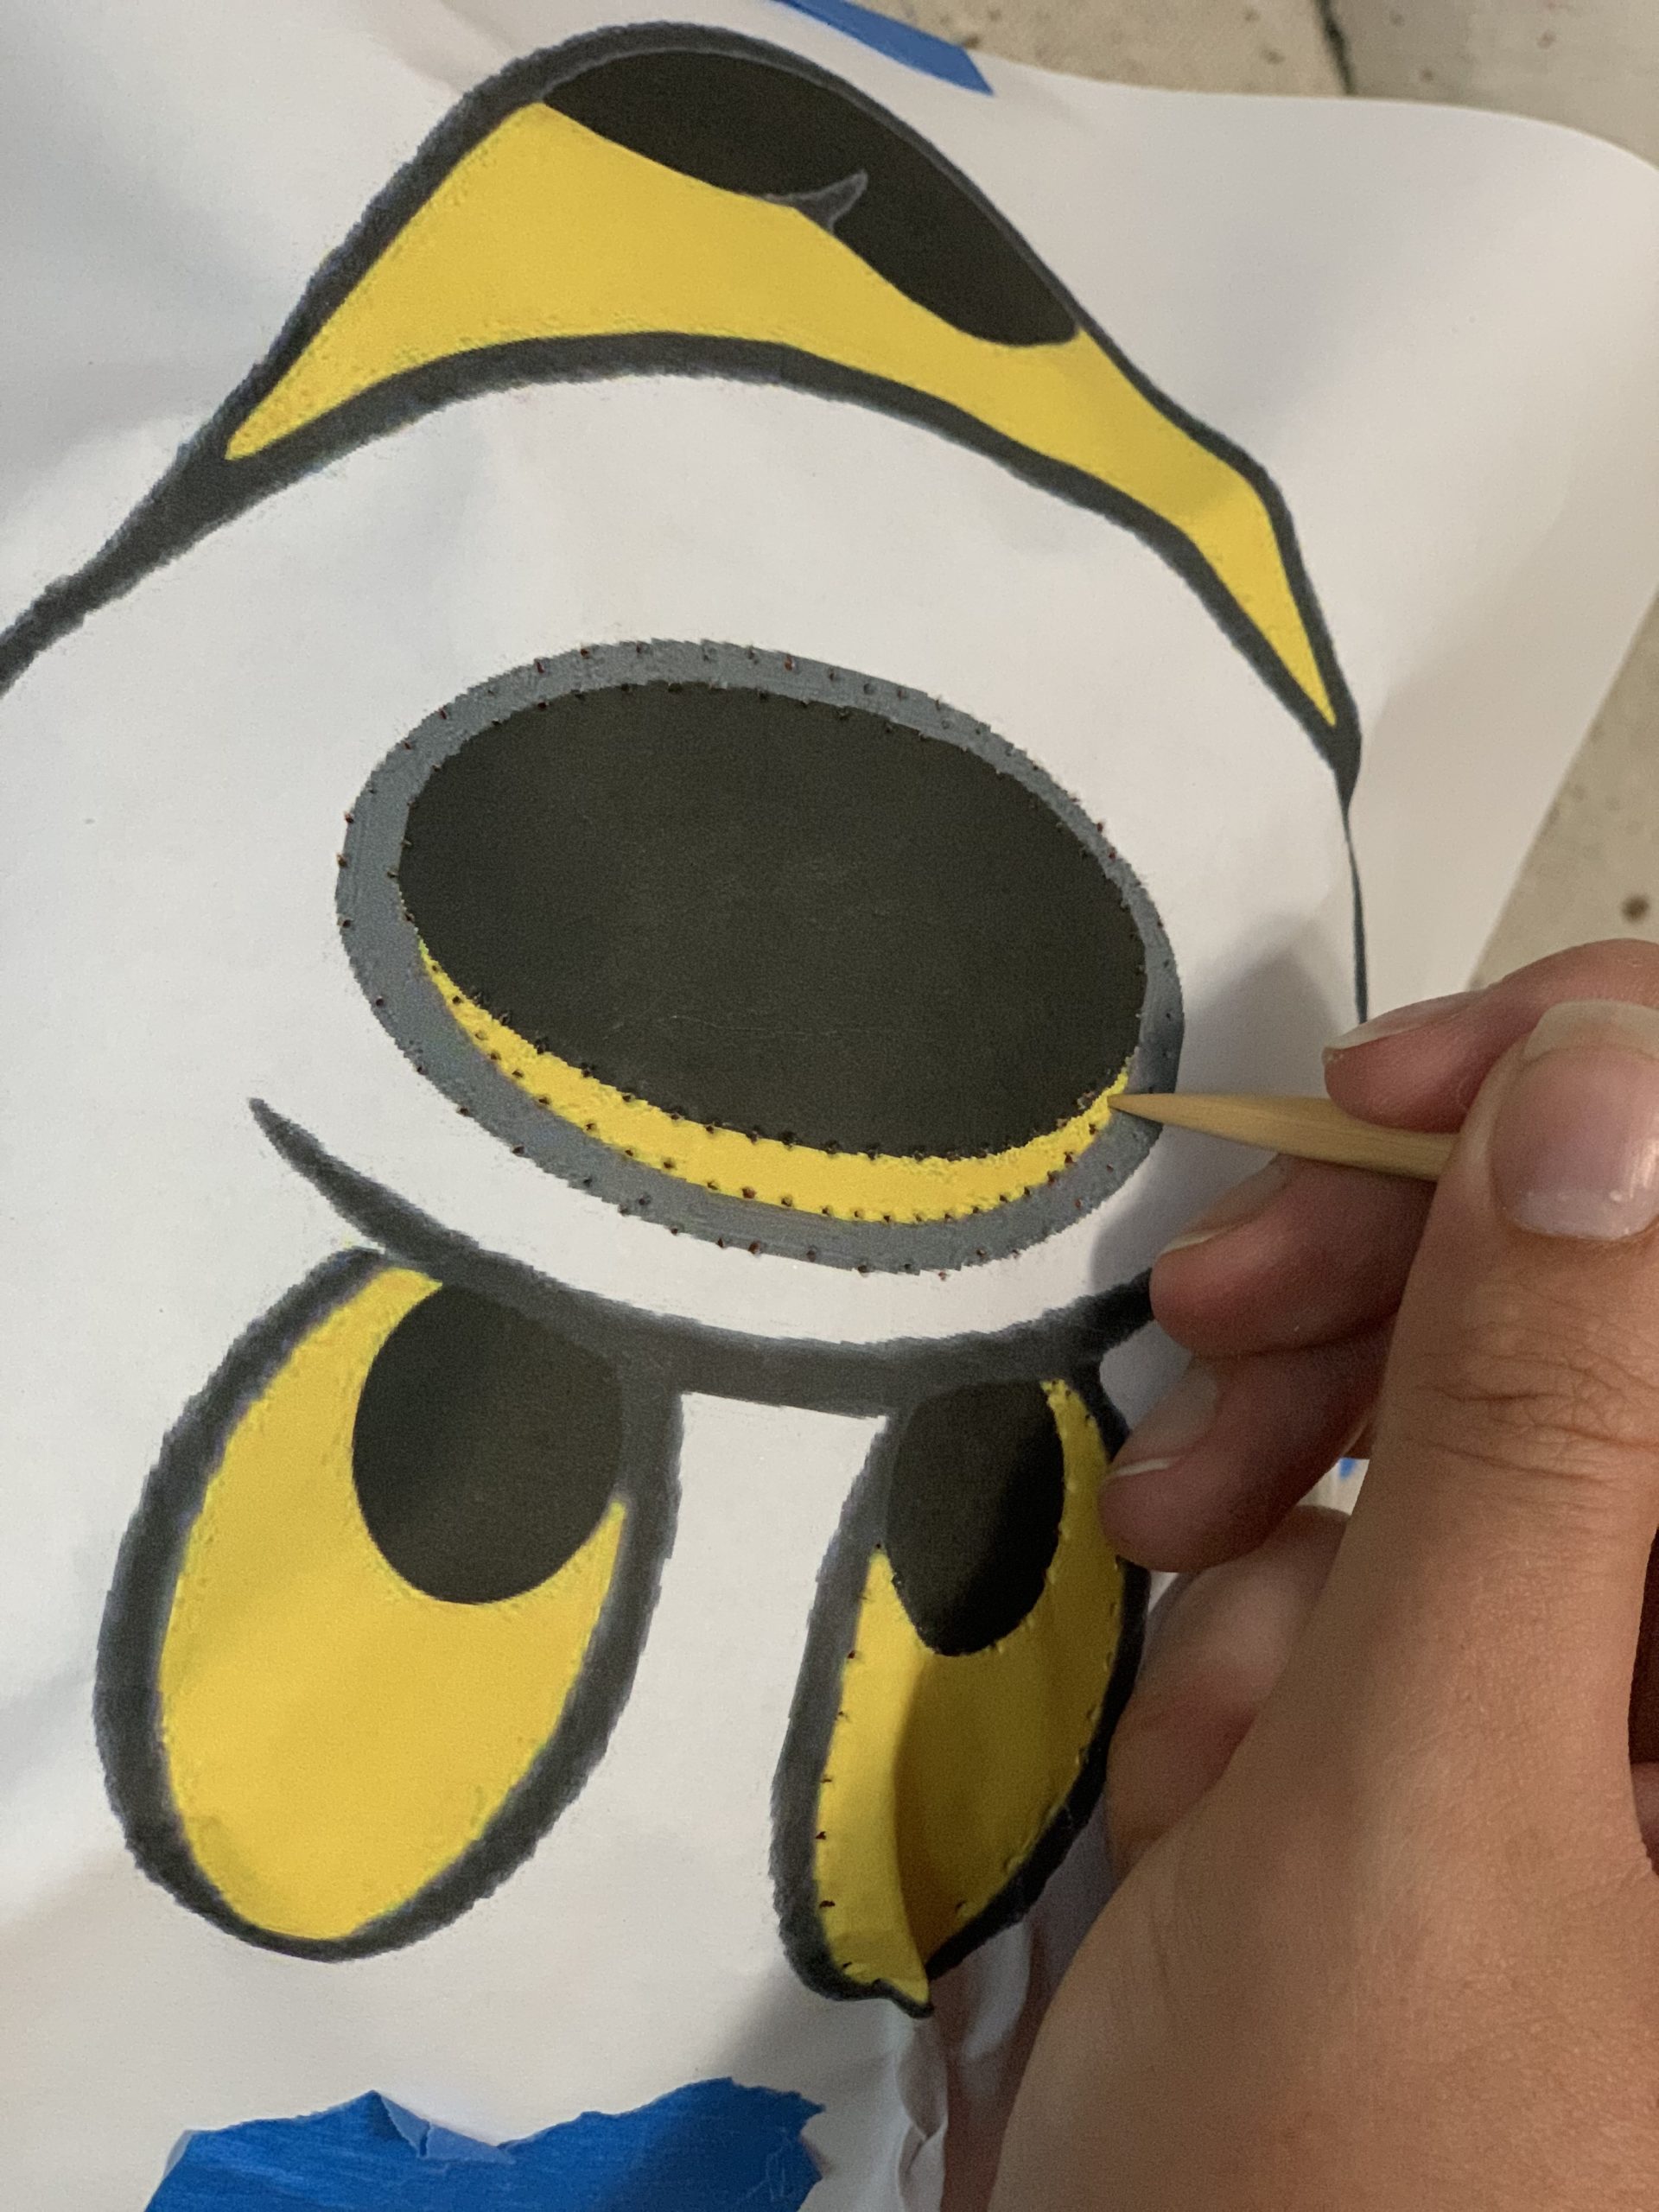
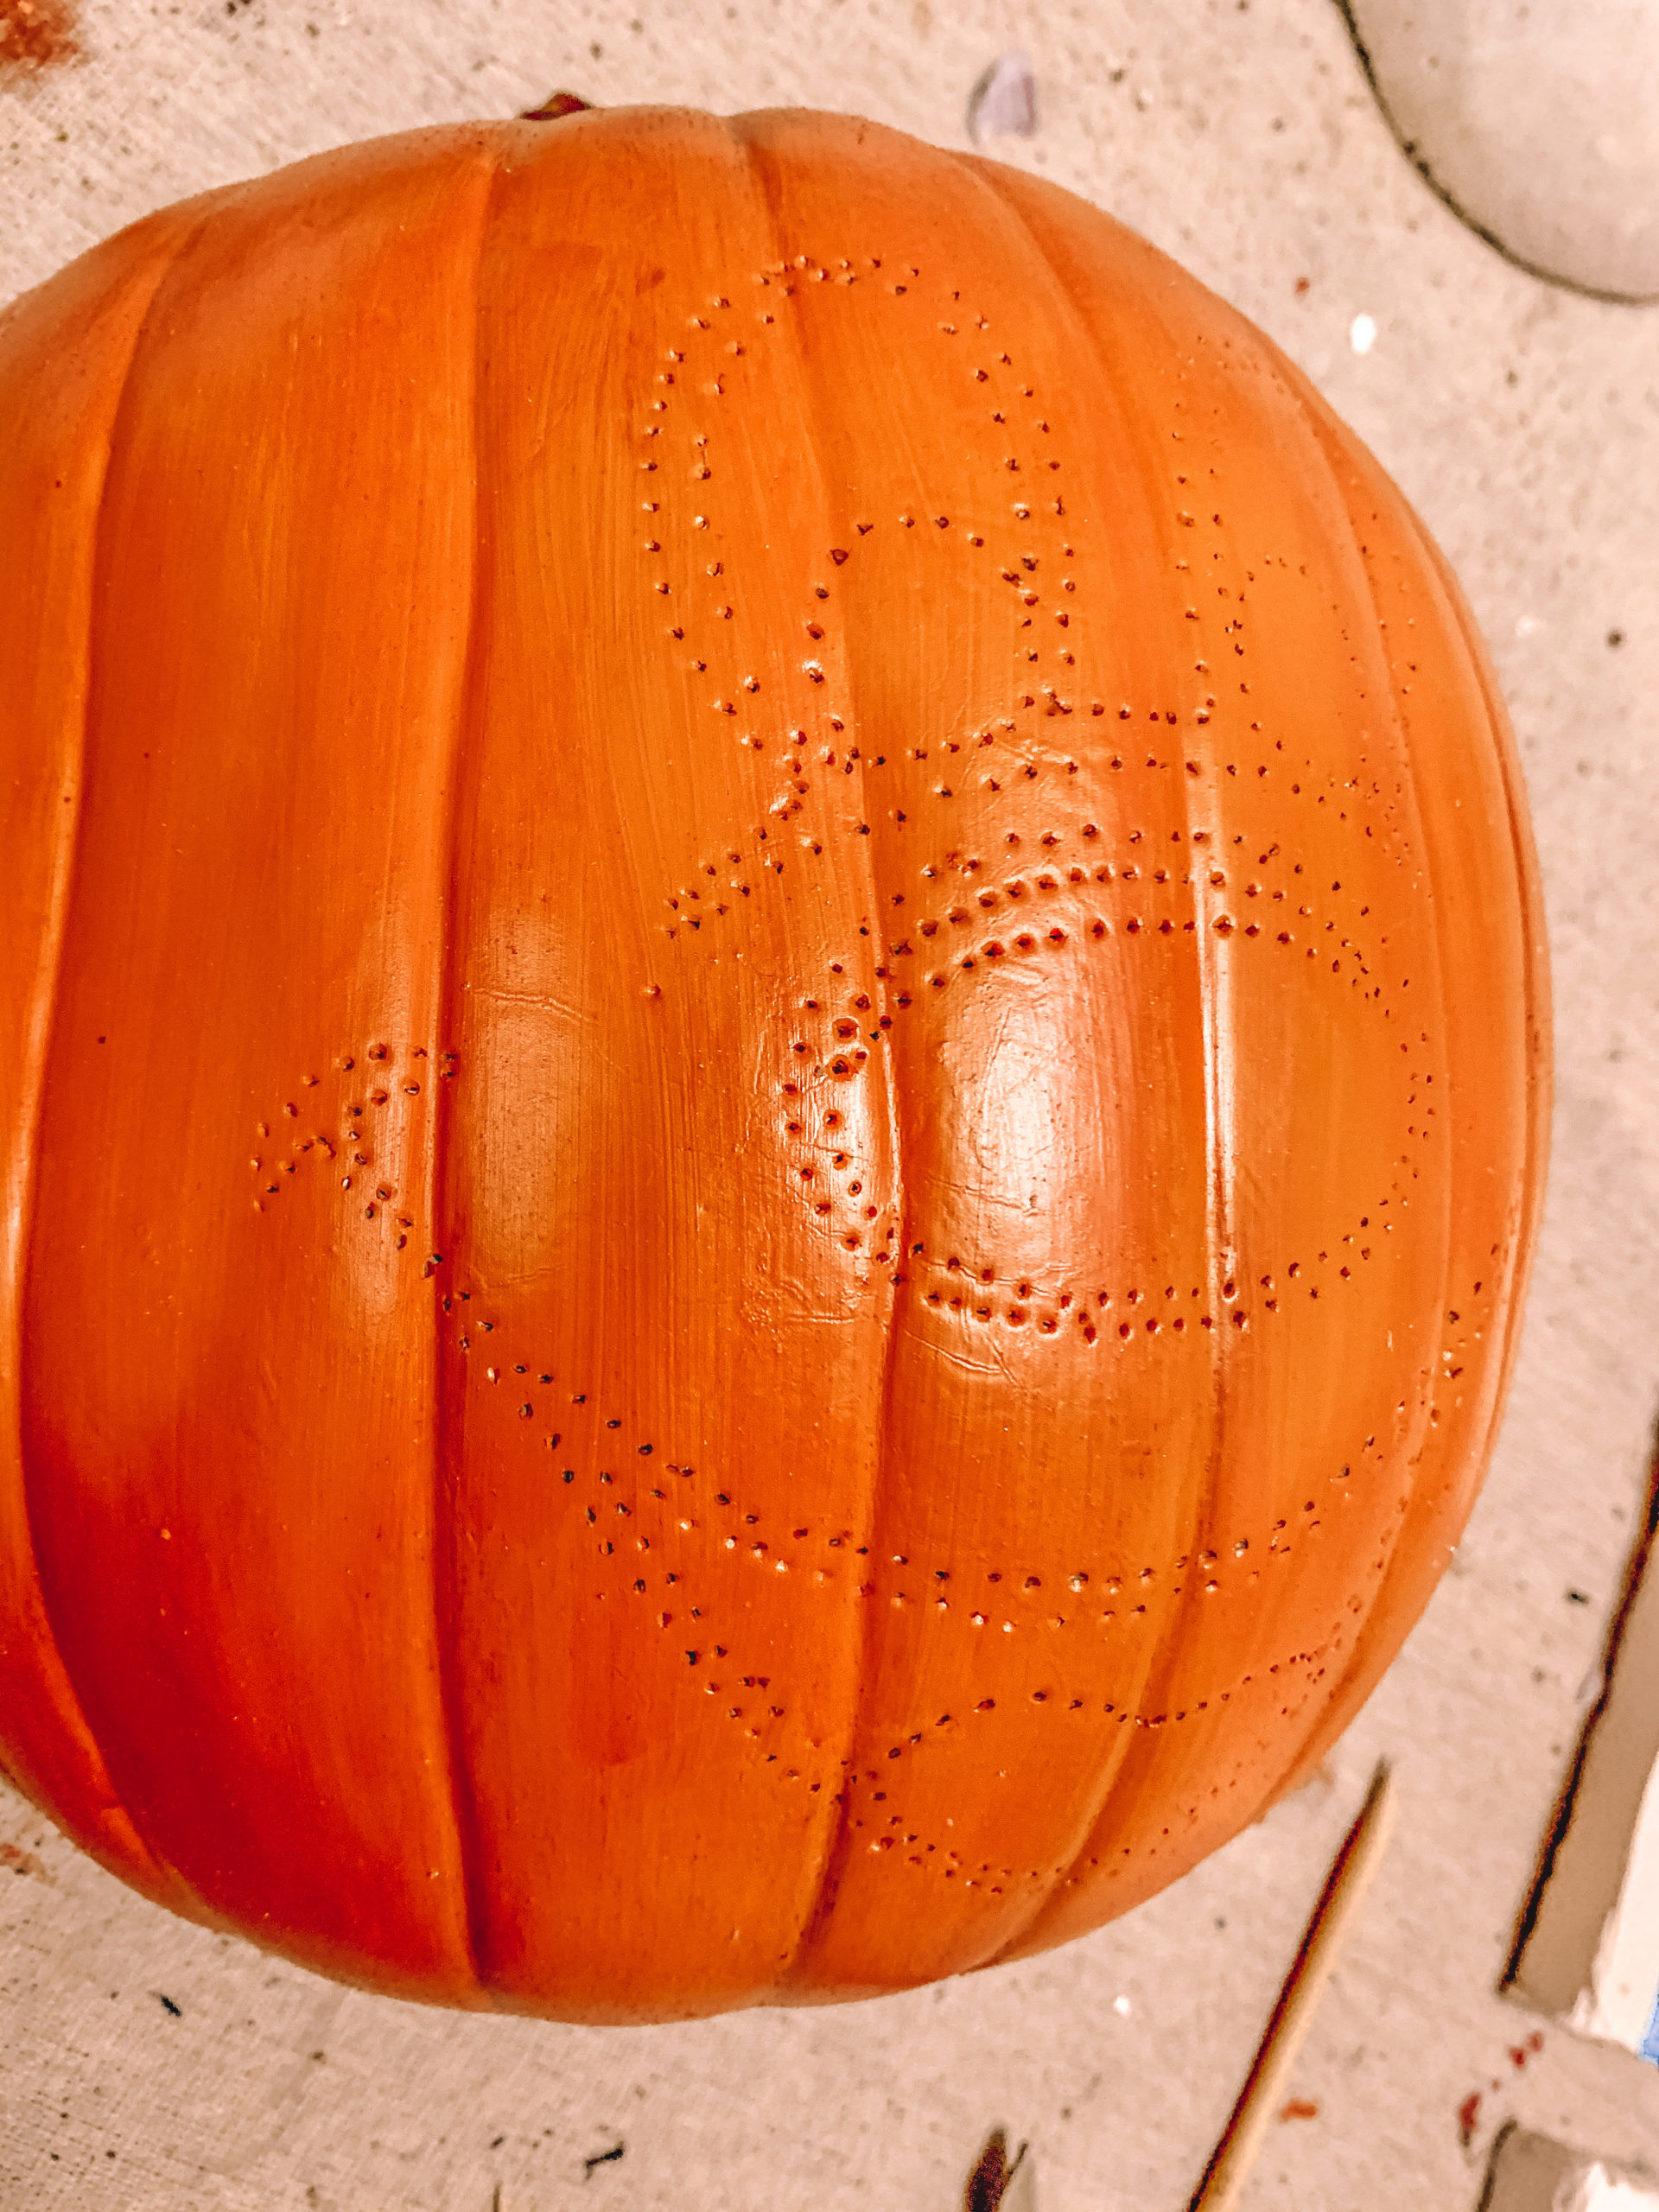
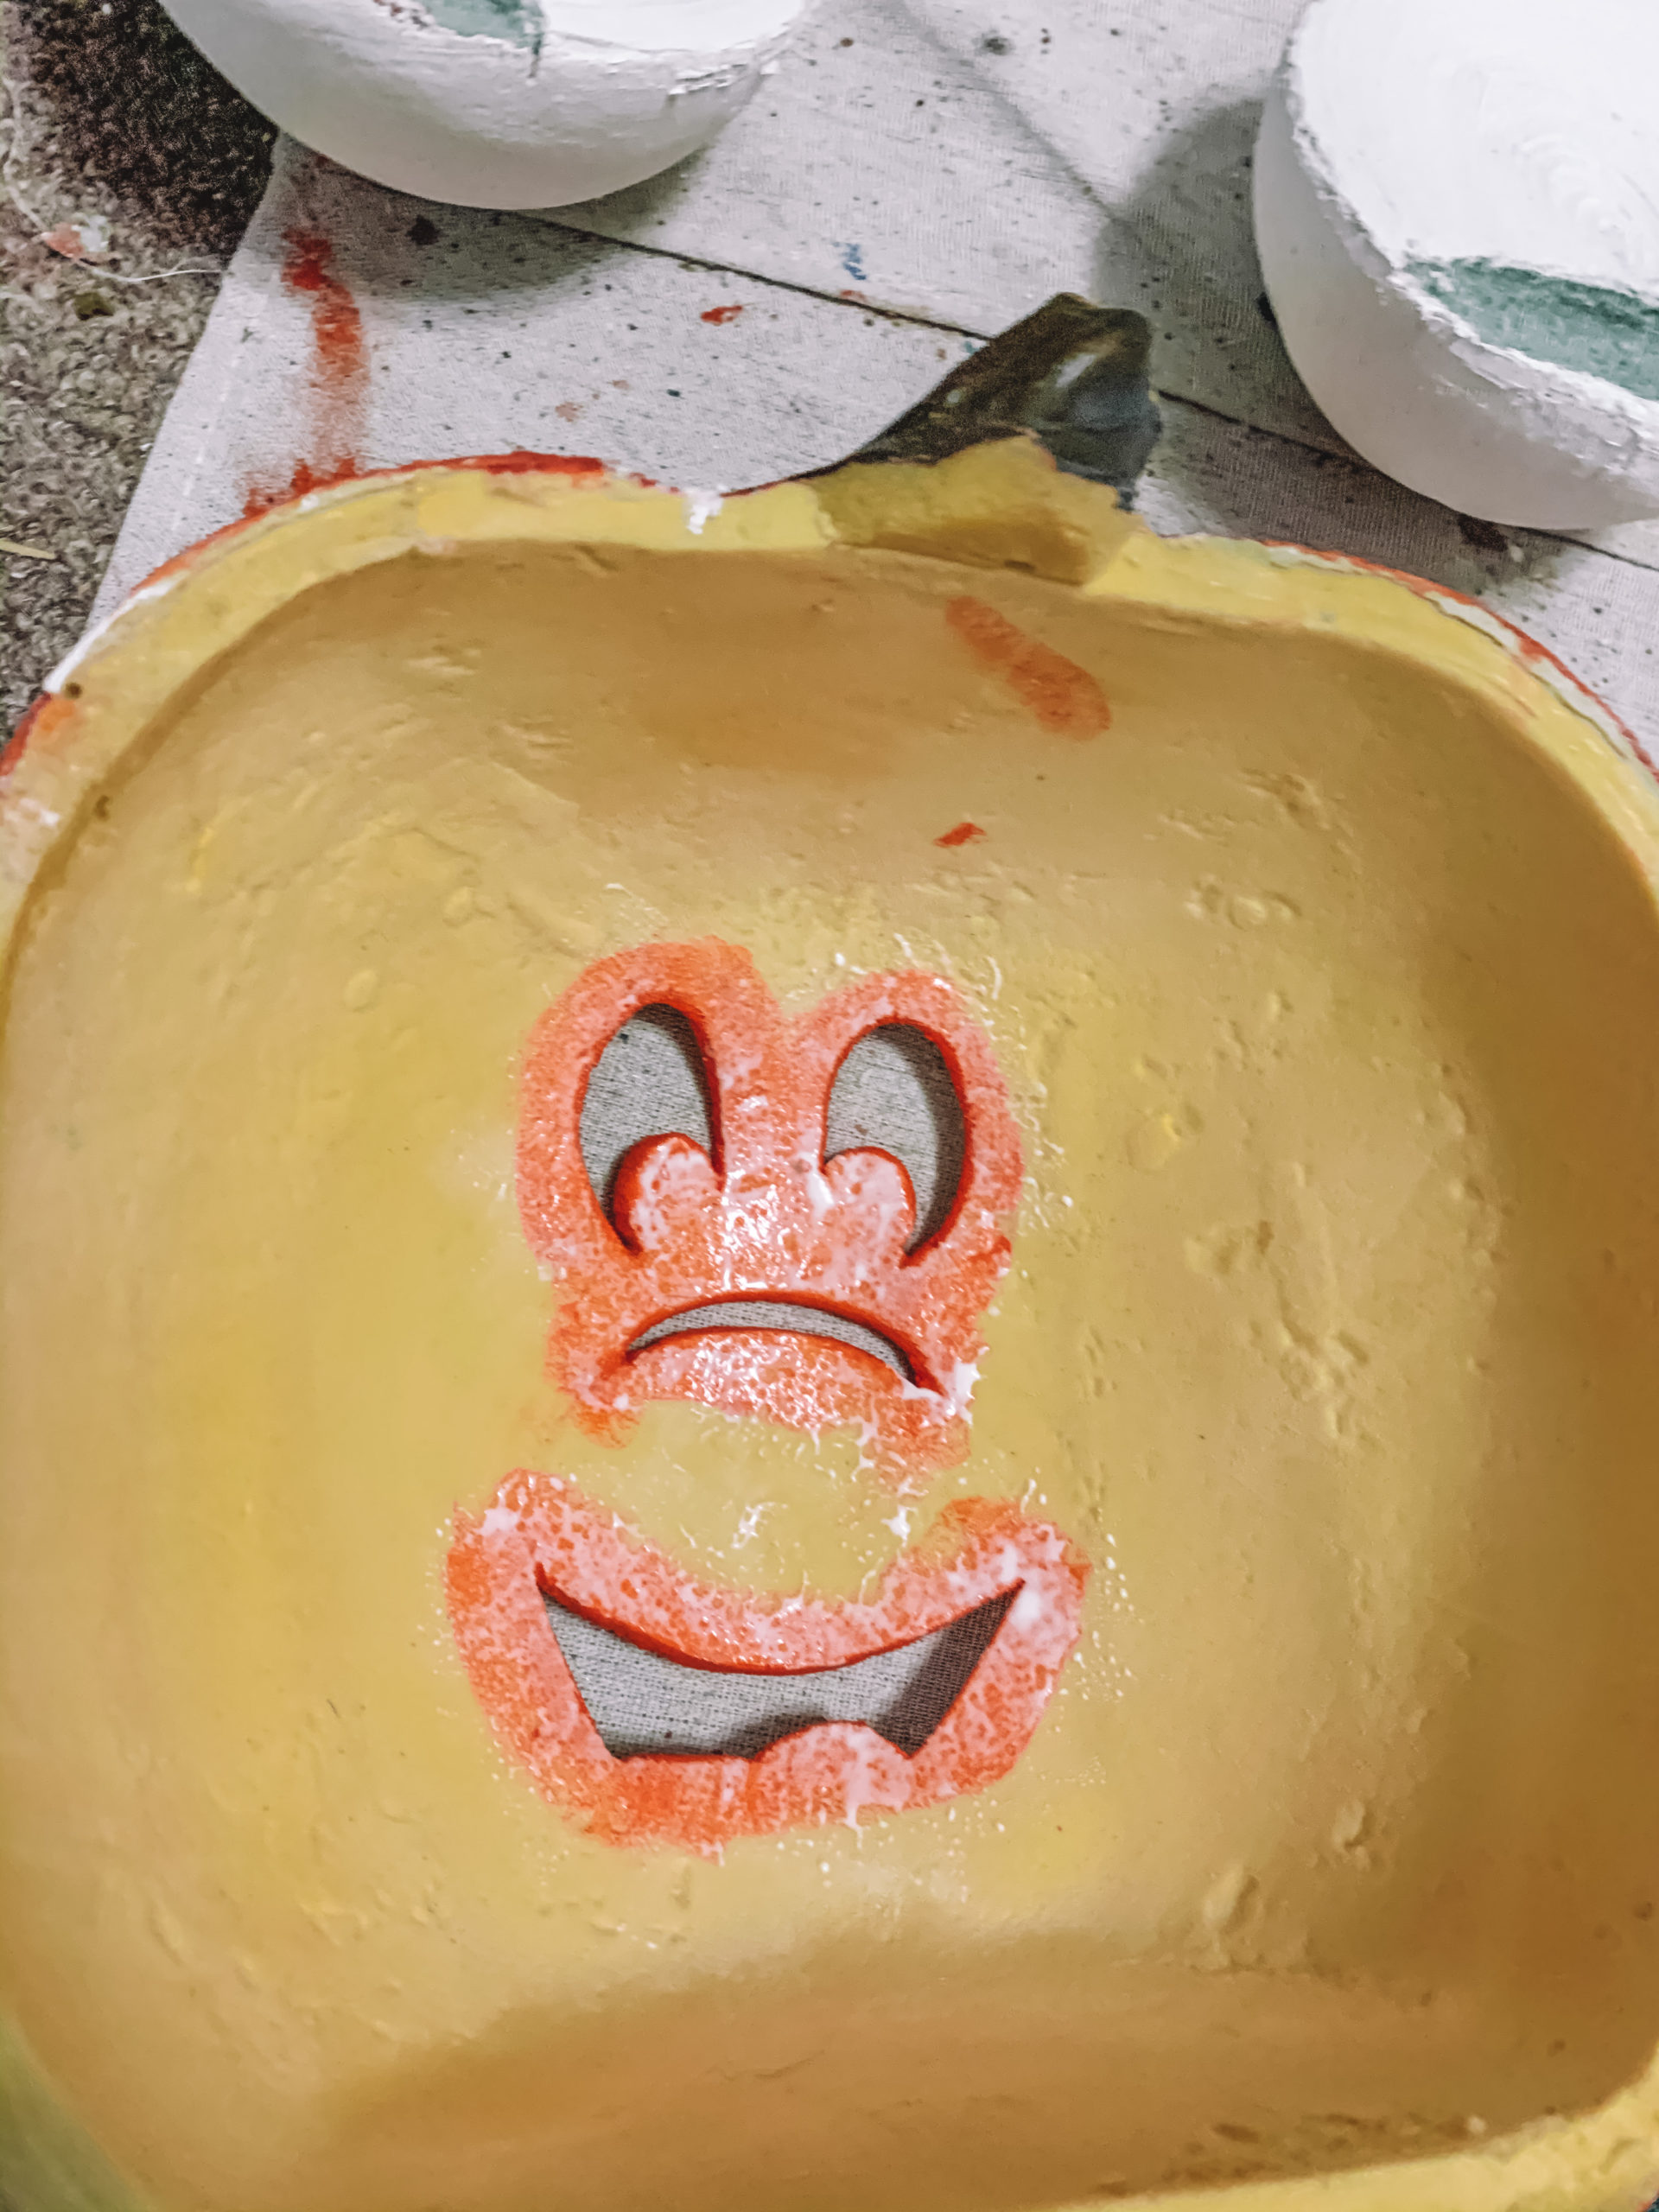
Next you’ll want to tape the Mickey face Template onto the pumpkin. Then grab your wooden pick (you can also use a nail, or another sharp pointed object) and press it into the template to make small divots into the pumpkin. You don’t want to press too deep, but just enough to make a mark on the pumpkin. This will transfer the image into the pumpkin

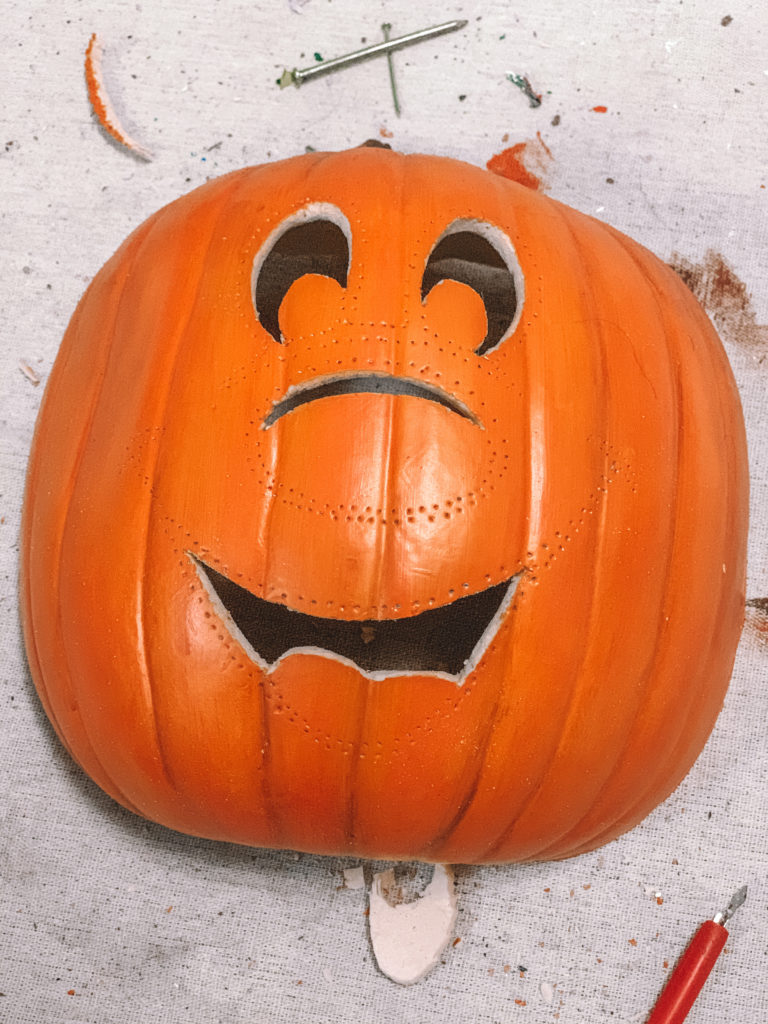
Next cut out the yellow sections. Again, go slow. This material is tough to cut.
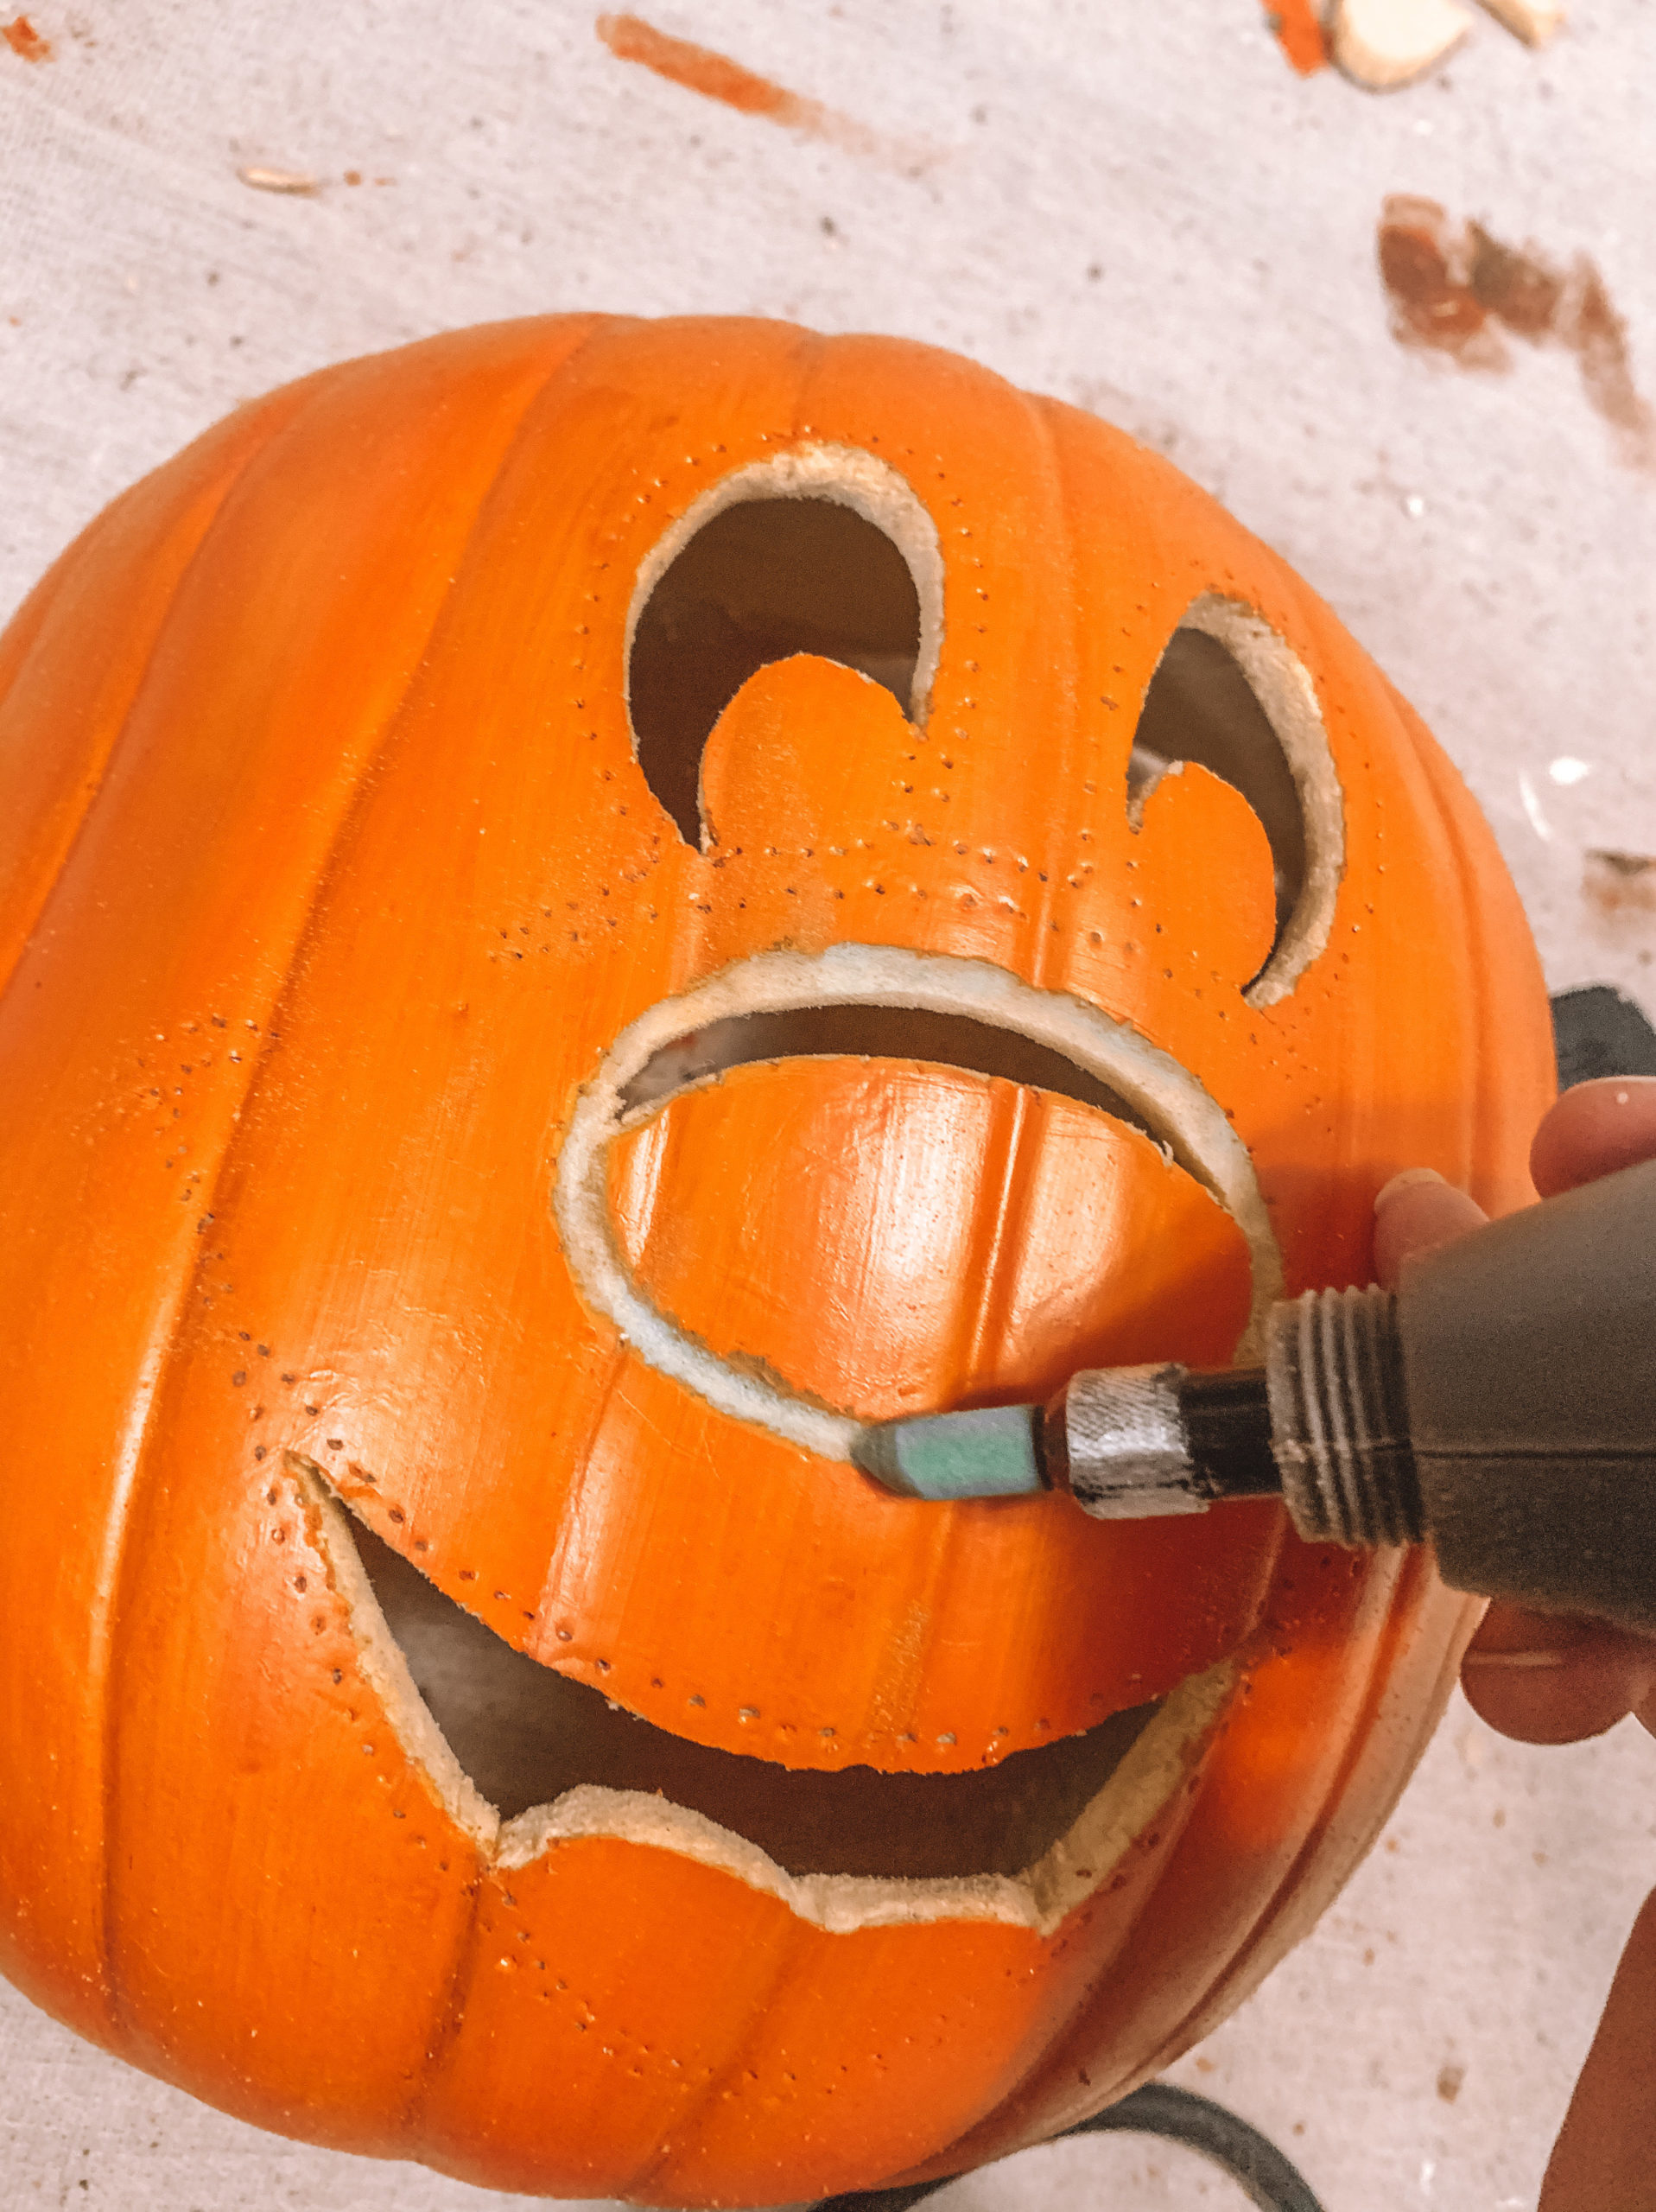
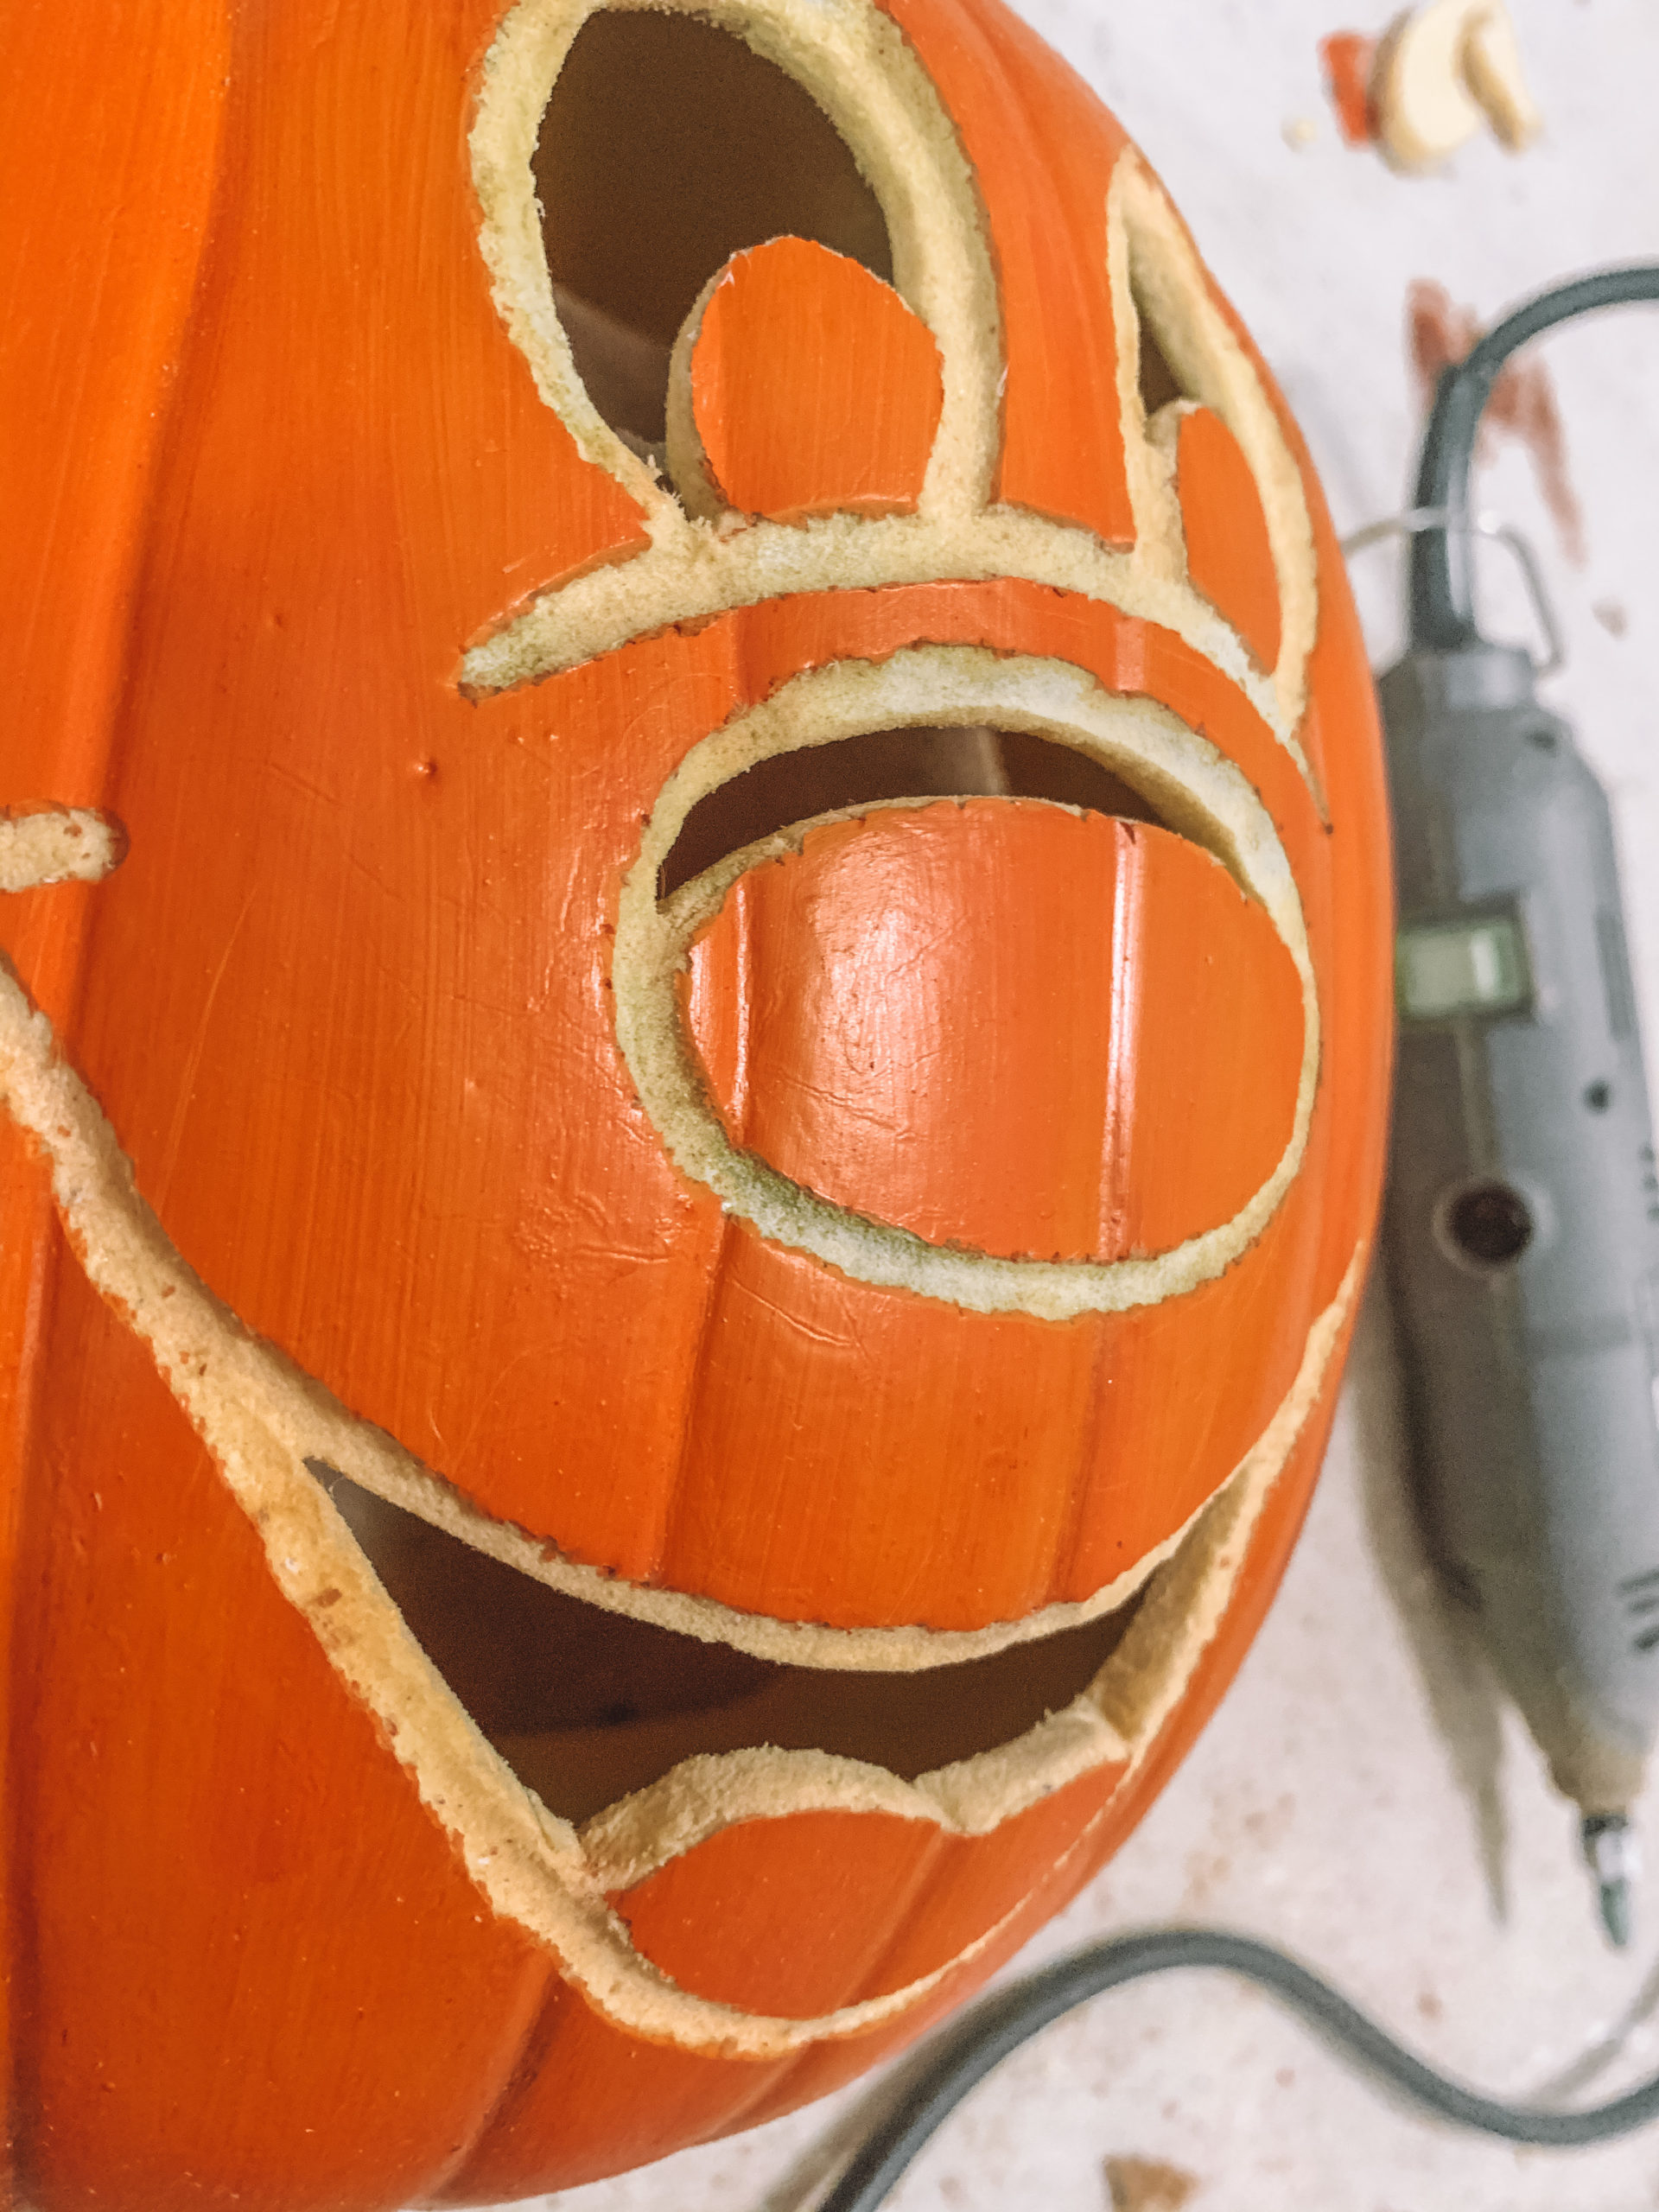
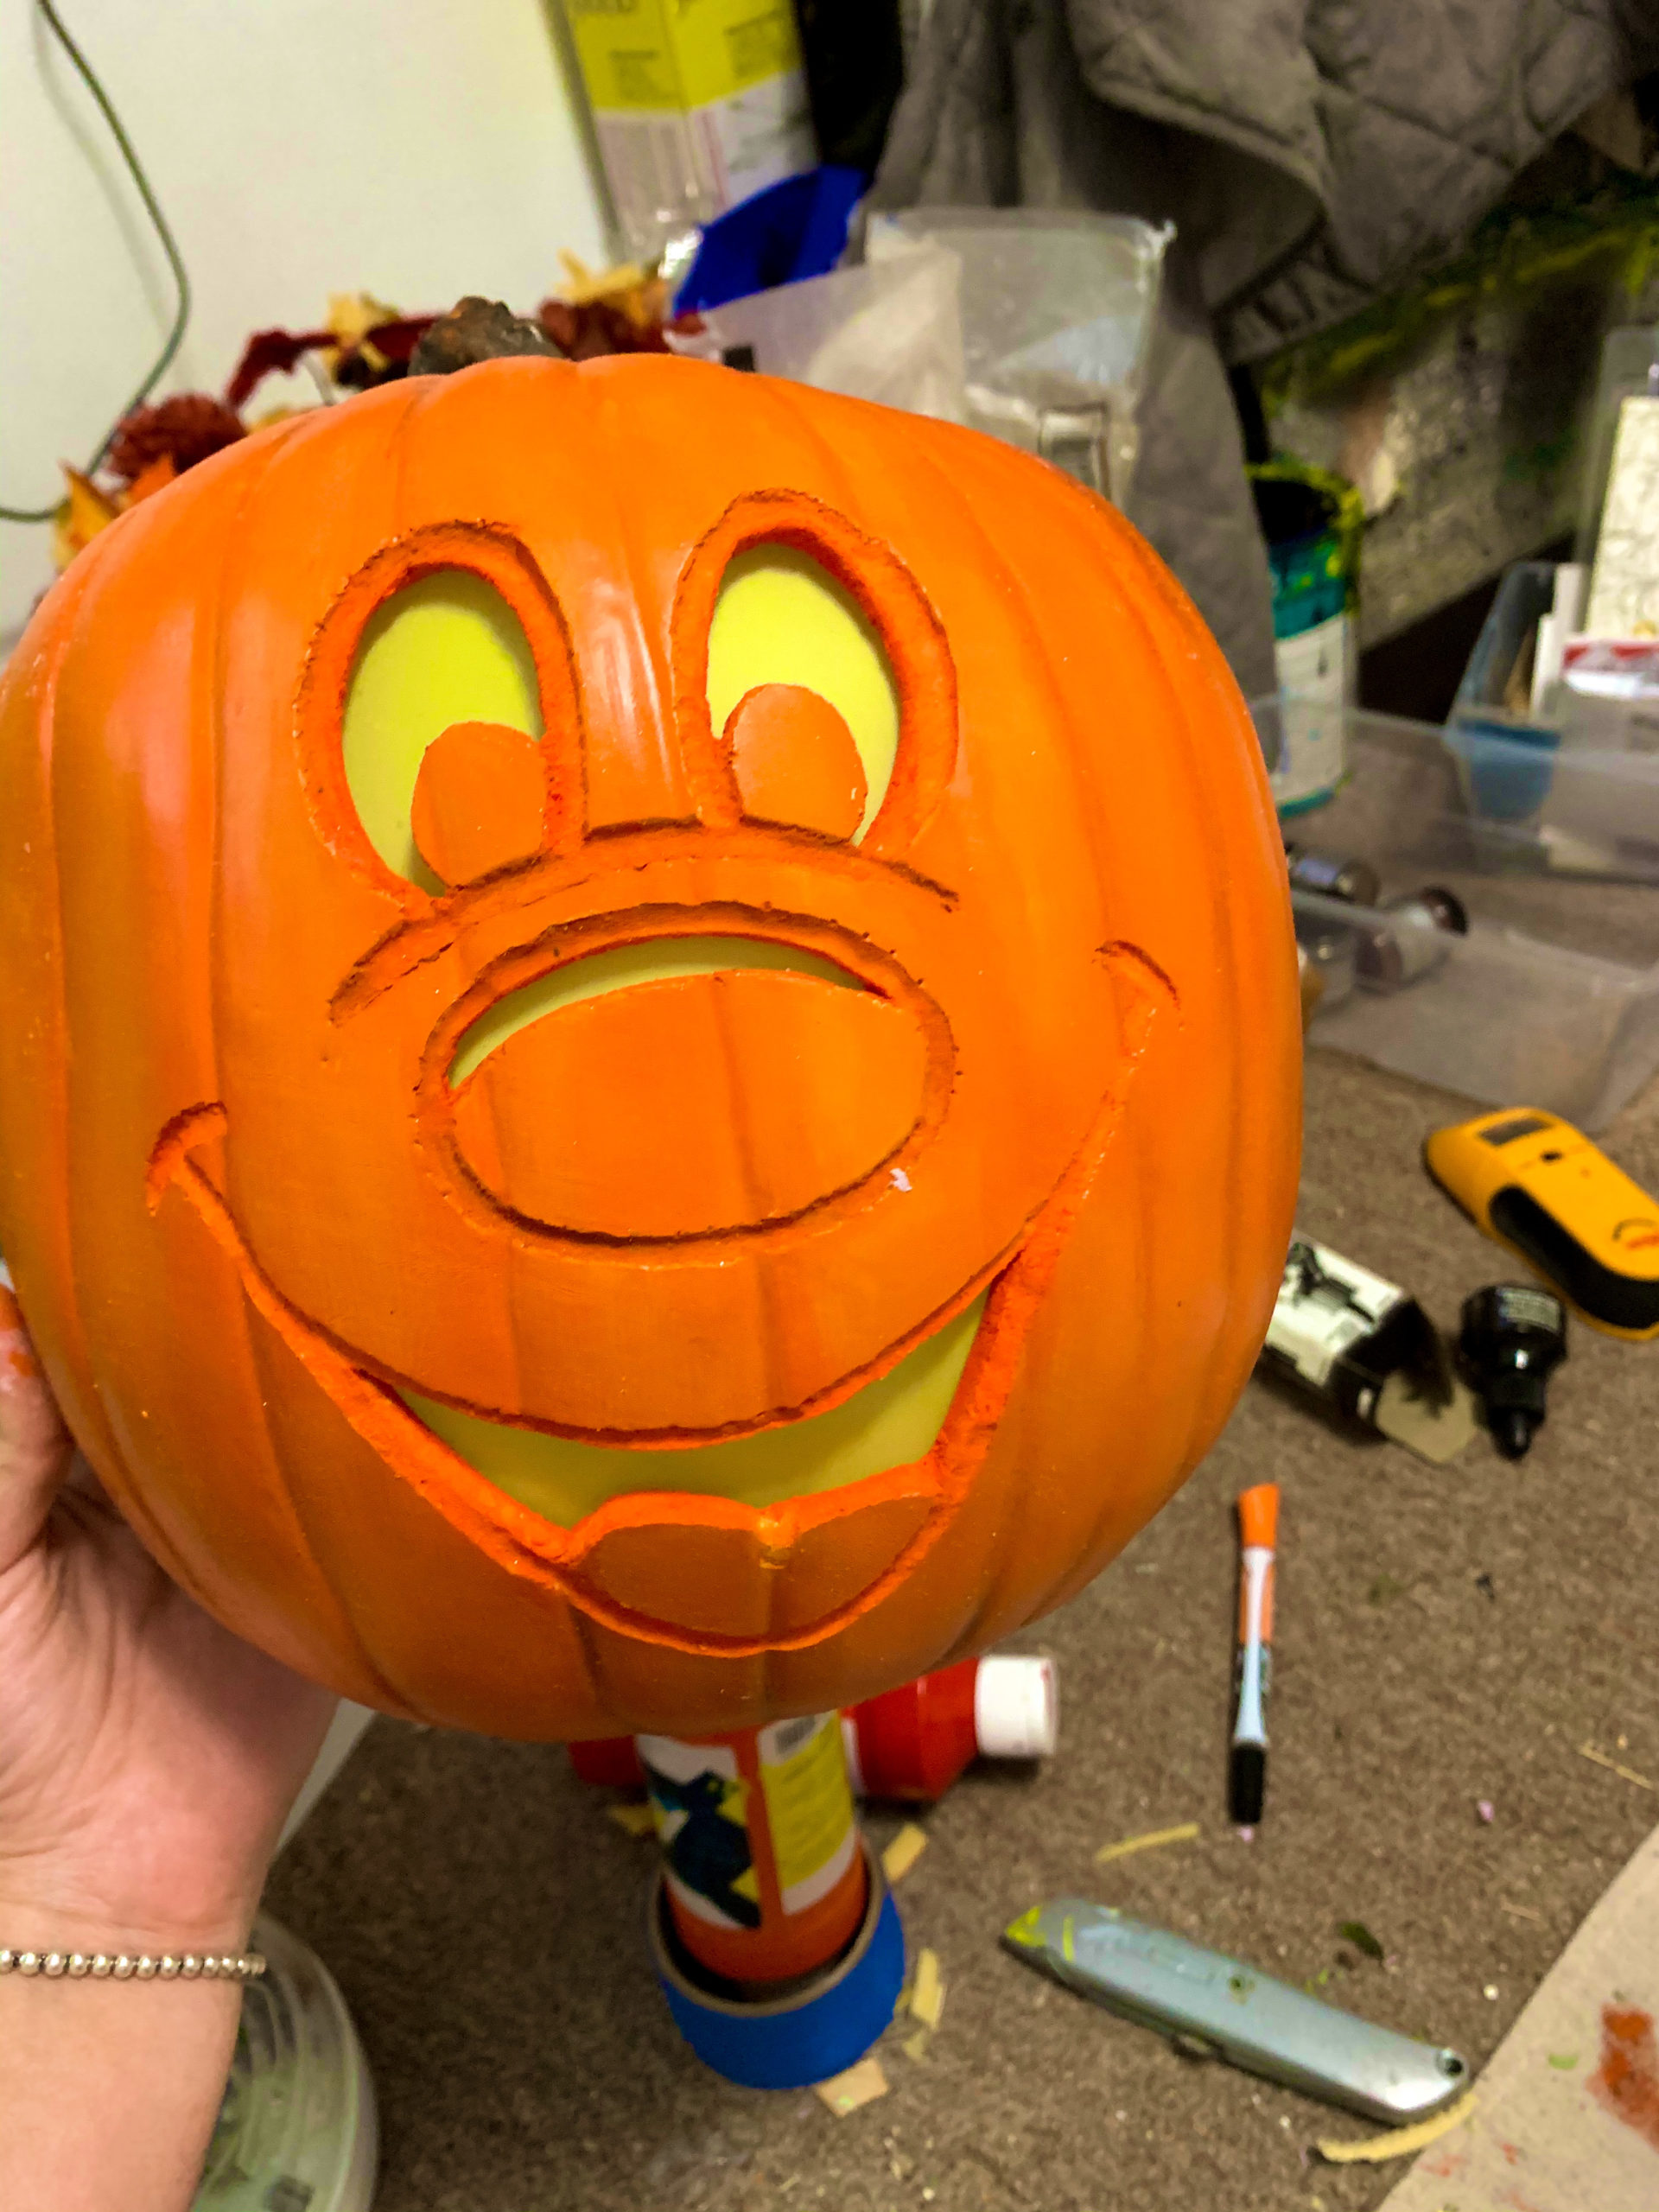
Now comes the trickier part; this will require the dremel. You’ll want to use a small dremel sanding bit and slowly sand away the grey section of the template.
If this is too difficult or you don’t have a dremel, you can just cut the grey section out too. Keep in mind, though, that this will remove the nose, tongue, and pupils if you follow the grey lines around them so you’ll have to decide if you want to cut those out or go around them.
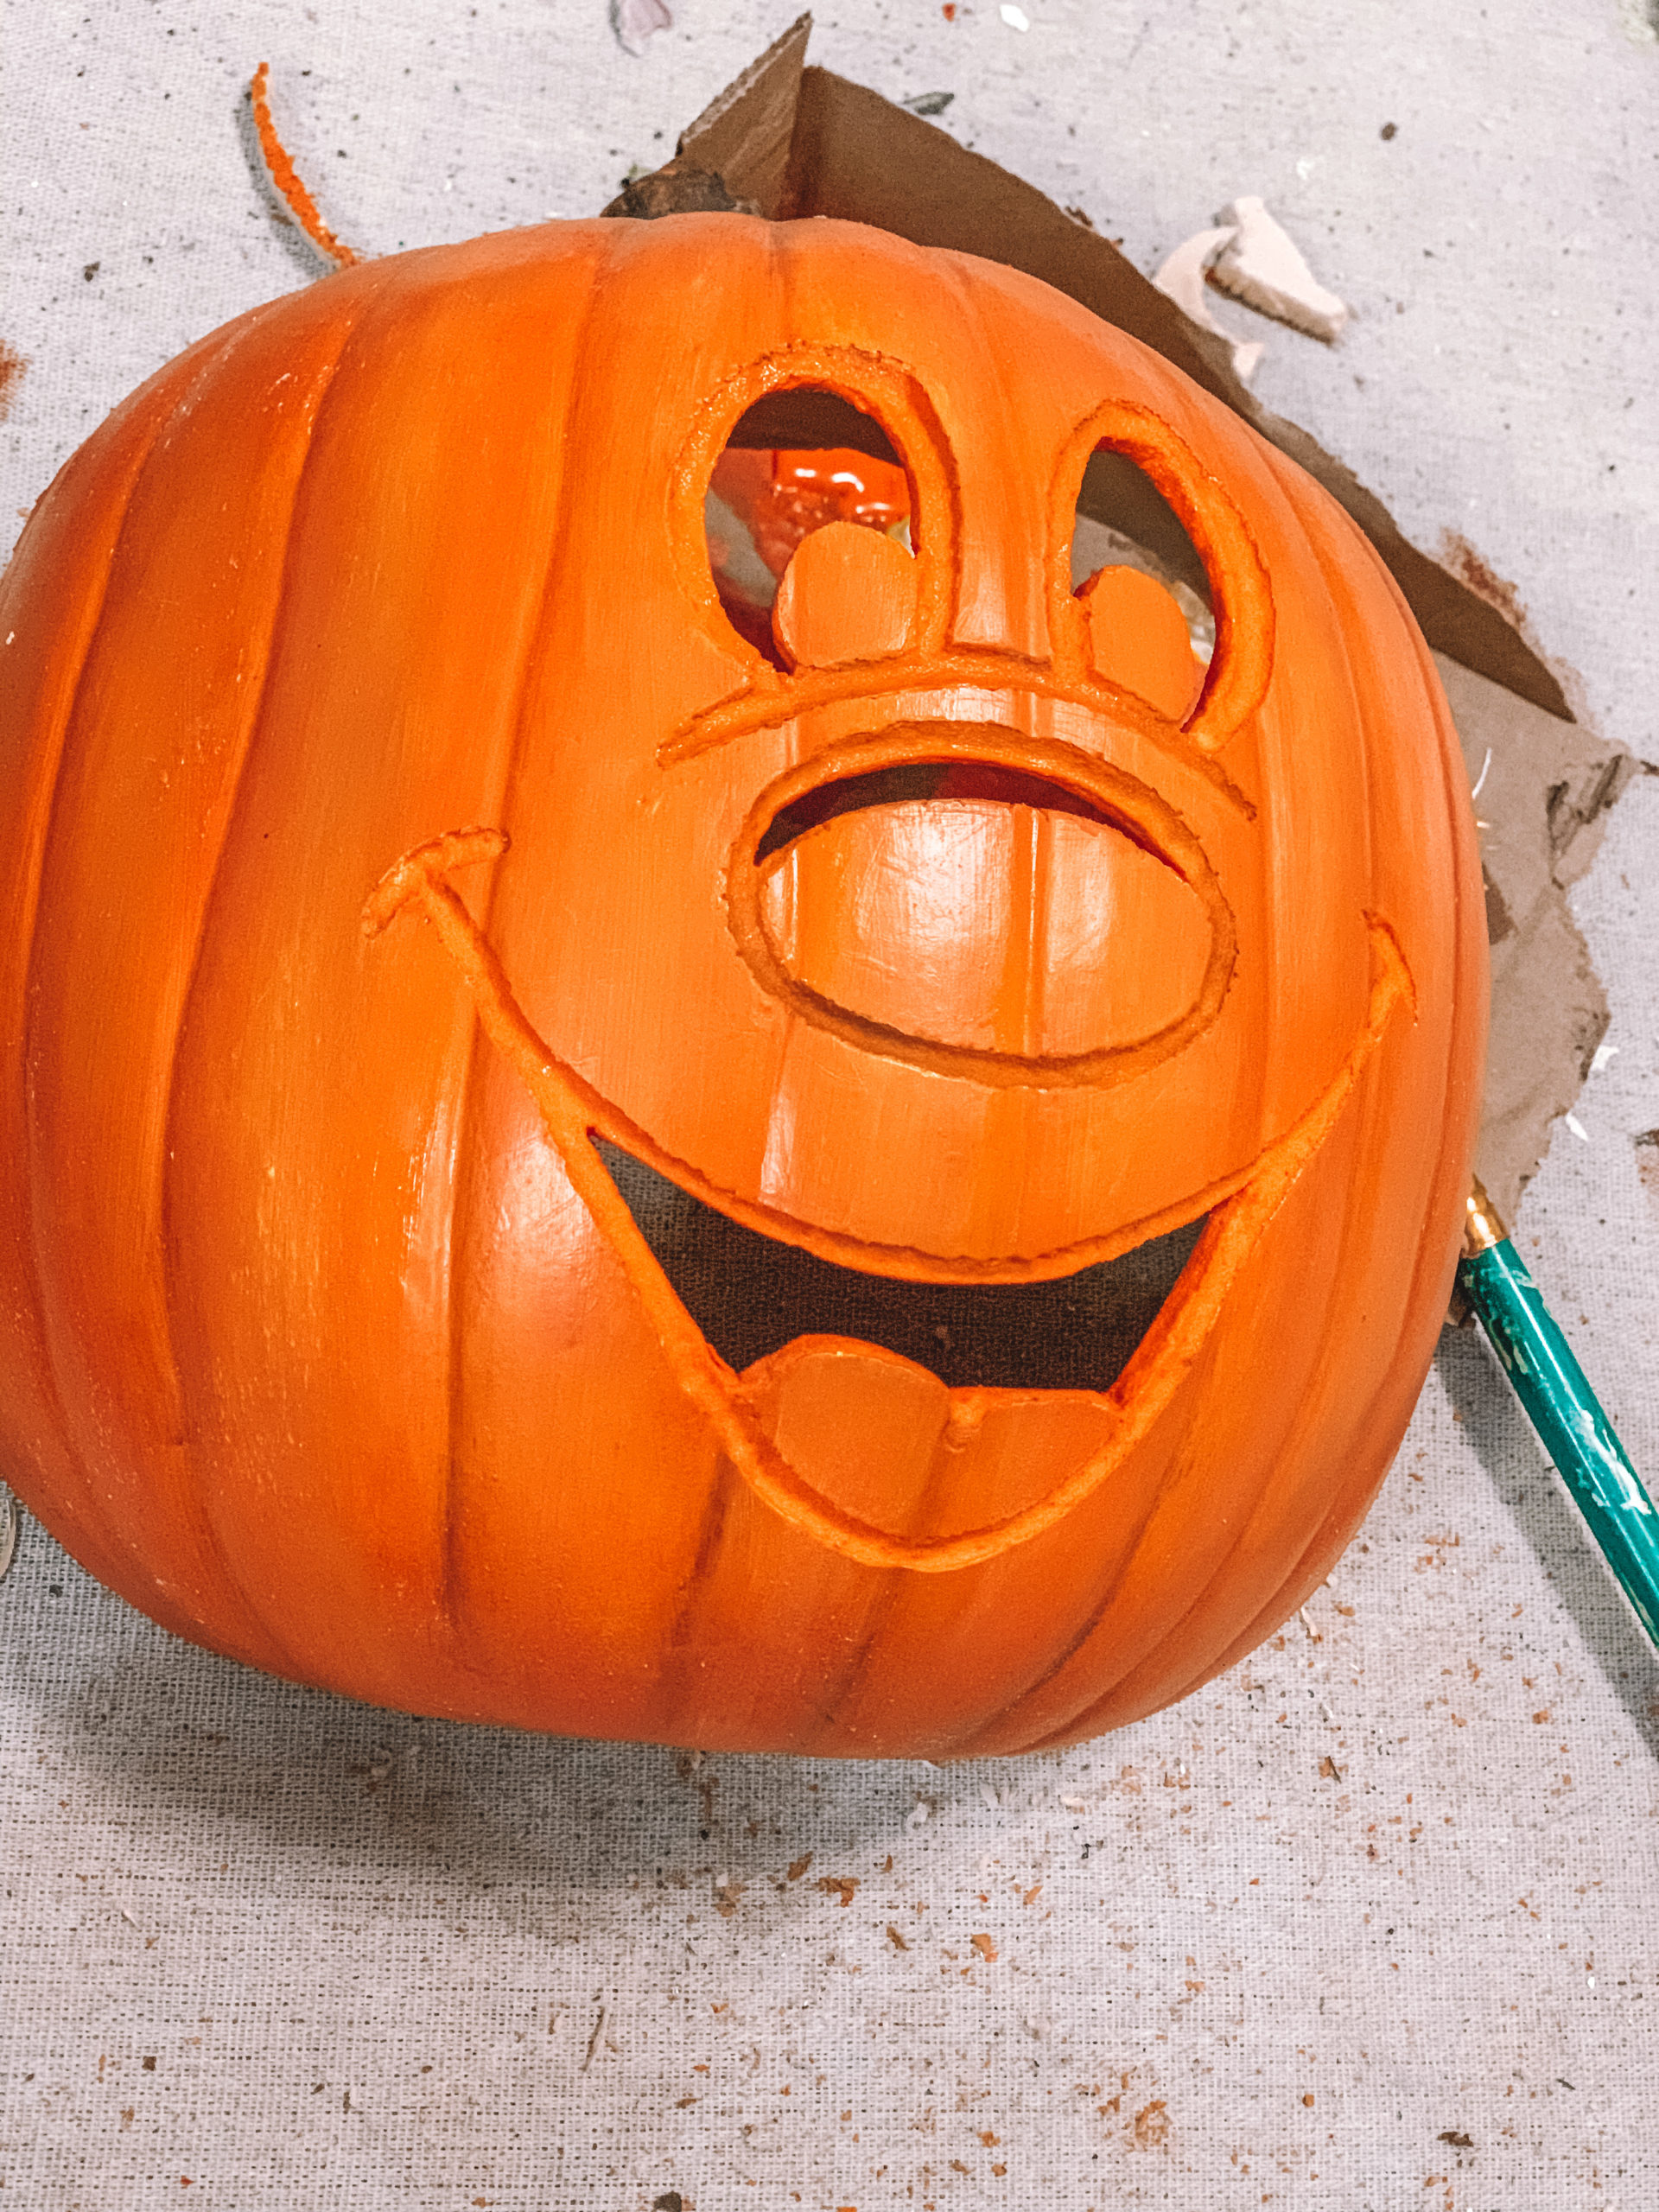
If you decide to go through with the dremeling, when finished you’ll want to paint the exposed foam with orange paint that matches the rest of the pumpkin. Be sure to paint all the exposed foam you see.
Part 2: The Ears
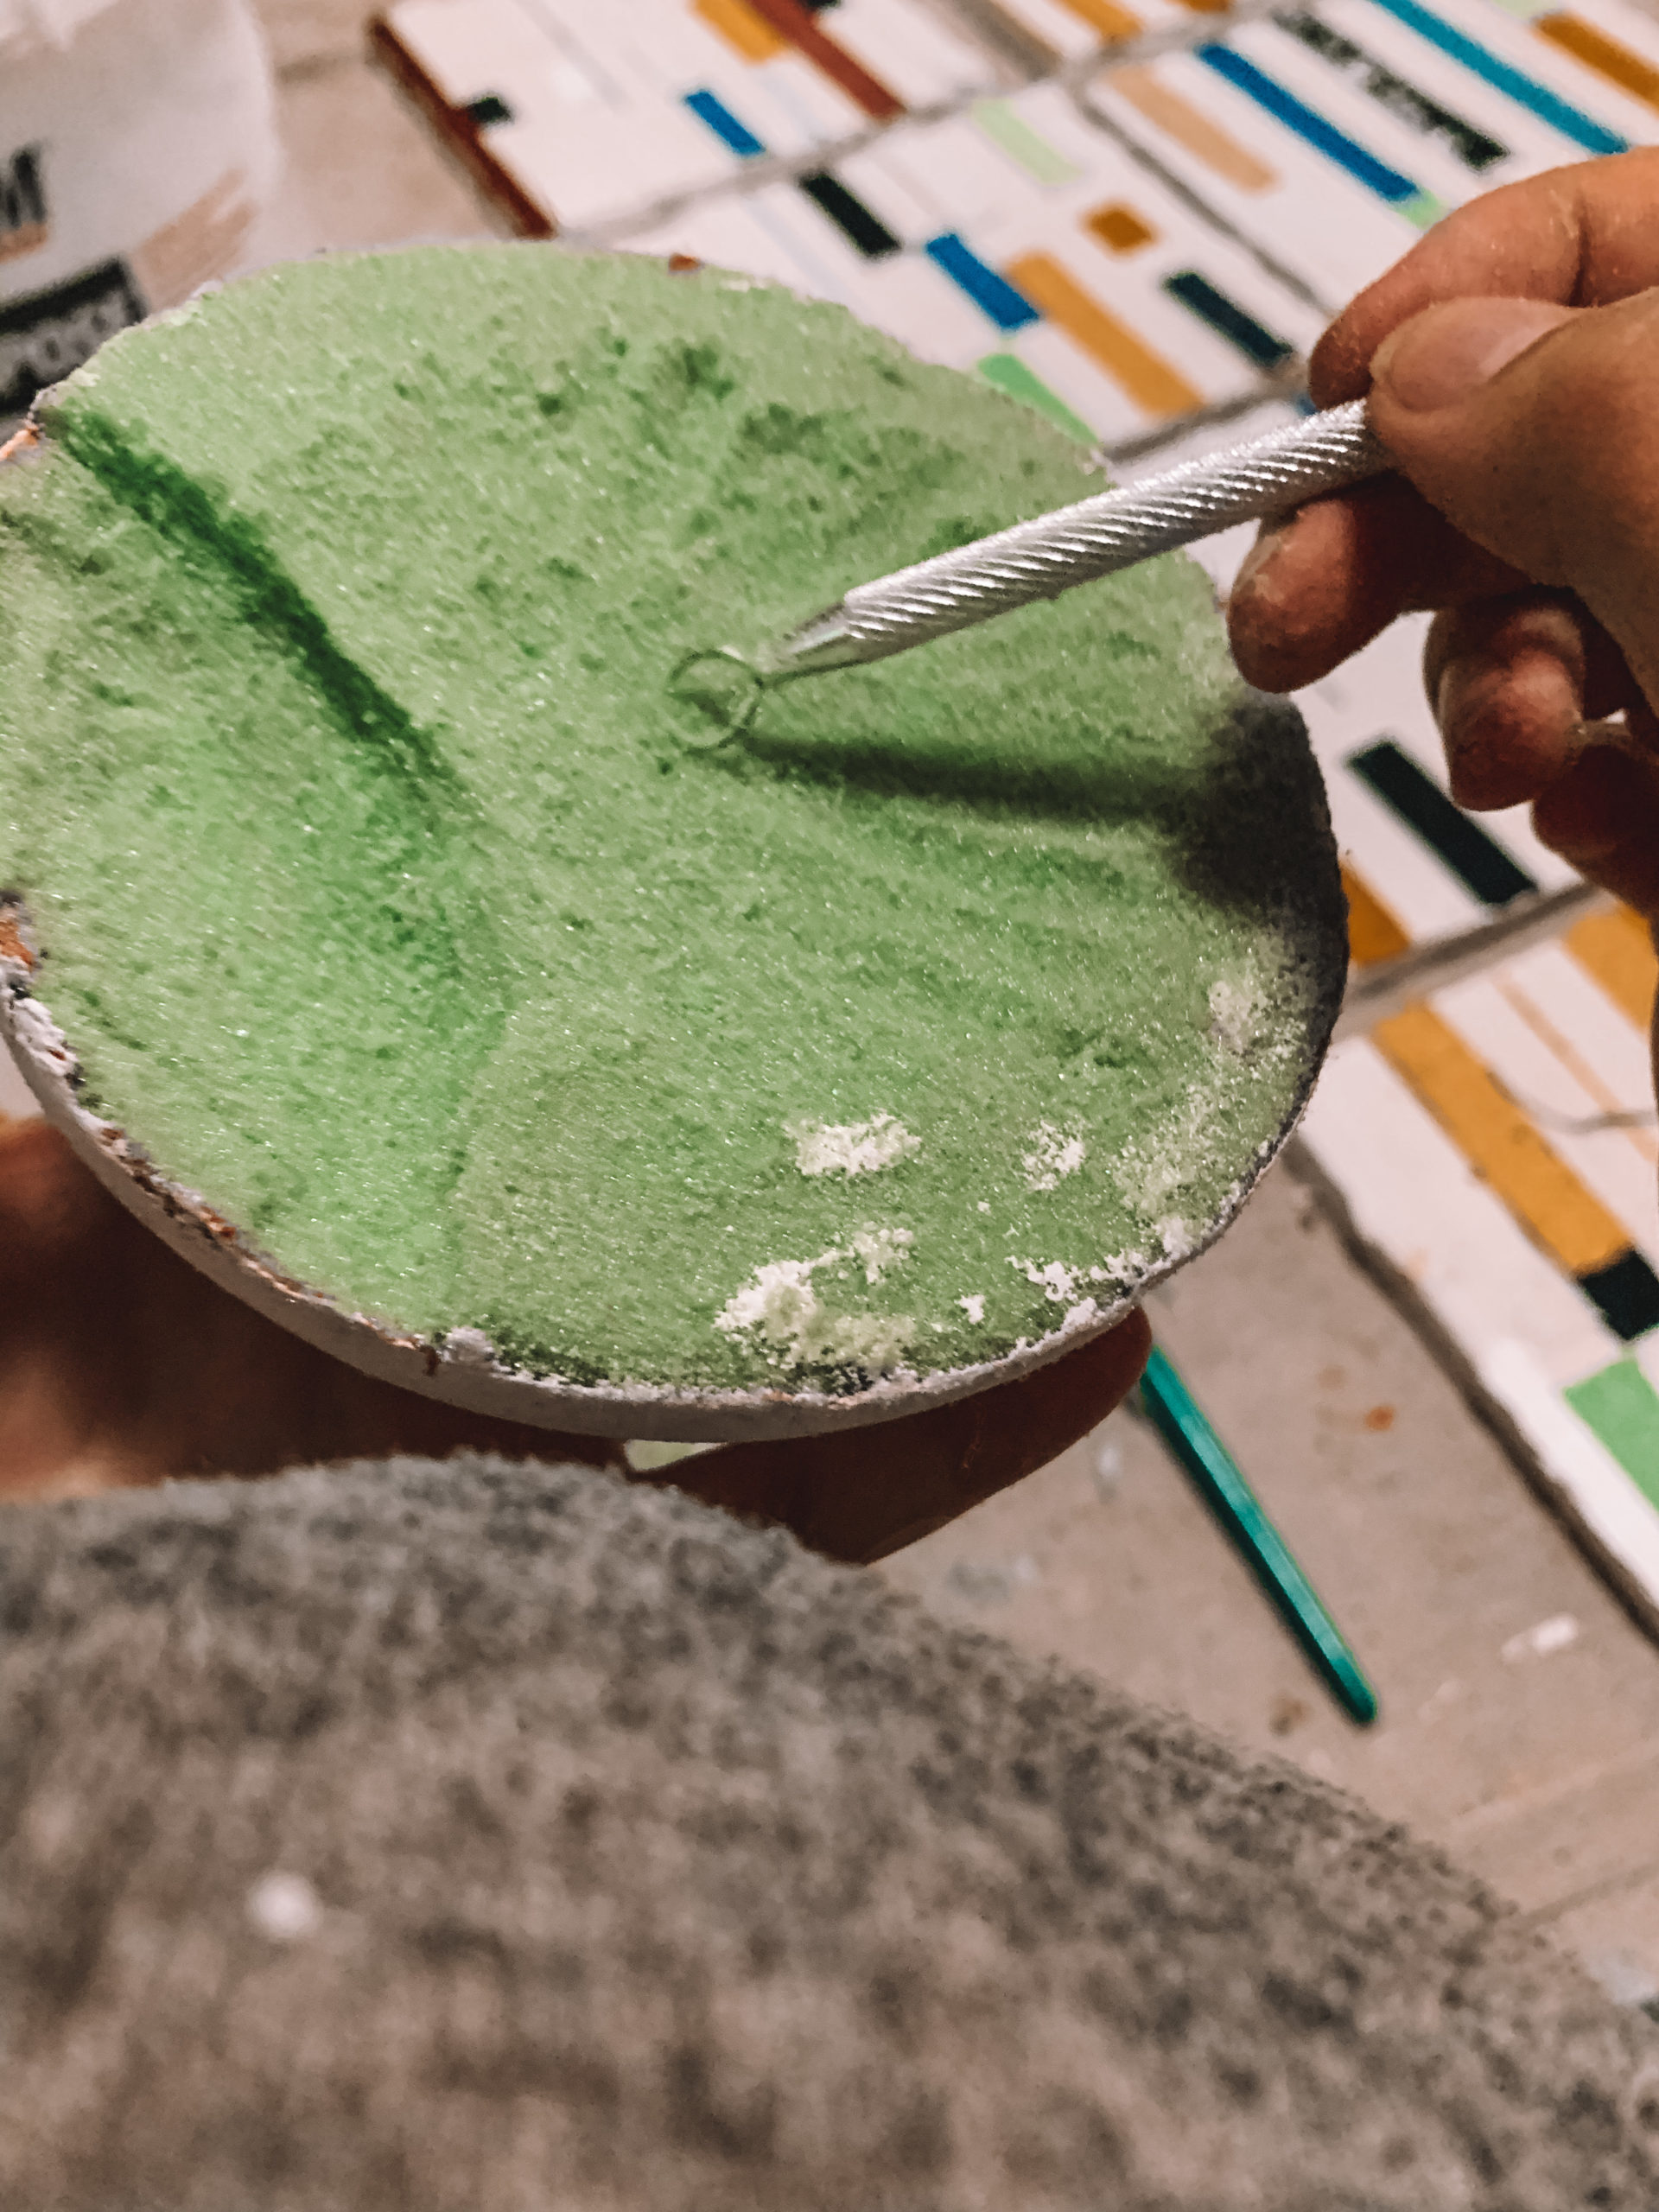
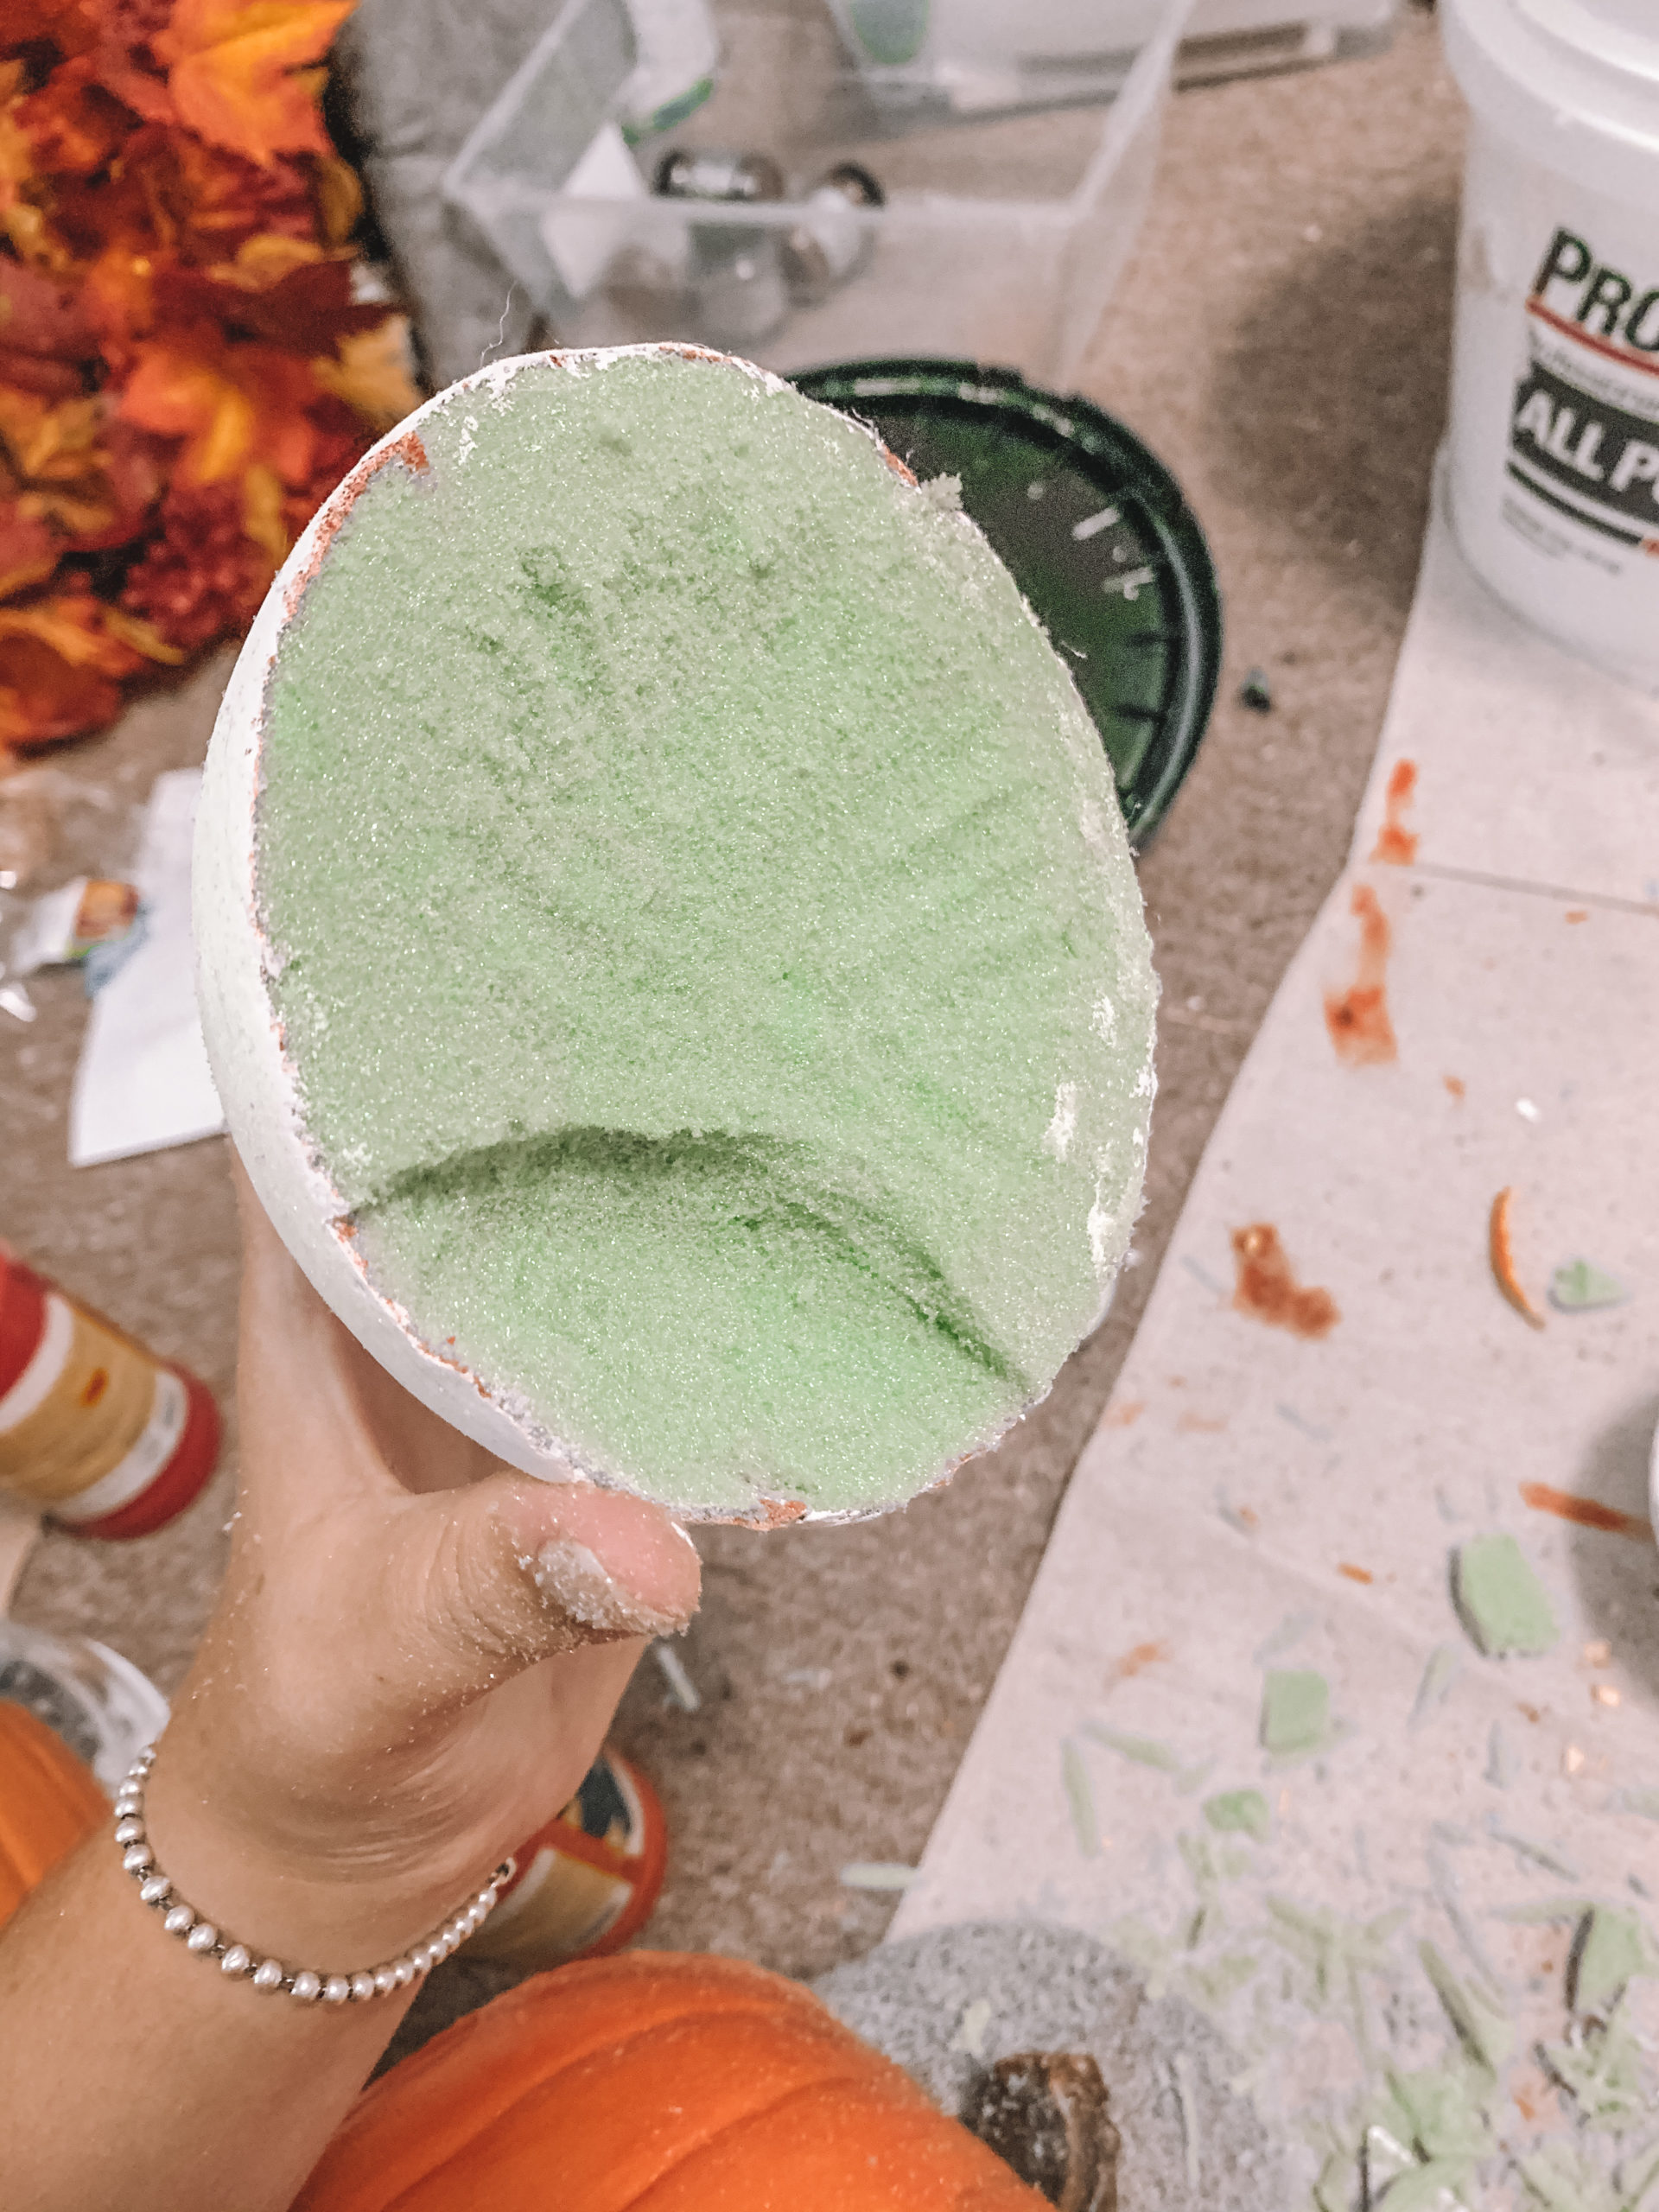
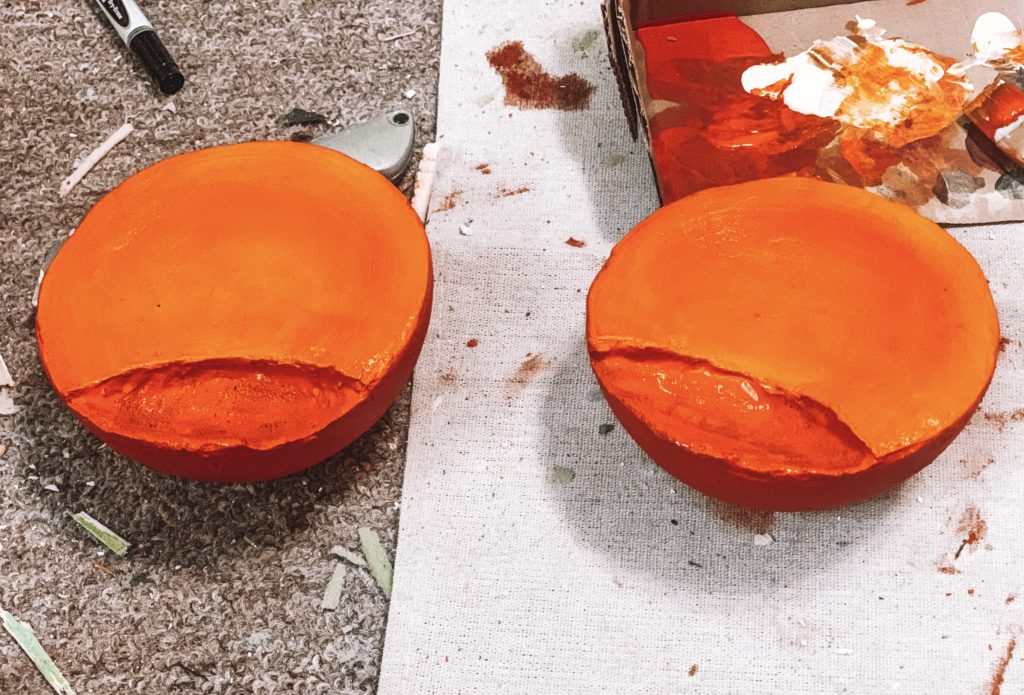
Now we want to put our focus to the ears. You’ll want those 5″ half sphere’s, or if you got a whole sphere you’ll have to cut it in half. I carved a bit into the center of the flat end, then sanded it out to create a smooth and subtle concave. Next step was to measure out where the ears would lay on the pumpkin and cut off the excess (this part is kinda hard to describe so look to the images for a better idea). I skipped this step at first so I wasn’t able to cut off the entire excess because of the plaster (see below) so Do as I Say, Not as I Do, lol.
I put a layer of plaster over them before painting, but if you went with orange foam sheet you’ll have one less step to do (you’ll just have to glue the foam onto the half spheres. I’ve read some people say not to use hot glue as it dissolves the foam, but I’ve also seen some people use hot glue without problem. I was out of hot glue so I couldn’t test it out, so move with caution if you decide to use hot glue).
I also used some cadmium yellow on the inside of the ears to enhance the concave shadowing.
Part 3: The Face
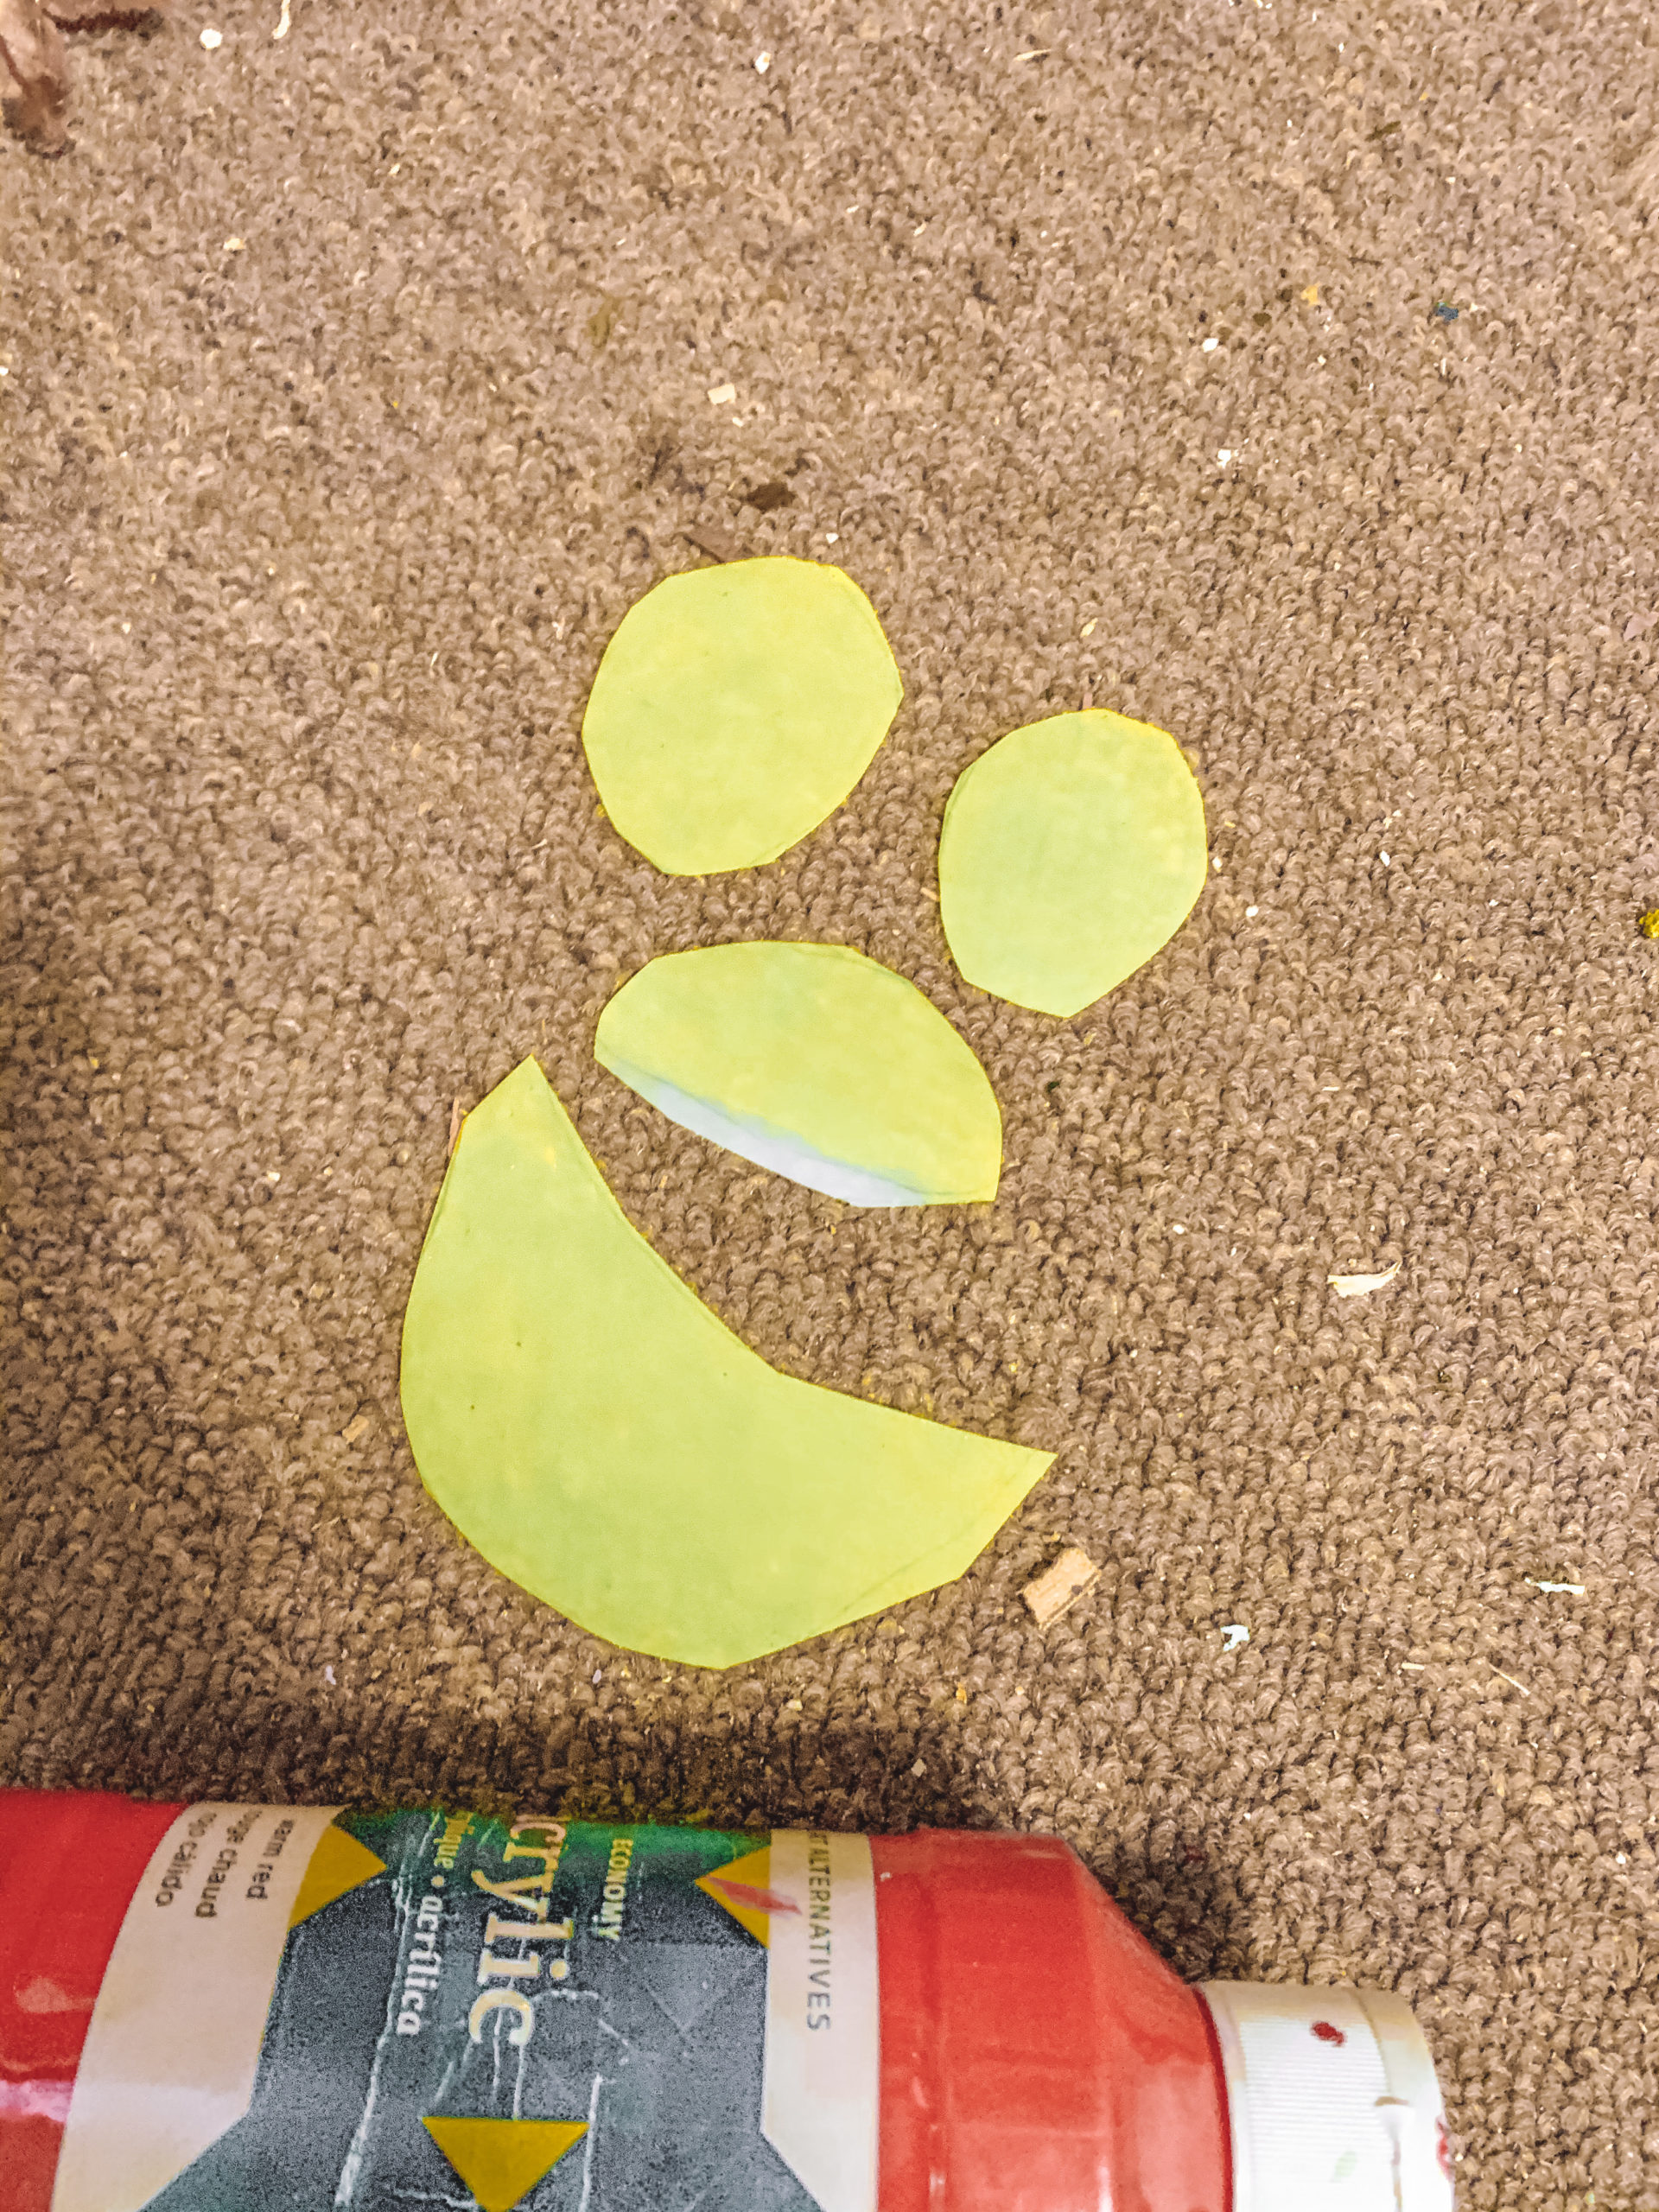
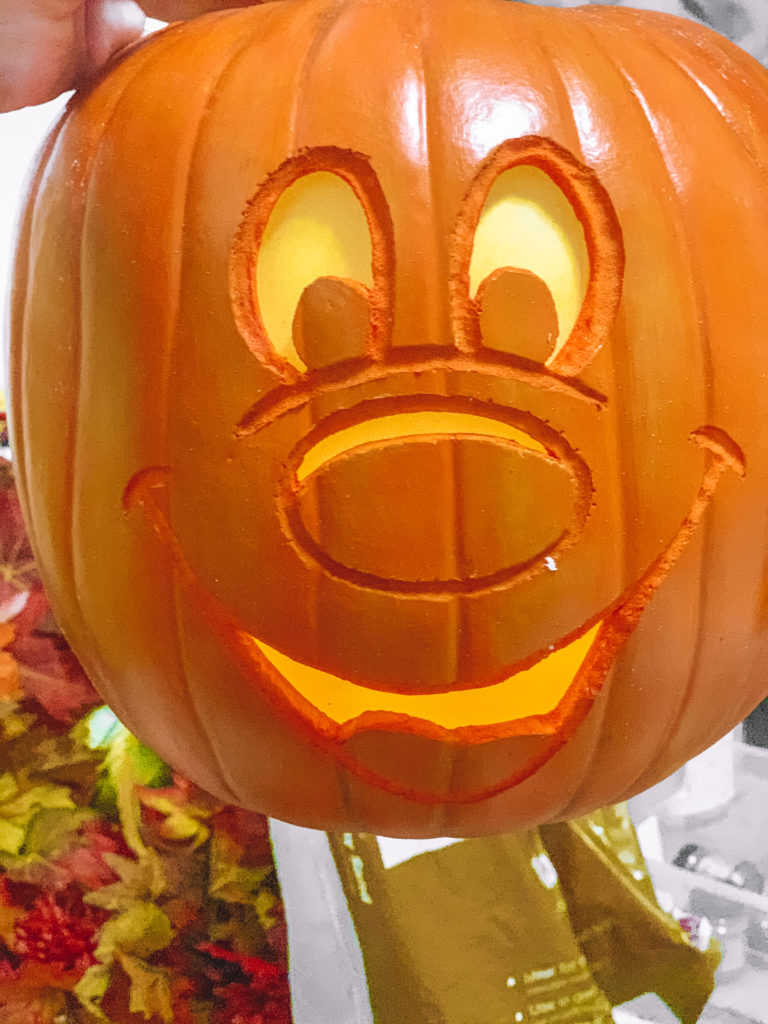
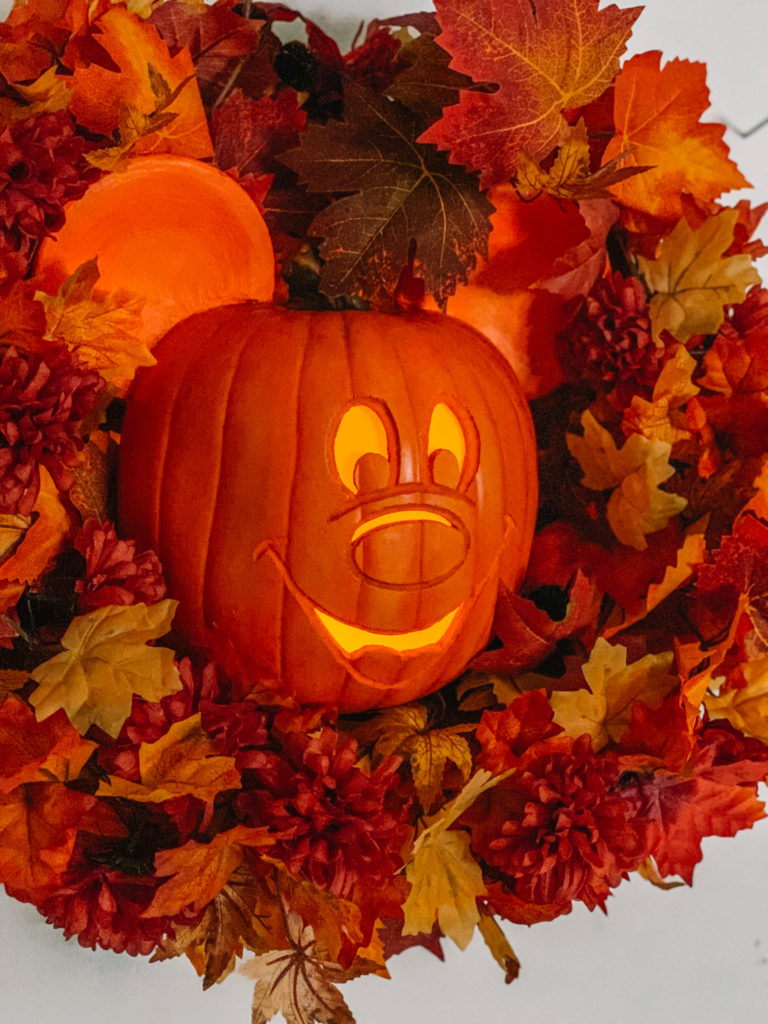
This was one of the hardest sections to do, but it was also the fastest. Using the template I cut the yellow sections out of glassine (you can follow the same steps using yellow foam sheet), making sure I left plenty of space around the edges to glue the pieces down. I then lightly painted the pieces yellow, to give a tint when the tea light shines through. Then glue and let dry!
You can see below I tested it out with the tea light and it looks amazing!
Part 4: Put it all together
Now it’s time to put everything together! Fingers crossed!
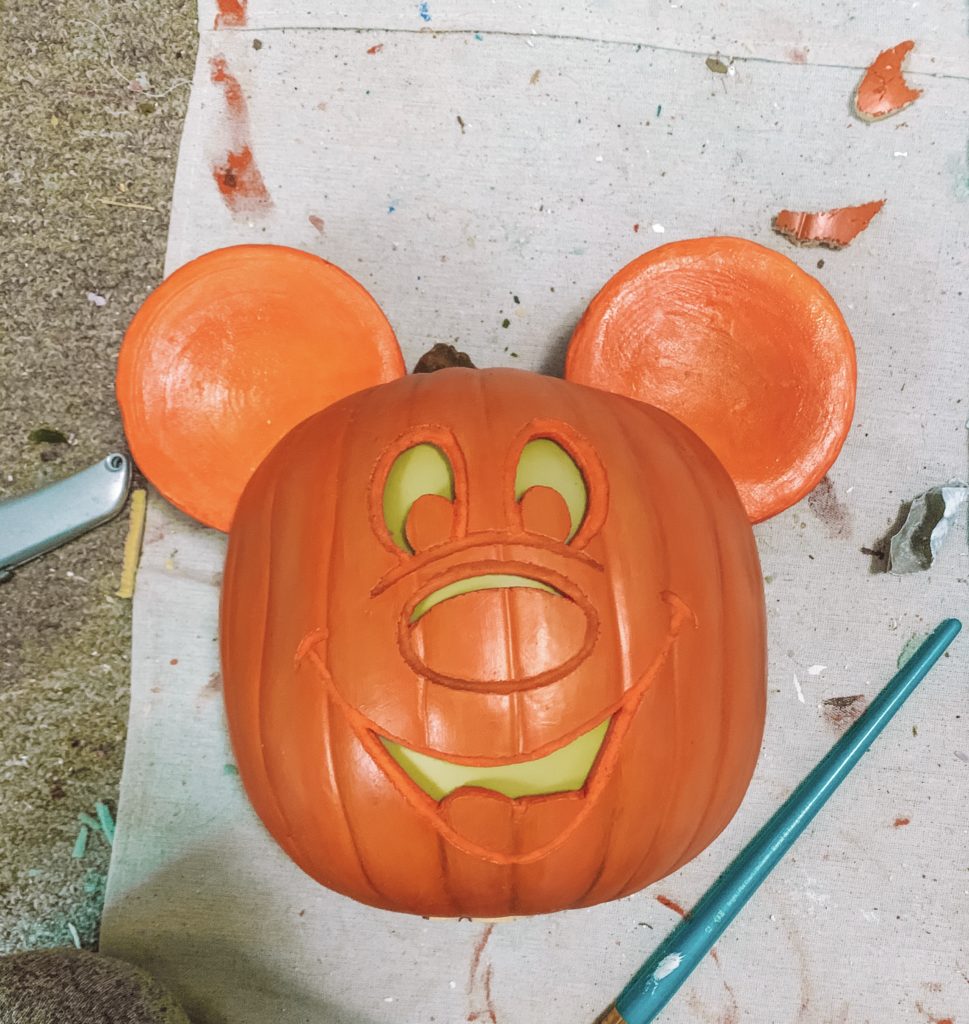
I started with glueing the ears. I put Elmer’s glue on the back edge of the pumpkin and on the ears. Now all you can do is wait. And wait. And wait…
And wait a little more just to be safe…
And they’re on there!
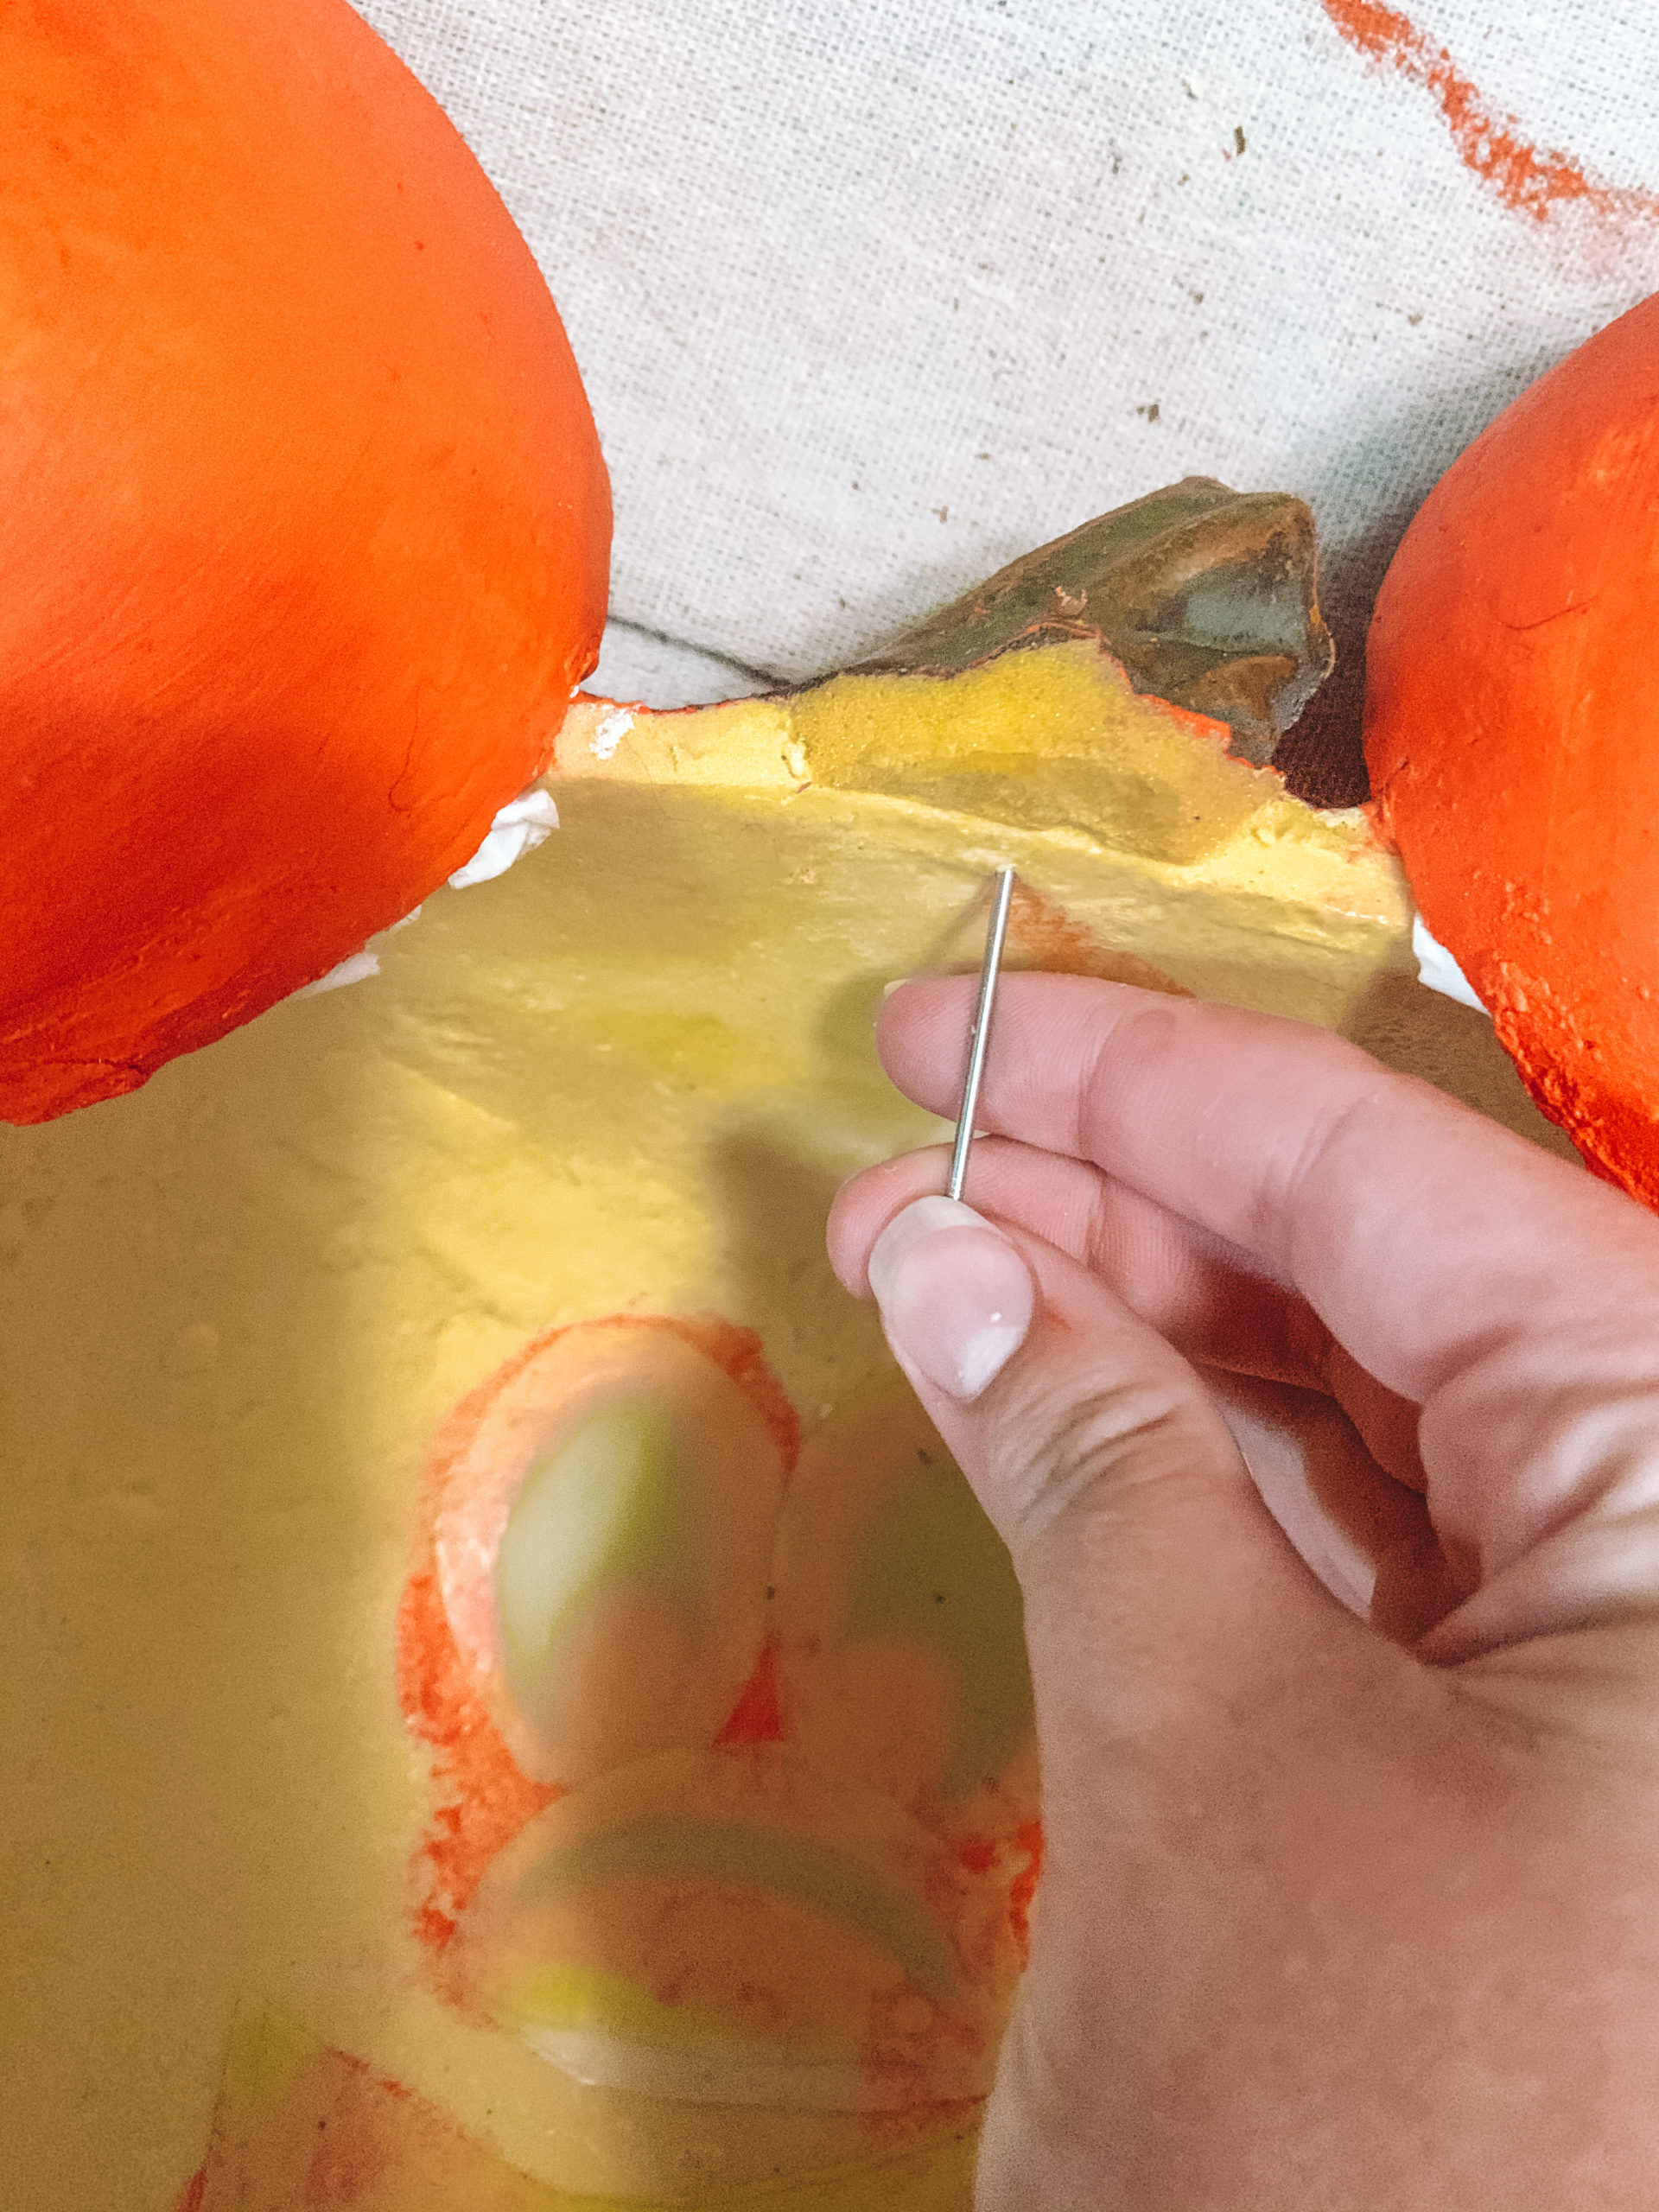
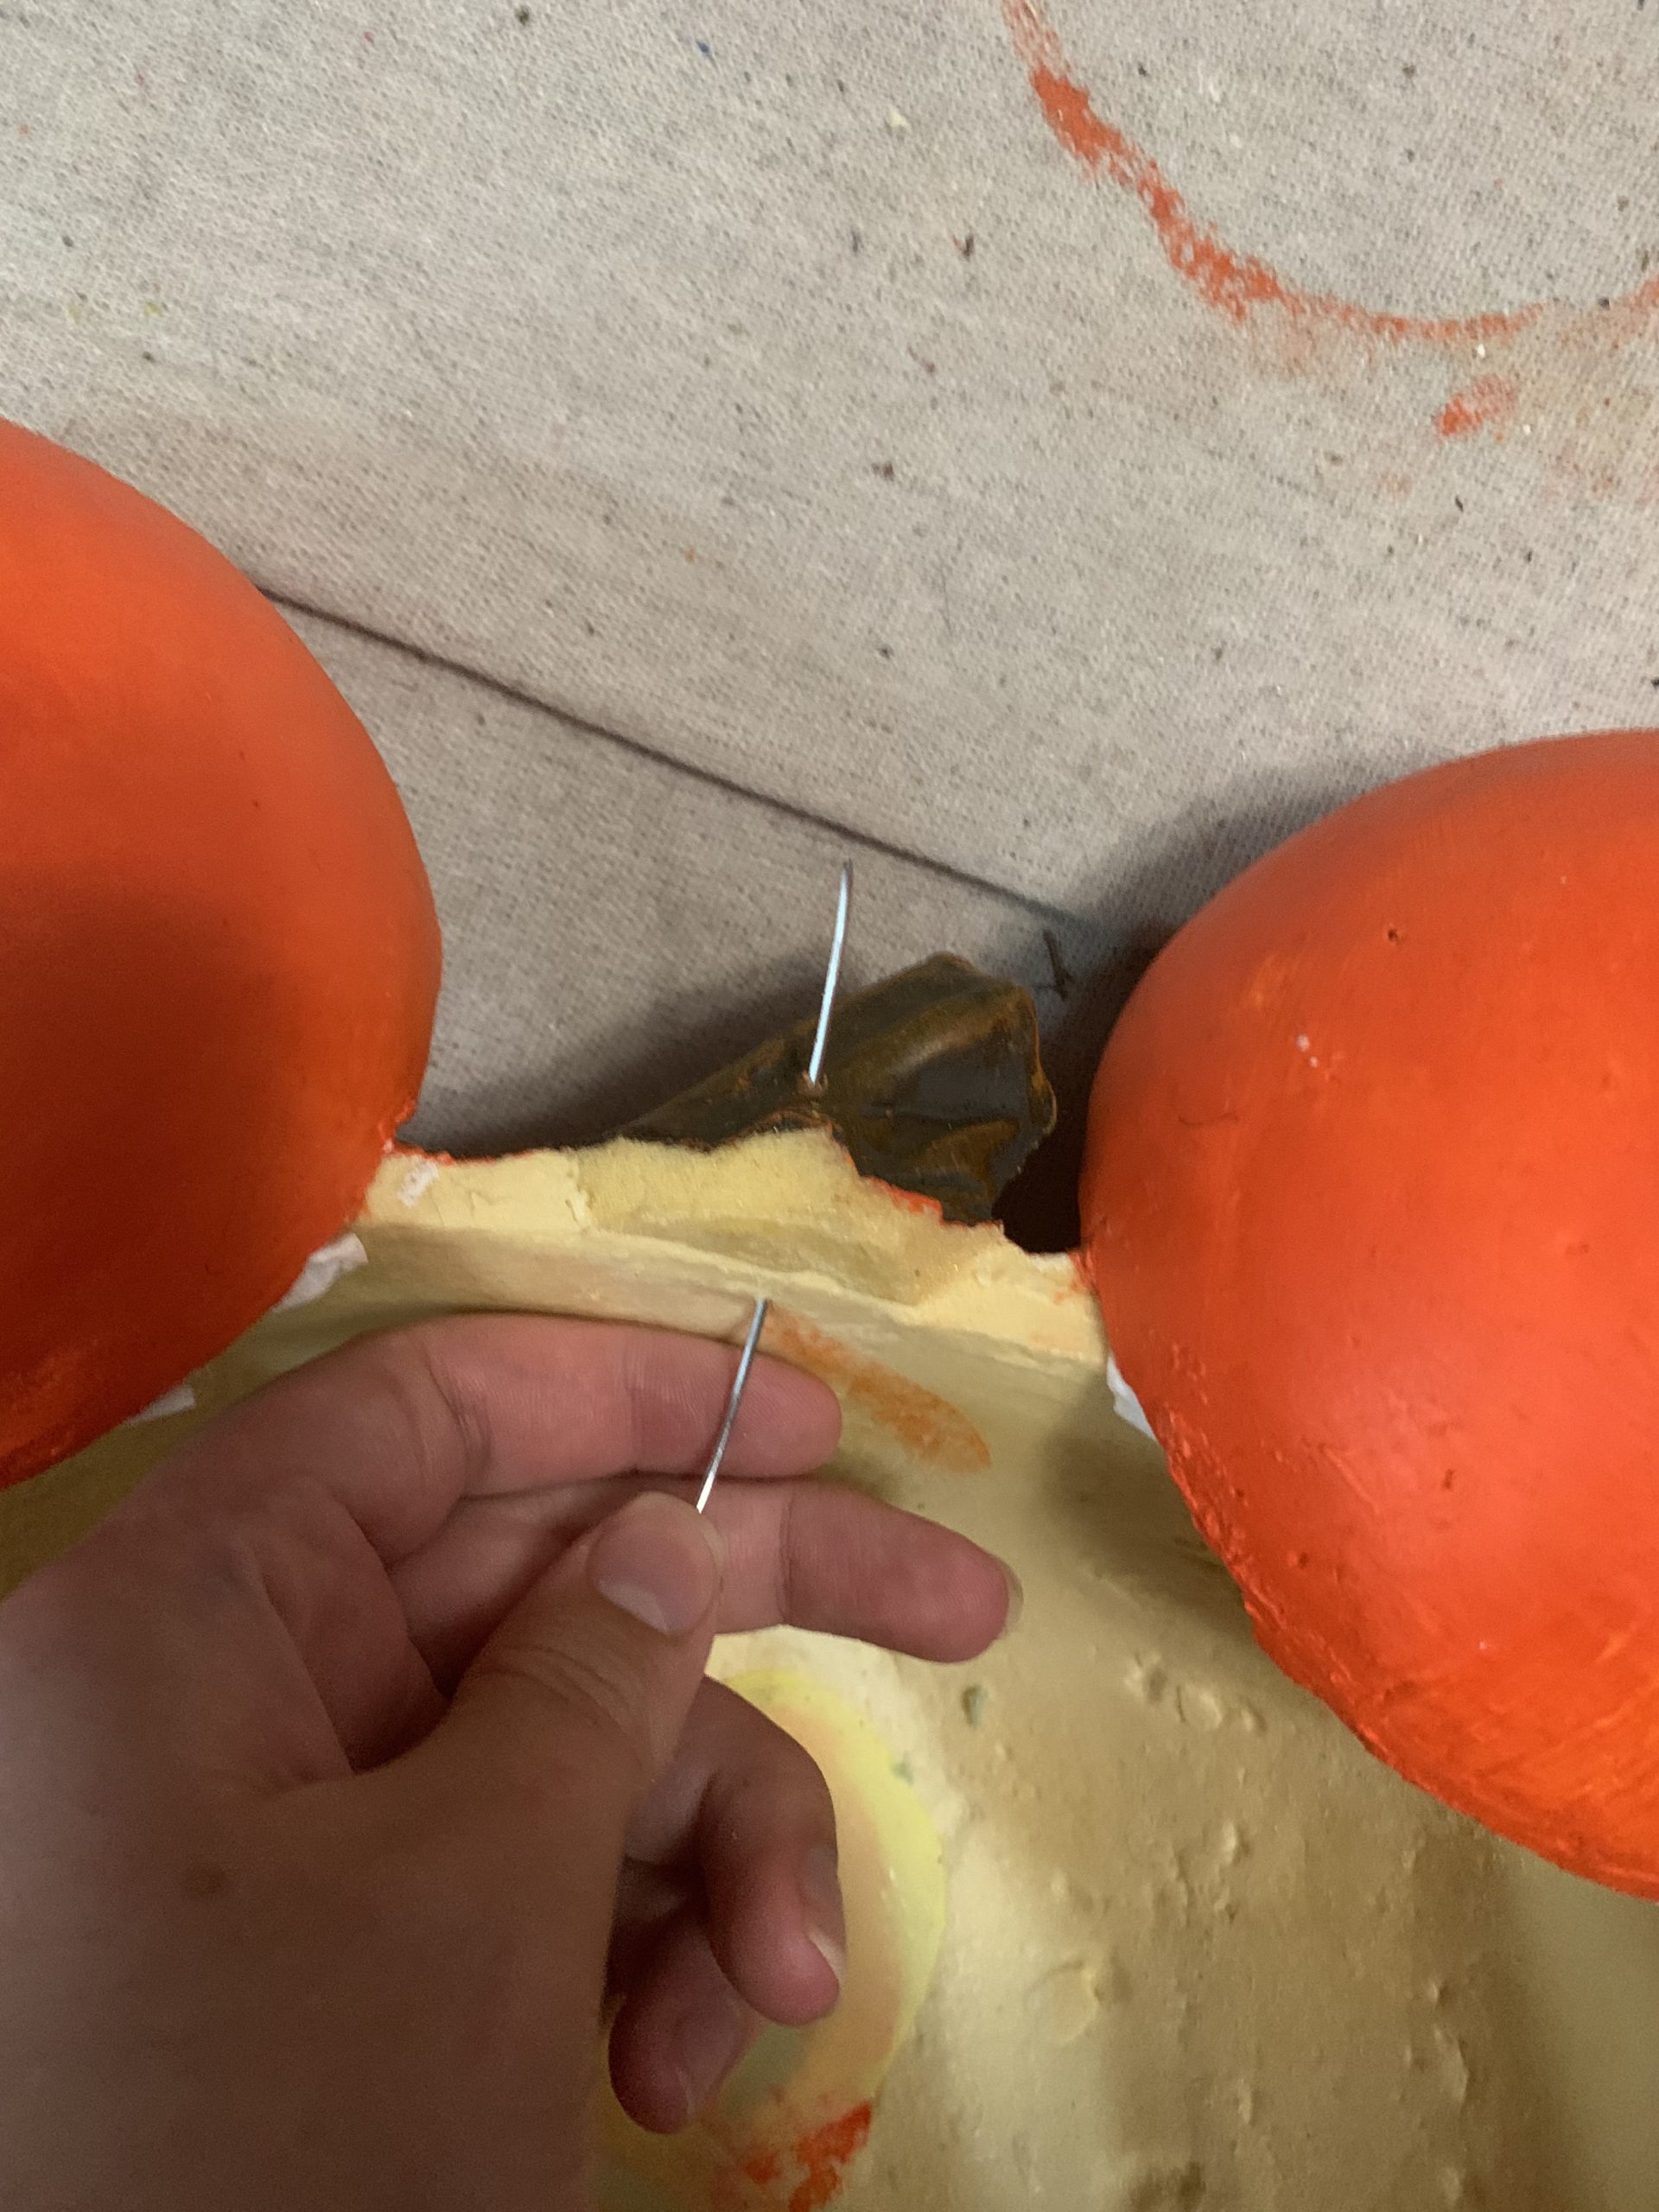
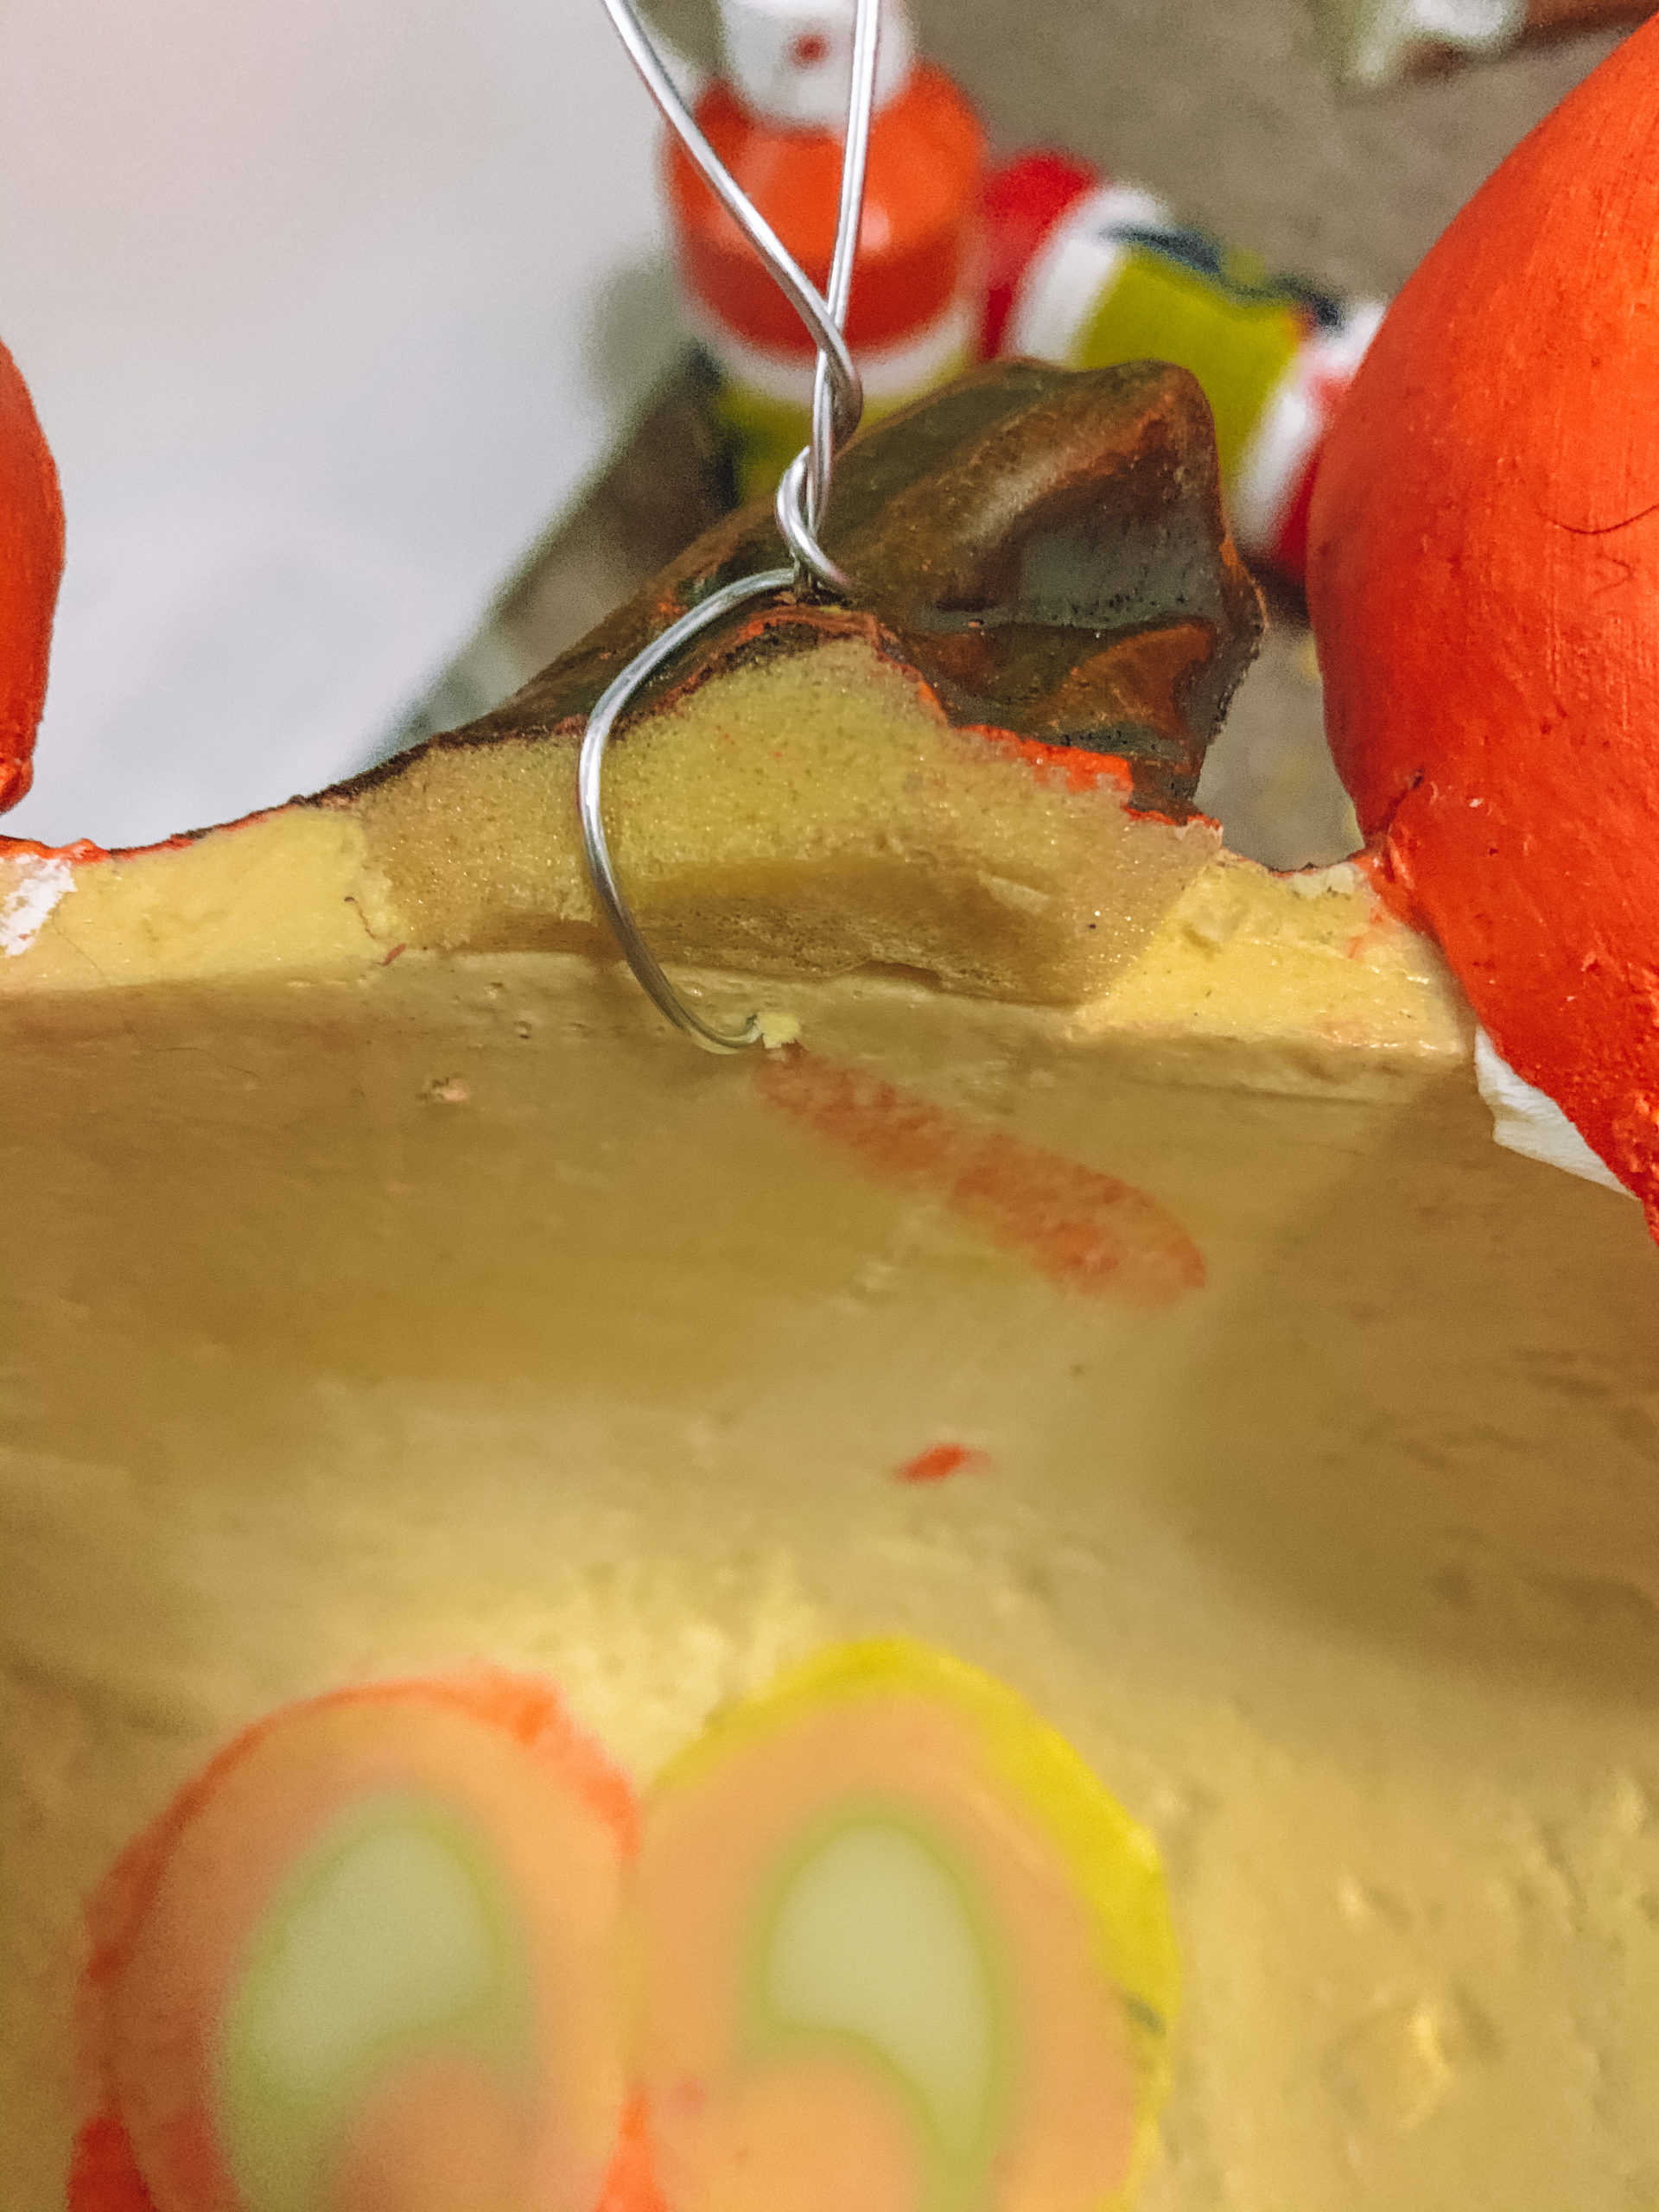
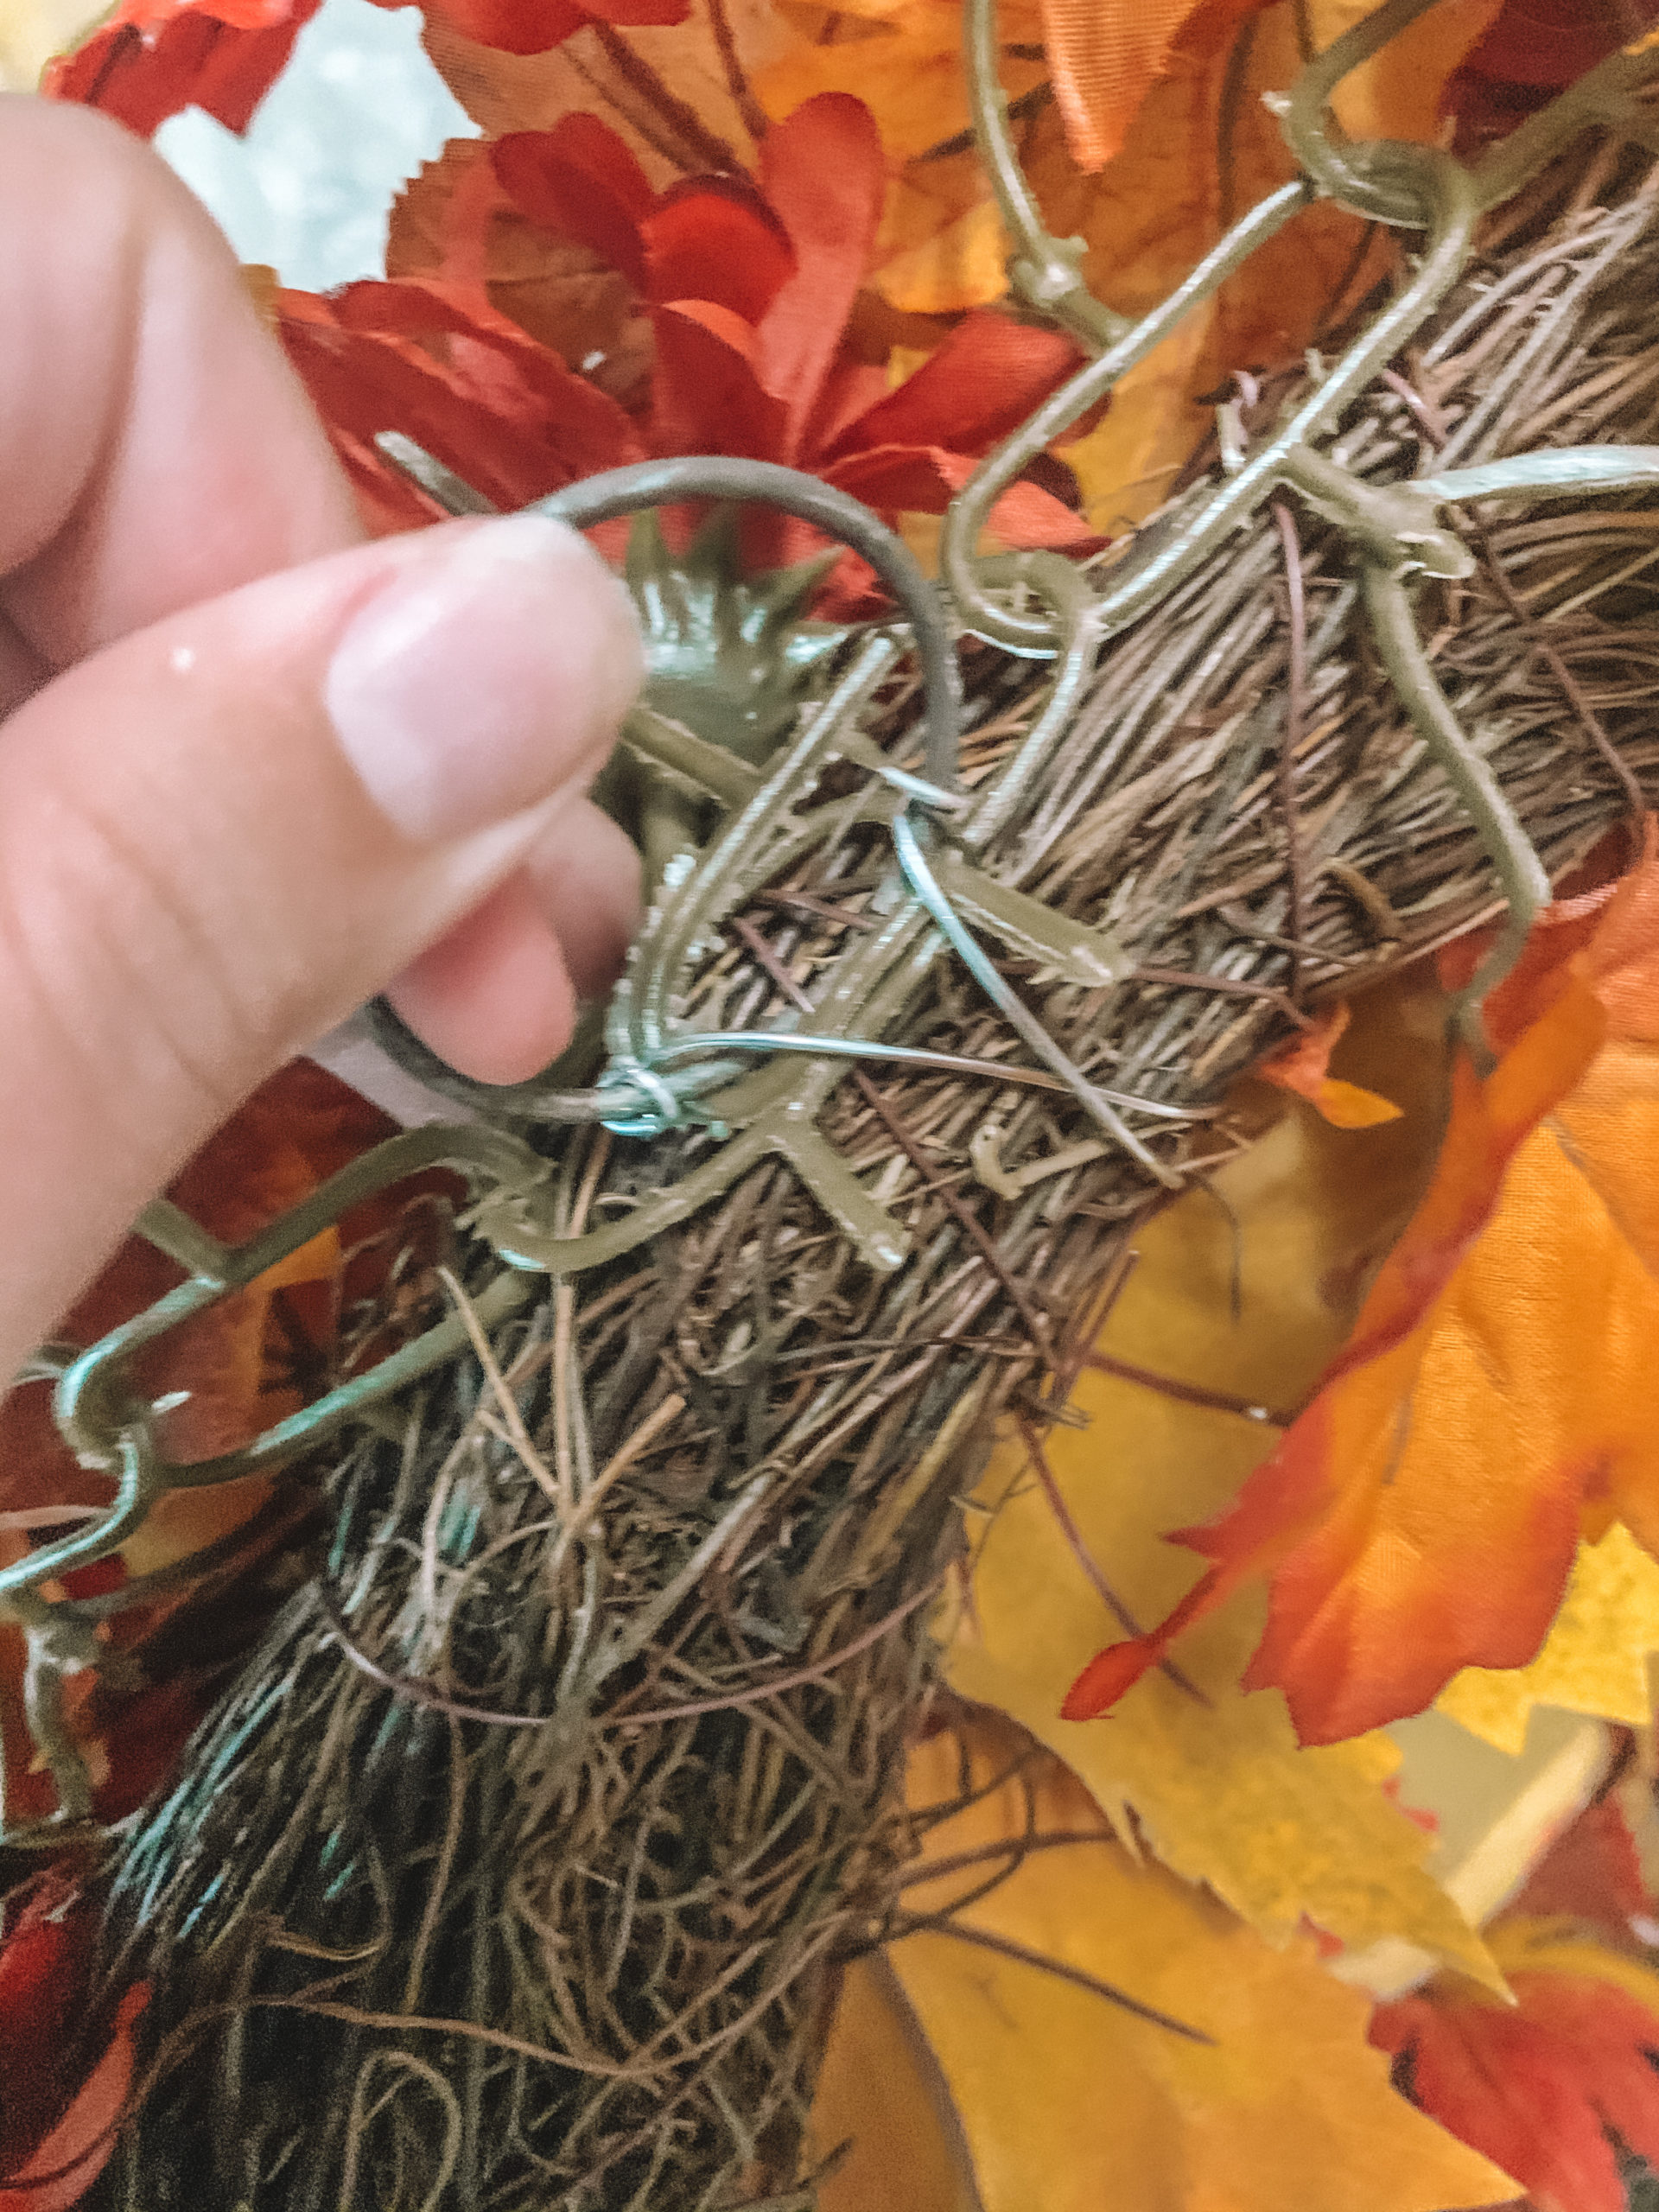
Now we just have to attach Mickey to his wreath. I poked two holes through the back of the pumpkin; one at the stem, and one at the bottom. Grab your wire (it doesn’t have to be beefy wire, the pumpkin is fairly light) and insert into the top hole and wrap the wire around the wreath to hold it in place. Do the same at the bottom hole.
And you’re done! Insert your tea light if you’re using one, hang the wreath up and enjoy!
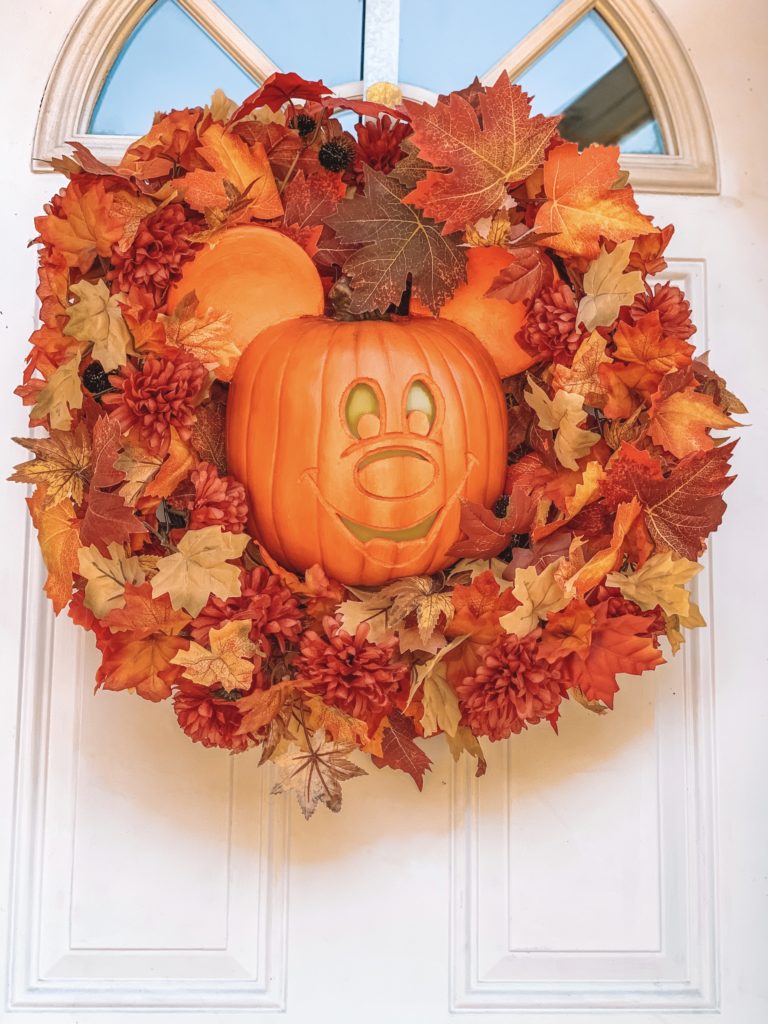
I hope you enjoyed this DIY as much as I did! Let me know if you have any questions!
– Emily 🙂
24 Responses
This looks amazing!! Are you selling your creations? I would be interested in just the Mickey Pumpkin.
hello! I have not in the past sold them, but I am not opposed to it. Are you interested in the mickey pumpkin still being half like in the tutorial, or a whole pumpkin that can sit on a table?
I am also interested in purchasing, but the whole wreath. This looks amazing!
hello! I’d be happy to make a wreath for you to purchase! I can get a price together for you, is it alright if I email you directly?
Are the ears covered with plaster on both sides? Or just the back?
Hi! I have them covered on both sides. Because that foam is the green oasis foam, when that gets wet it disintegrates fairly easily, so the plaster is acting like a barrier. It seems to do a good job of that too.
I cheated a little, used Dollar Tree foam circles, about 1 in. thick, and did not carve out the detail in the ears. I also laid the large pumpkin head against the smaller ear circles, to cut out the grooved ear for placement. Ready to dremmel. Will show final product this week. So happy you published this tutorial!
Awesome! Can’t wait to see the final result! So glad you enjoyed my Tutorial!
Y hands no longer allow me to detail work, so would like to see if you could make one for me. We belong to 2 disney clubs, and would love to have the half pumpkin to make into a wreath for our door.
Hi Sandy! I’d be happy to make one for you! Is it alright if I email you directly?
Are you still making these wreaths for sale? Could you email me with price and shipping?
I love this are you selling these? I’d love one!!
Hi Julie! I sent you an email about pricing!
I have the perfect wreath for this! Could I purchase the center Mickey peace?! Please email me – would love to chat about an order! Thanks ☺️
I sent you an email!
I would like to purchase the pumpkin for a wreath as well
Hi,
Do you sell the Mickey’s Pumpkins Wreath?
Hey there!! I would also love to purchase one or two half Mickeys! If you wouldn’t mind reaching me via email! Beautiful work!!
This looks great! Id love some info if you’re selling them.
I am regular visitor, how are you everybody? This
article posted at this web page is truly good.
Hello- love this!
Are you selling the mickey pumpkin alone, for attachment to a wreath?
Thankyou!
You mentioned about the Nicky that sits I. The table. Do you have a picture of that one?
Thank
Hi Renita,
Currently I do not have a photo of that.
Hi, I would love to purchase!! How can I purchase?